Wouldn’t it be cool to make your own Twitch Emotes? Once you become an affiliate on Twitch you can upload custom Twitch Emotes to interact with your audience.
Hey there! I’m Cara and I’m happy to tell you that Photoshop makes this task surprisingly easy. When you use existing photos or artwork, you don’t even have to put a lot of effort into designing it.
Let’s dive in and look at how to create emotes for Twitch in Photoshop here!
Quick note: The screenshots in the tutorial below are based on Photoshop CC for Windows, other versions might look slightly different but should be similar.
Table of Contents
Step 1: Choose Your Image(s)
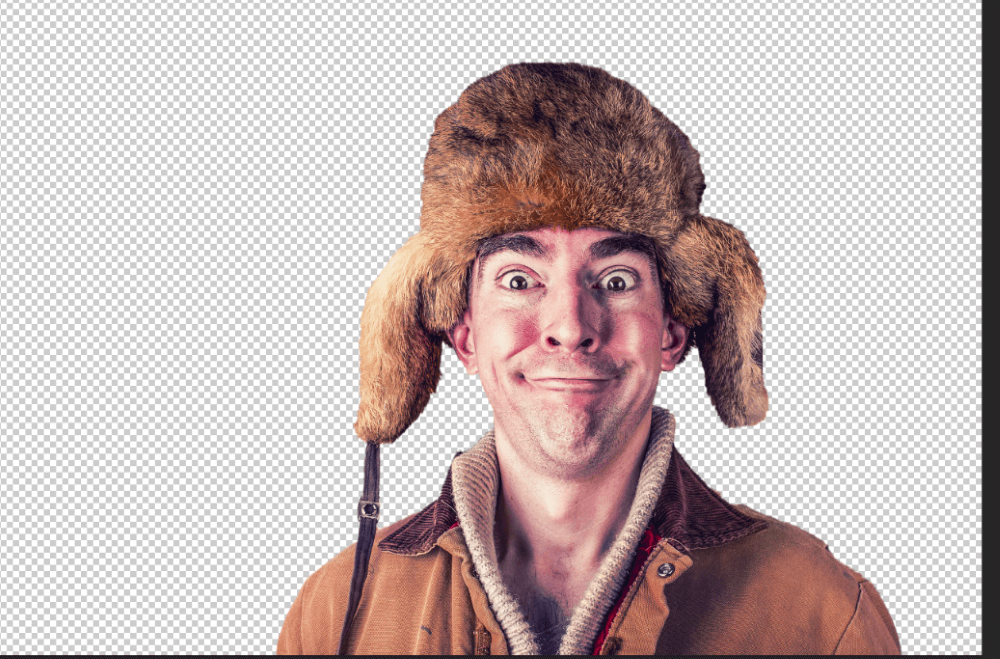
You can easily make Twitch emotes with existing elements. Just choose photos or illustrations that have the elements you want to include. I grabbed this photo to use as an example.

Step 2: Make a Selection
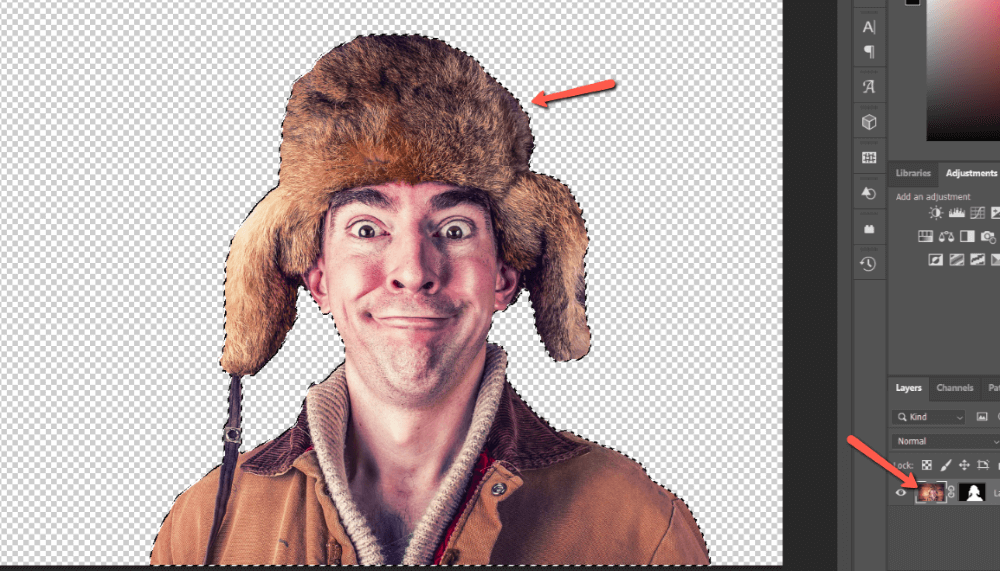
Now you need to isolate the elements you want to use. There are many ways to make selections. A common way is to select the Quick Selection tool from the toolbar on the left or press W on the keyboard. Then press the Select Subject button in the Options bar.

In this case, the automatic selection didn’t do too bad. You can always clean up areas with one of the selection tools if necessary.
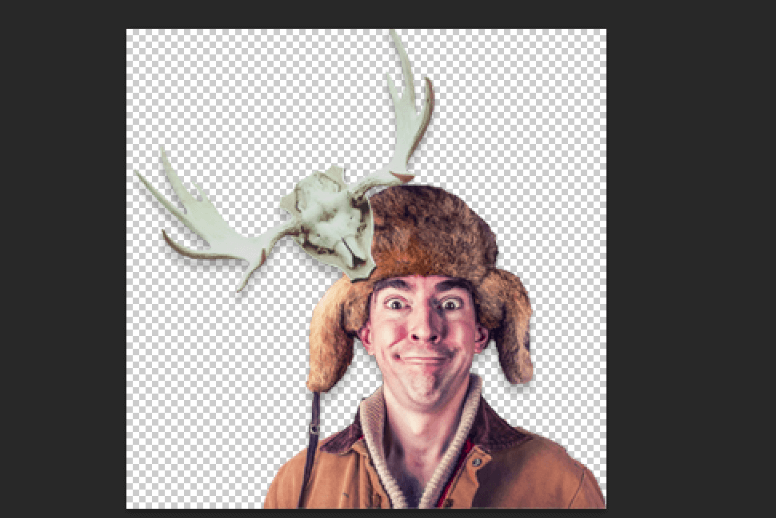
Step 3: Remove the Background
Now we want to get the element by itself. Press the Mask button at the bottom of the Layers panel.
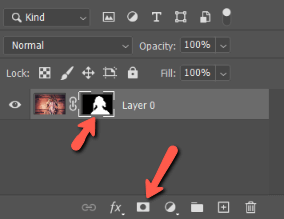
A layer mask will appear linked to the layer thumbnail and the background will disappear.
Repeat with any other elements you want to use.
Step 4: Create a New Document
Let’s create a document to assemble our Twitch emote. In order to upload a Twitch emote, it must fit into the size limits imposed by Twitch. The uploaded file must be between 112×112 and 1046×1046 pixels.
The software will then automatically resize to the required sizes, which are 112×112, 56×56, and 28×28.
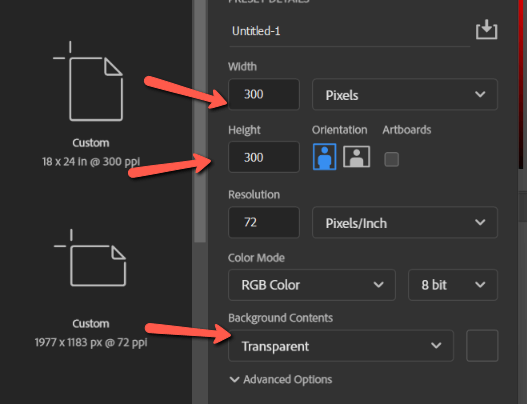
Let’s pick a size larger than what we’ll need just to be on the safe side. It’s much easier to reduce the size of an image without the quality loss than to make it bigger.
Open a new document and choose 300×300 pixels, ensuring that the background is set to transparent.
Step 5: Add the Elements
Make sure the selection is active around your element and the thumbnail of the image (not the mask) is selected.
Press Ctrl + C or Command + C to copy the selection.
Go back to your new Twitch emote document and press Ctrl + V or Command + V to paste it. Press Ctrl + T or Command + T to activate the Transform tool and resize.
Repeat with all your elements.
Step 6: Add a Drop Shadow
Let’s give our Twitch emote a touch of realism with a drop shadow. You can add the same shadow to all the elements at once by putting them in a group.
Select multiple layers by holding Ctrl or Command while clicking on each layer. Then press Ctrl + G or Command + G to put them in a group.
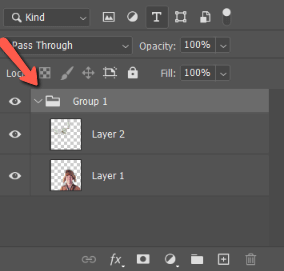
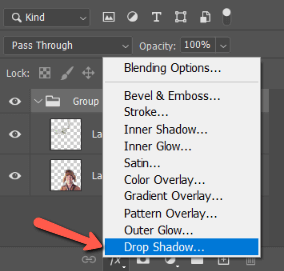
With the group selected, press the fx button at the bottom of the Layers panel and choose Drop Shadow from the menu.
In the Layer styles panel that opens, you’ll have options for how to customize the shadow. I chose to set the blend mode to Multiply, put the Opacity at 40%, and put the Angle at 90 degrees.
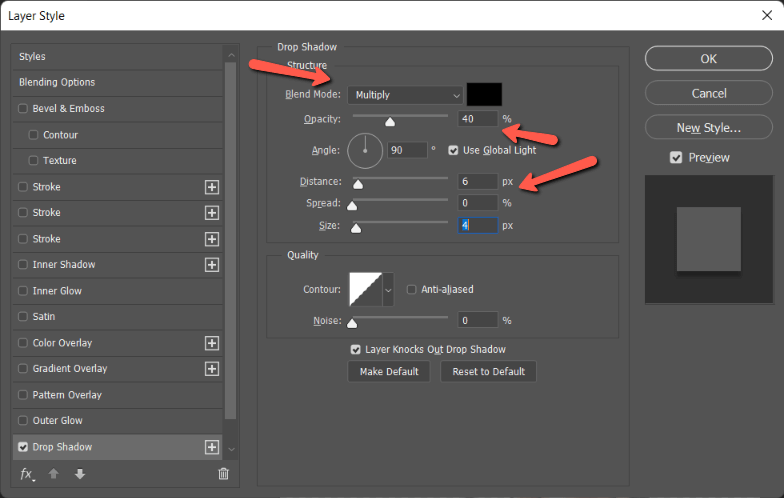
Set the Distance to 6 pixels, Spread to 0%, and Size to 4 pixels. Of course, you can modify to customize your shadow as needed. Press OK when finished.
And that’s it! Now you have a custom Twitch emote you can use to interact with your audience on Twitch.
Remember to save it as a PNG to preserve the transparent background. If you save it as a JPEG, the emote will end up with a white background.
Curious to learn more about file types in Photoshop? Check out the differences between JPEG, PNG, and GIF here.
About Cara Koch