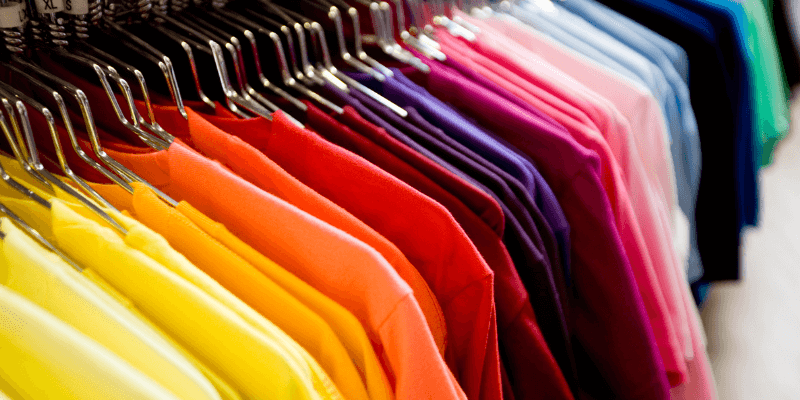
Have you ever wished you could change the color of clothing in Photoshop?
For example, it would be so handy for an eCommerce store owner to take a picture of a shirt and change the t-shirt color in Photoshop to show every color they offer. Then they don’t have to buy and photograph them one by one.
Hello! I’m Cara and while you might have thought that this feat would be complicated, it’s actually super simple. Online retailers do it all the time to reduce their workload and I’m about to share the secret with you.
So let’s dive into how to change clothes color in Photoshop. You can use the same method to change the color of the t-shirt or any other clothing.
Table of Contents
2 Essential Steps to Change Clothing Color in Photoshop
Although there are different ways to change colors in Photoshop, the easiest way to change the color of clothes would be to use the Color Range tool to select the object (clothing) and adjust its hue/saturation.
Step 1: Select the Clothing
You can use any selection method to select the clothing. Choose whichever is most comfortable or will be the easiest for your particular photo.
In most cases for product photography, the subject will be standing against a white or plain background. This makes the Color Range selection method a good choice.
This tool allows you to choose a color in the image and Photoshop will automatically select all pixels that are the same or similar color.
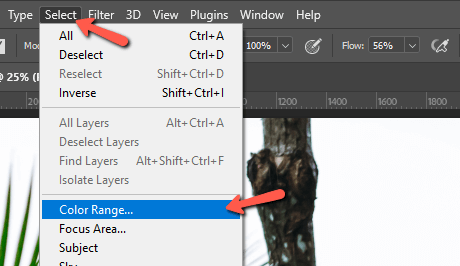
Go to Select in the menu bar at the top and choose Color Range.
In the box that opens, you have a few options for selecting the color. Bring the Fuzziness up so Photoshop will select a larger color range (more shades of the same color). Bring it down if you want to restrict the color range.
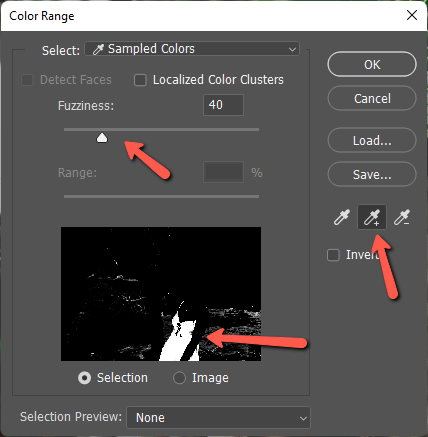
Set the Eyedropper tool to the icon with the + sign. This means that every time you click on the image, the color of the pixel you click on is added to the range. You can use the one with the – (minus) sign to subtract parts you don’t want.
In the preview box, everything that is white will be selected and black will not be selected. The tool has picked up a bit of the background, but that’s okay, we can clean it up easily. Press OK.
Now choose the Quick Selection Tool from the toolbar on the left.
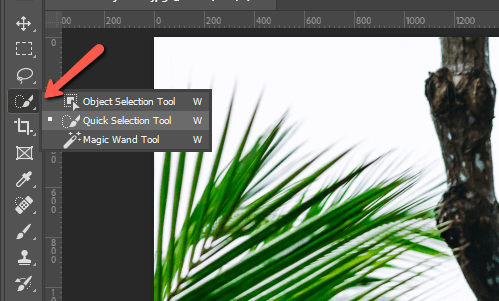
Click and drag over any areas that have been missed. Hold the Alt or Option key while dragging to remove areas that shouldn’t be selected. Make sure to remove any bits of the background that have been selected.
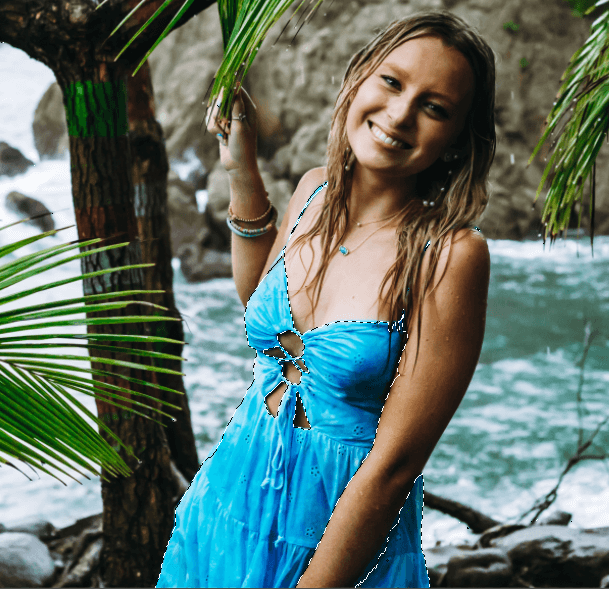
Take your time. Your selection has to be perfect or the color transformation will end up looking fake.
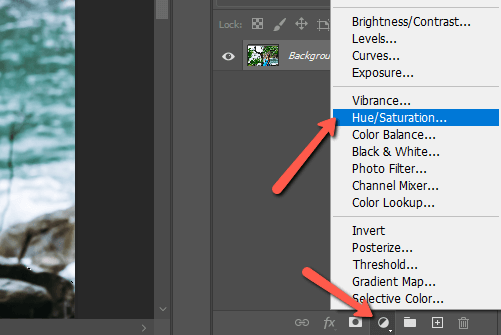
Step 2: Add a Hue/Saturation Layer
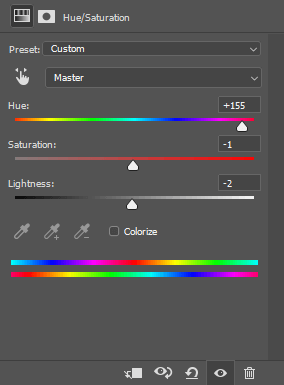
Click the Adjustment Layer icon at the bottom of the Layers panel. It looks like a half-filled circle. Choose Hue/Saturation from the menu.
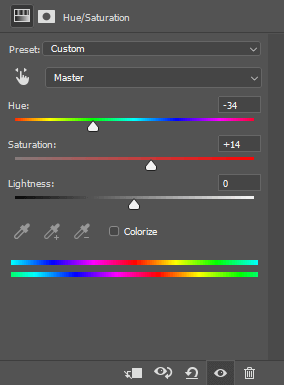
Now, it’s simply a matter of adjusting the sliders to get the color you want. The Hue slider changes the base color and you can use the Saturation slider to tweak it.
The Lightness slider may also be helpful in some cases but take care. Move it too much and it’s obvious that you’ve brightened or darkened the color too much.
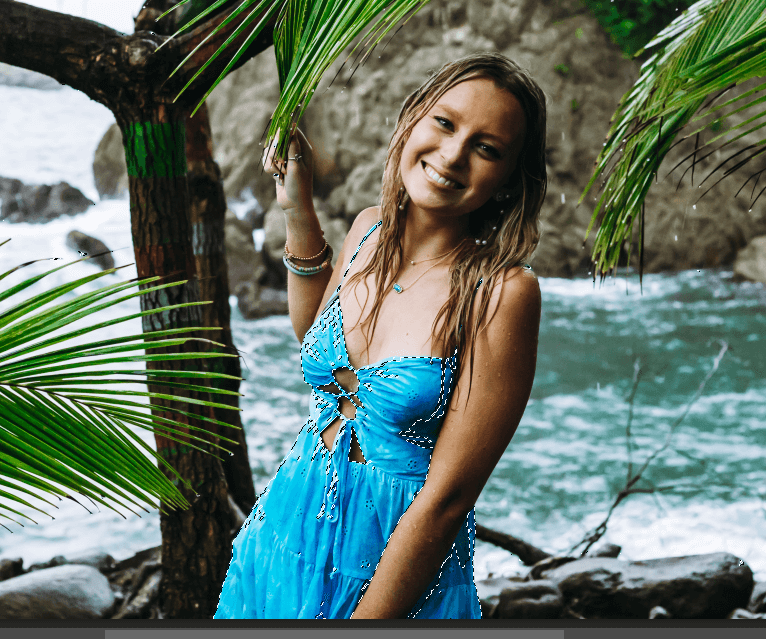
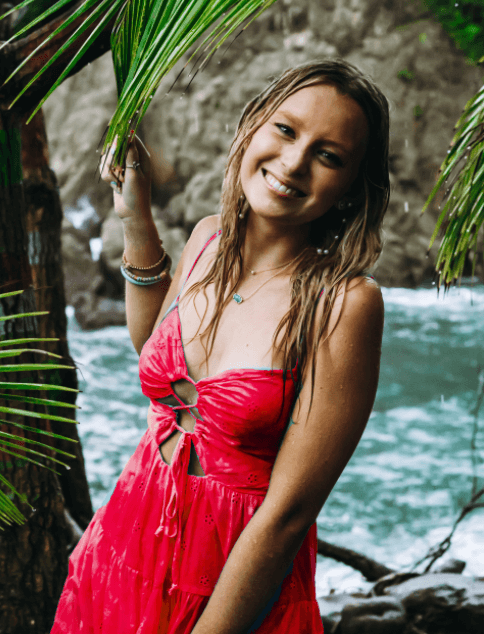
With these settings, I’ve turned her pretty blue dress into a green one.

Or I can bring it over this way to give her a red one.
Pretty cool how that works, right? Curious about what else you can do with color in Photoshop? Check out how to key out a certain color here!
About Cara Koch