Making patterns is so much fun and patterns are always useful! You can design patterns for basically anything, fashion brands, cellphone cases, wallpaper, and your design background perhaps. Plus, you can get a really good offer designing patterns for companies.
You’d be surprised how easy is it to create a seamless pattern in Photoshop. Actually, you might spend more time looking for the right one than making one by yourself.
In this article, you’ll learn how to make a seamless pattern from a vector and from an image background.
Follow me and give it a try!
Table of Contents
2 Ways to Make a Repeating Pattern in Photoshop
Before you start Photoshop, make sure to choose your original pattern quite carefully. The original image should not have light and dark sections, the tone and pattern should be roughly the same throughout.
Note: Screenshots are taken from Adobe Photoshop CC Mac version. Windows or other versions might look slightly different.
Method 1: Making a pattern from a vector
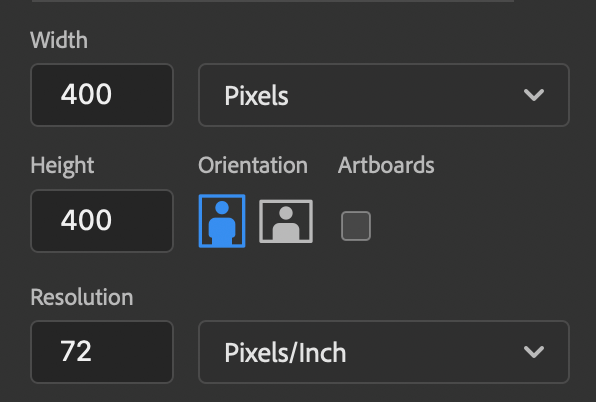
Step 1: Create a new document. I suggest setting and Width and Height to 400 x 400 pixels and Resolution 72 pixels/inch but feel free to set any size you want.
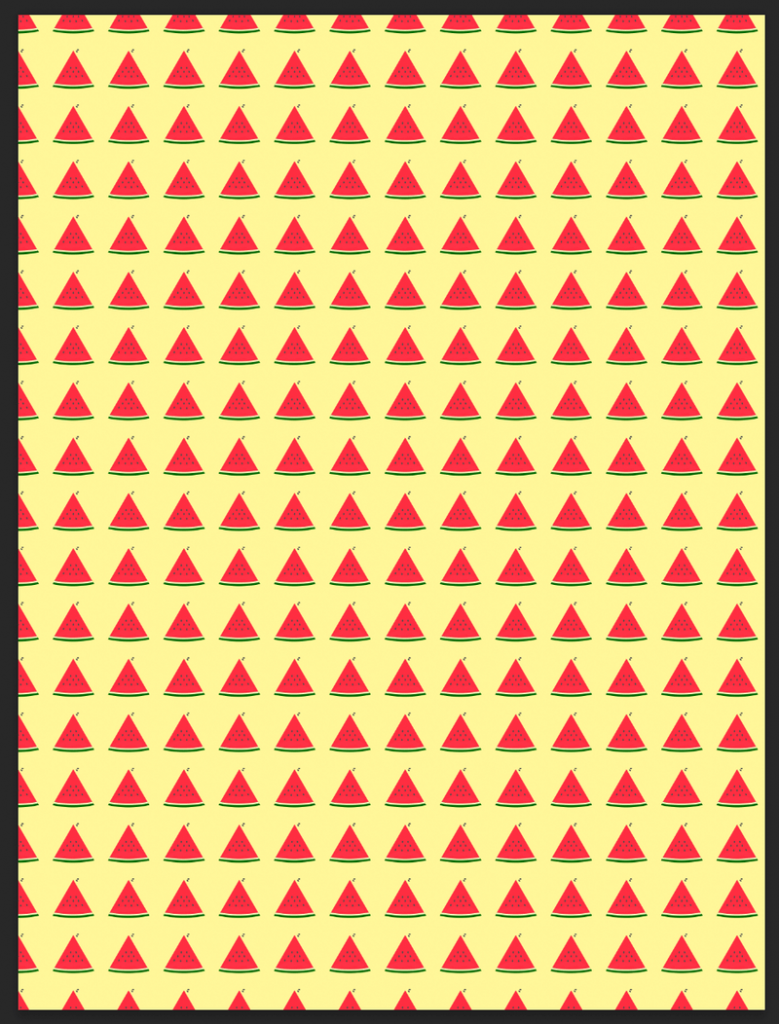
Step 2: Draw shapes, or drag the vectors that you want to make a pattern of into Photoshop. I’m going to create a seamless pattern of this watermelon vector I made.
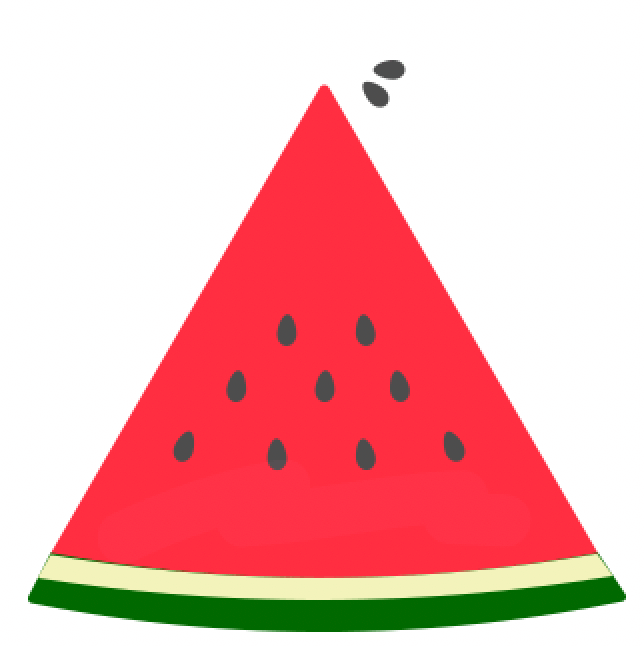
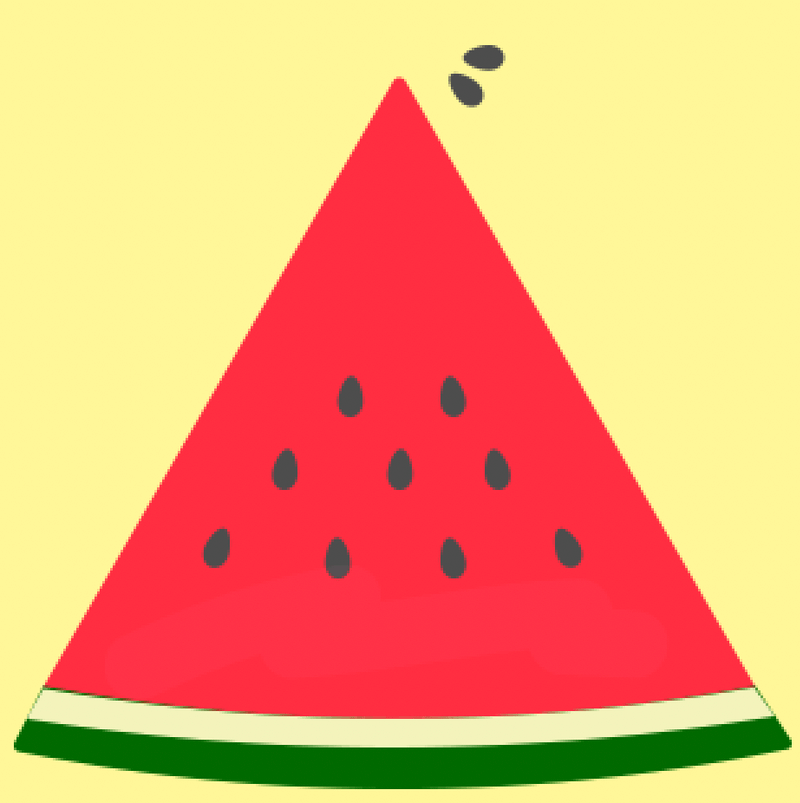
You can also add a background color if you’d like.
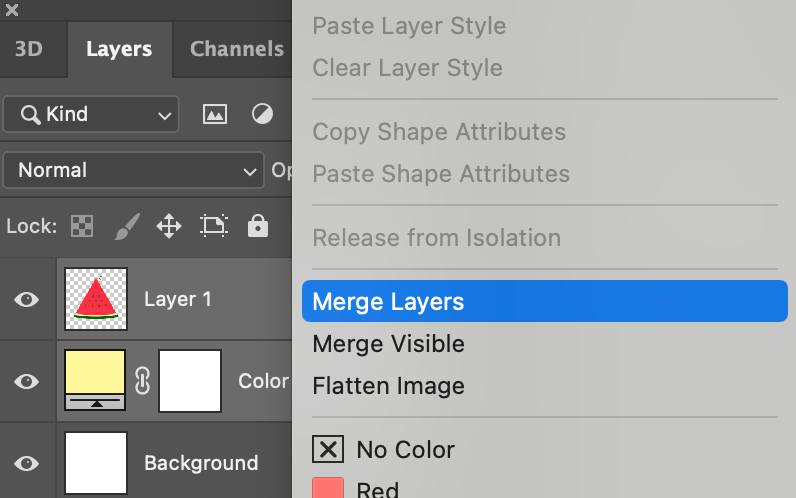
Note: If you are creating shapes in multiple layers in Photoshop, you have to merge the shape layers on the Layers panel.
In my case, I’ll select Layer 1 (the watermelon) and the color layer, right-click, and select Merge Layers.
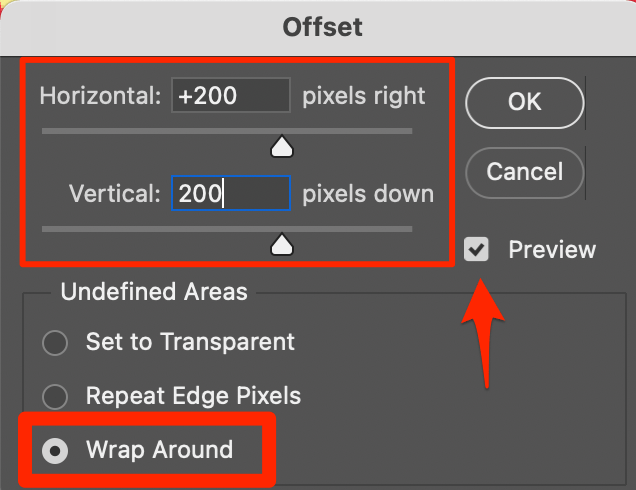
Step 3: Go to the overhead menu Filter > Others > Offset.
You can adjust the offset, a lot of designers like to set it half size of the canvas size, but there aren’t any strict rules, you can check the Preview box to see how it looks. And don’t forget to check the Wrap Around option.
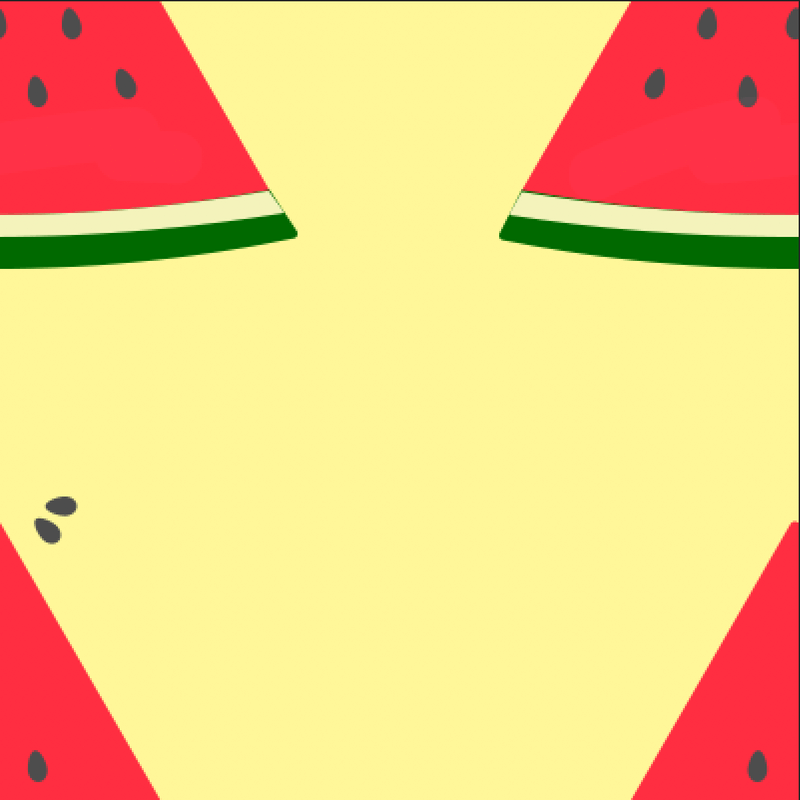
Once you hit OK, you’ll probably see something like this. Don’t freak out. Follow the next steps.
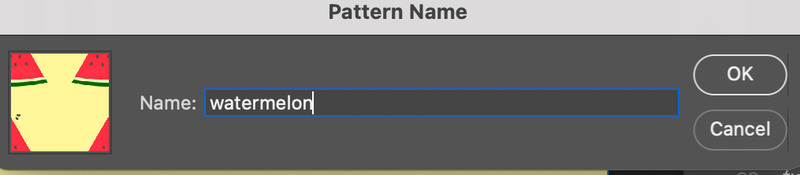
Step 4: Select the layer, go to the overhead menu again, and click Edit > Define Pattern.
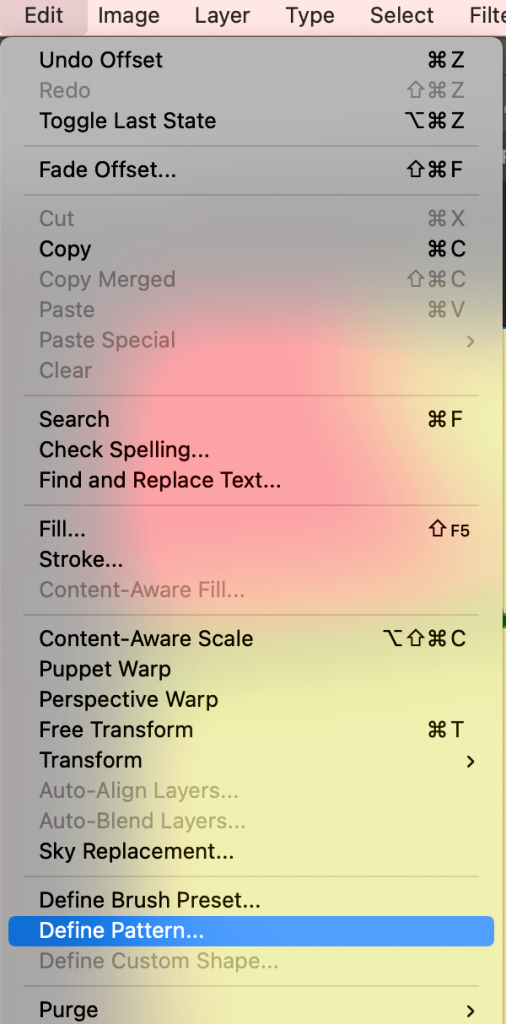
Give it a nice name.
Done! Your pattern is ready for use. Keep reading to see how you can use patterns in Photoshop.
Method 2: Making a pattern from an image
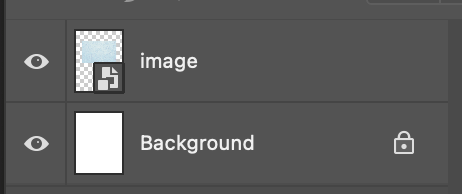
Step 1: Open your image in Photoshop, but make sure it’s not on the background layer.
Tips: Make sure your canvas size is twice bigger than the photo, it’ll be easier for you to manipulate the image.
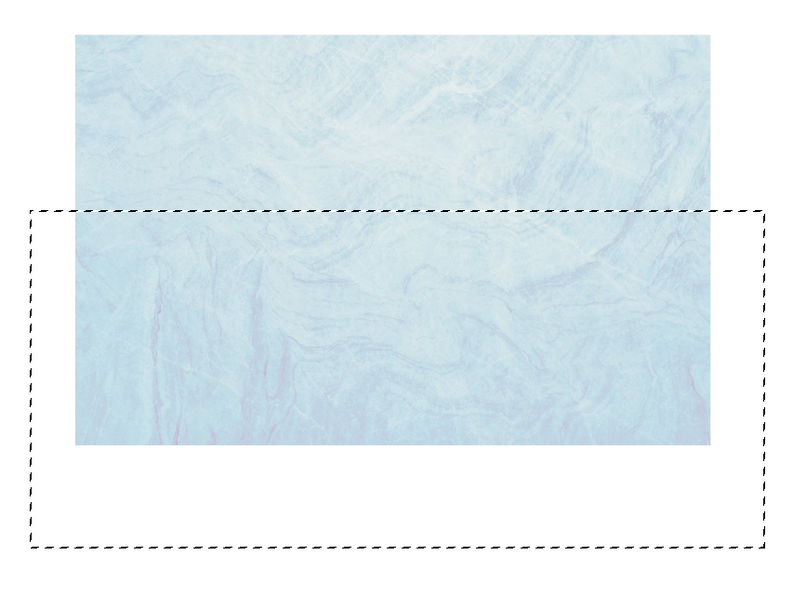
Step 2: Select the Rectangle Marquee Tool from the toolbar and use the Rectangle Marquee Tool to select the bottom half of the image.

Step 3: Copy, cut, and paste the bottom half of the image. Hit Command + X to copy and cut, then hit Command + V to paste the selection on a new layer.
You’ll see the image bottom you just pasted on a new layer on top of the original image layer.
Step 4: Move the top layer to overlap the original image at the bottom of the photo. You’ll see an overlapping line.
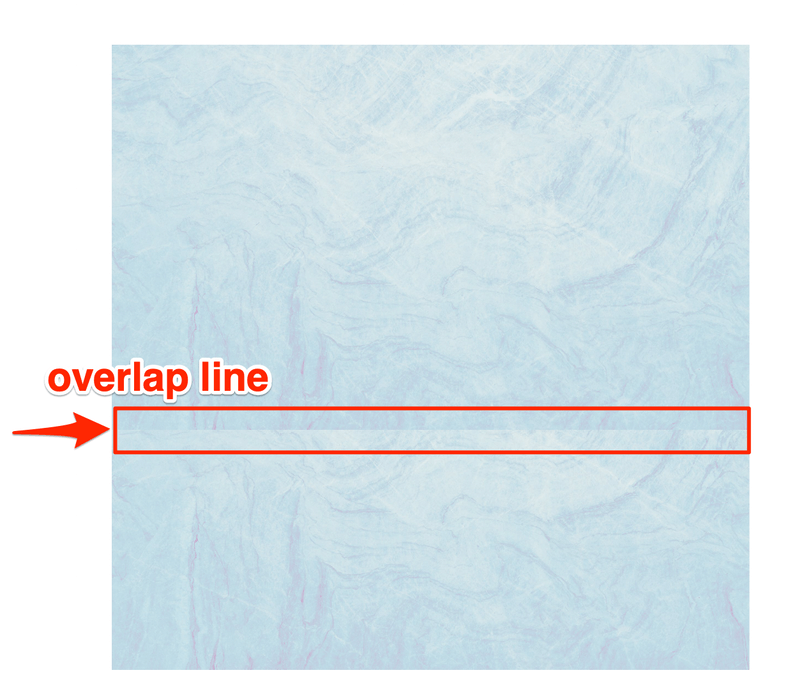
Step 5: Use the Eraser Tool to smooth the overlap line until you’re happy with the result.

Tips: Choose a soft brush and lower the eraser opacity for a smoother result.

Step 6: Merge the two layers.
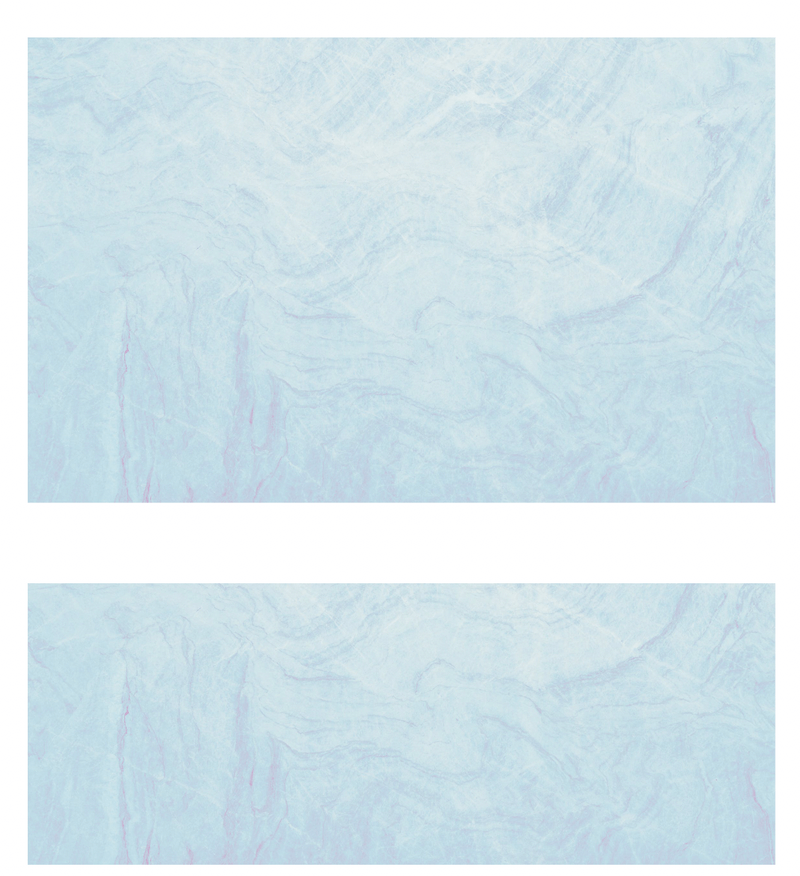
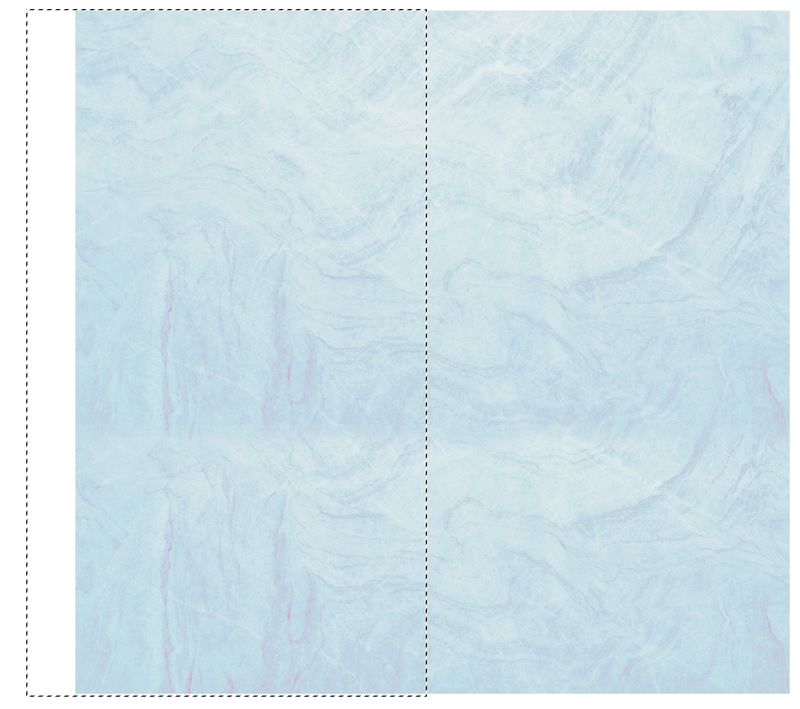
Now repeat the steps. Use the Rectangle Marquee Tool to select the left half of the image, copy, cut, and paste on the left side overlapping with the original image, and smooth the overlapping line.
Satisfied? Awesome! Last step: Merge the layers.
You’ve made a repeating pattern and you can save it in Photoshop for future use. Go to Edit > Define Pattern, name it, and there you go!
How to Use the Customized Pattern in Photoshop (Quick Guide)
So how does it work? Wanna see what the new pattern looks like? You can apply patterns to objects or canvas backgrounds in just a couple of steps.
Step 1: Create a new document in Photoshop.
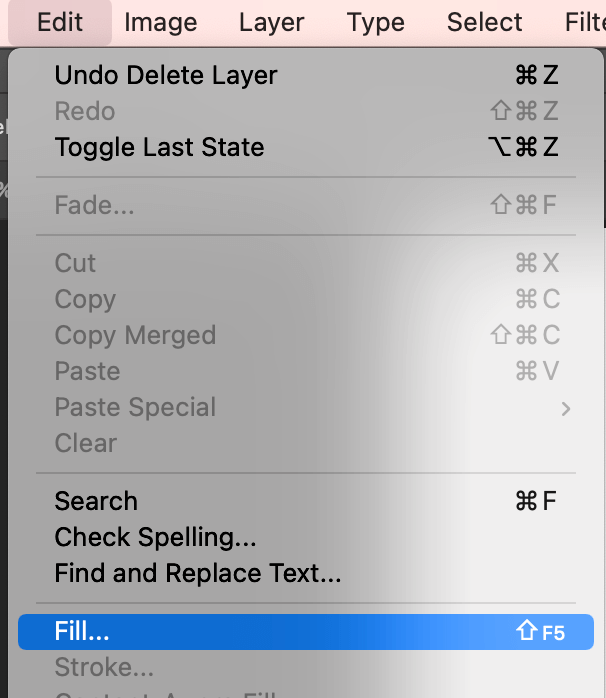
Step 2: Go to the overhead menu Edit > Fill.
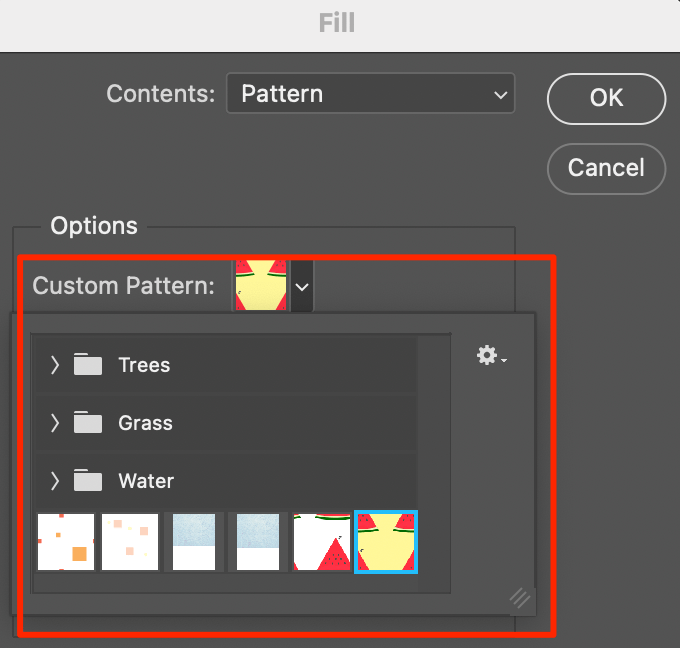
Change the Contents to Pattern and select your new custom pattern.
Your canvas background should look something like this.
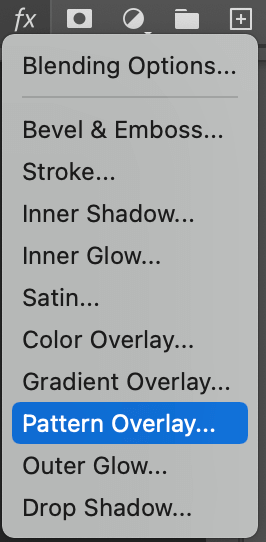
If you’re filling an object with the pattern, select the object, and add Pattern Overlay.
Conclusion
Now you don’t have to worry anymore about paying for a nice stock pattern, or the free ones are not in high resolution. You can make your unique pattern by following the steps above. Can’t wait to see what you’ll make 😉
About June
Aaron
I love your tutorials! I’m making a game and this gives me TONS of ideas!
KENNETH ASARE
I LIKE YOUR TUTORIALS,INFACT THE WAY YOU TEACH IS EASY TO GET ALONG. I HAVE BEEN LEARNING USING YOUTUBE VIDEOS.MOST OF YOUR WAYS ARE FAMILIAR AND ARE EASY TO UNDERSTAND.I JUST FOUND YOUR SITE TODAY.I WILL START LEARNING MORE FROM YOUR SITE
THANK YOU VERY MUCH!