Removing flyaways in Adobe Photoshop is simple! All you will need is your computer, image file, and most importantly, Adobe Photoshop downloaded onto your computer and updated to the latest version.
I am a Graphic Designer and Adobe certified in Photoshop. I use Adobe Photoshop consistently. With more than five years of experience working with the program, I have edited many unique images in my line of work.
In this article, I will be explaining step-by-step instructions to show you two ways to get rid of flyaway hair from your photograph in Adobe Photoshop so that you can perfect your images to the best of your liking.
Table of Contents
Method 1: Feathering
To prepare, you will want to make sure Adobe Photoshop is updated to the latest version to prevent any issues that could arise. To check if your Photoshop is up to date, you will click on the “Photoshop” text in the top left corner along the menu, then click “About Photoshop”.
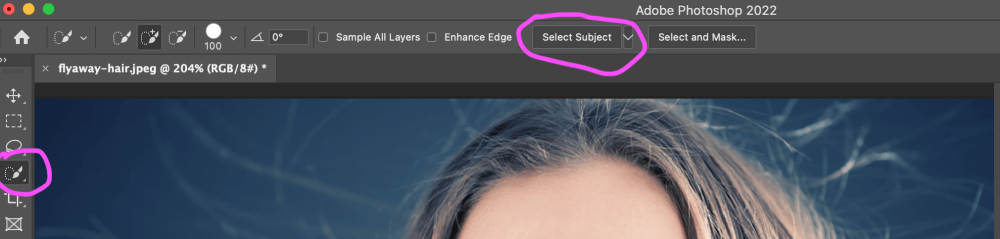
Step 1: Upload your photo to Photoshop, by clicking “Open” on the main menu. Now that the photo is open, click on the Lasso tool on the left side of your screen.
Once you do that, a button will pop up at the top that says, Select Subject. Click the button.
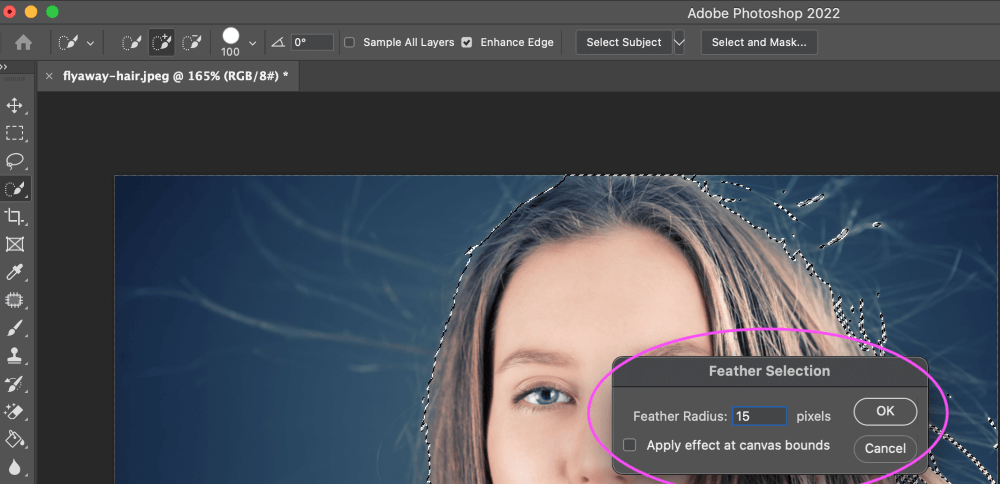
Step 2: Right-click inside your selection. You’ll see a pop-up window appear. Choose Feather. Rather than having a razor-sharp edge surrounding the hair, you will find a smoother and more natural-looking transition by feathering your selection.
After choosing and setting the feather, click once more and choose Choose Inverse.
Step 3: Select the clone tool on the left and use the alt key to sample areas around the flyaways. Use the Clone Stamp Tool to remove the flyaways. After selecting your subject, click Ctrl + D (Command + D on Mac) to deselect it.
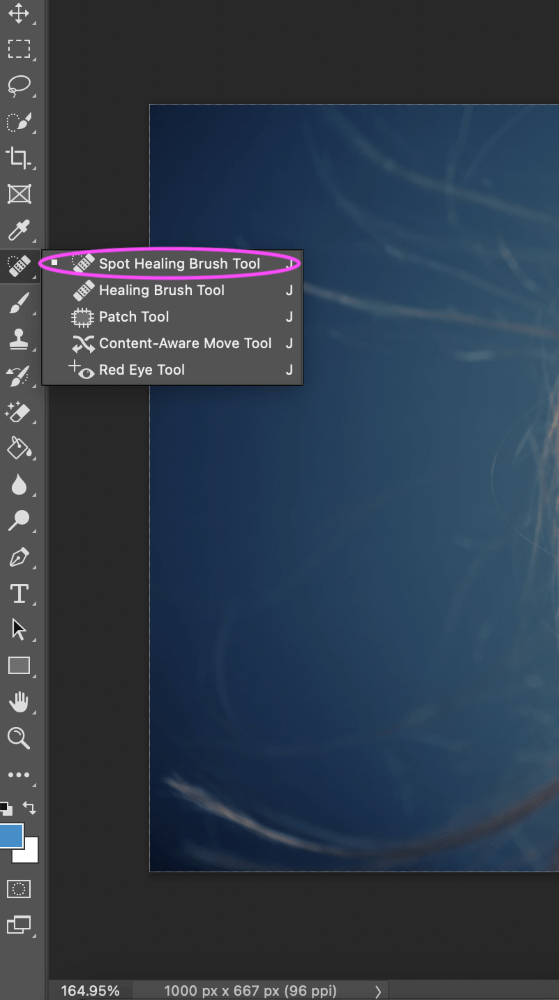
Method 2: Spot Healing Brush Tool
You can use the Spot Healing Brush Tool to remove unwanted areas on your image. It kinda works like an eraser, so basically, all you need to do is brush on the unwanted areas.
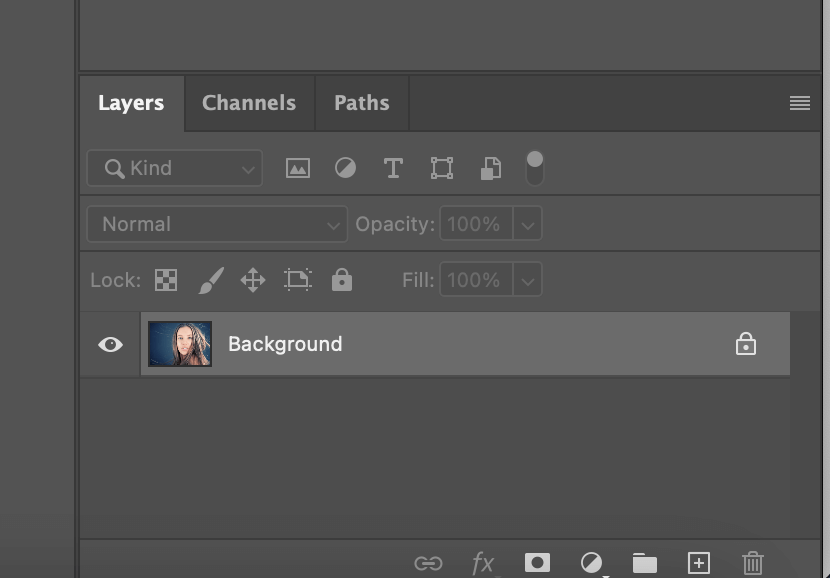
Step 1: Create a copy of the layer. Simply select the Background layer and use the keyboard shortcut Ctrl + J (Command + J on Mac).
Step 2: Select the Spot Healing Brush tool from the toolbar or you can activate it by hitting the J key.
The brush’s settings can be modified at the workspace’s top. In some instances, 100% opacity makes the image look great. If you don’t like how the hair is merged, you can adjust the opacity.
Step 3: Go over the stray hairs. Make sure you’re changing the Copy layer and not the Background layer.
The hair outlines will now be perfected to look flat and sleek. Process the hair in the image by zooming in. If necessary, don’t be afraid to make the brush harder. And just like that! The flyaway hairs are removed from your image.
That’s it!
I hope that made those bothersome flyaway hairs disappear! Don’t be disheartened if a particular technique doesn’t work well for you; keep in mind that not all Photoshop tips and tricks will work well for every shot, which is why it is important to know more than one method.
About Aly Walters