Installing Photoshop used to be something of a chore back in the early days when we had to rely on optical media like DVDs and CD-ROMs (remember them?).
Ever since the launch of the Creative Cloud platform, Adobe has relied heavily on its online content distribution network to provide fast app downloads for its subscribers.
This has made things a bit easier overall, but it’s a big change for many users. If you’re not sure how to get your new Photoshop subscription ready to use on your computer, I’ve got you covered with info on how to download and install Photoshop for both Windows PCs and macOS.
The process is pretty simple, even if it takes a while, and it’s almost identical on both Windows and Mac computers thanks to the Creative Cloud app.
The Creative Cloud app acts as a sort of ‘hub’ for managing all your Adobe subscription content including programs like Photoshop, fonts, stock images, and everything in between.
Table of Contents
Step 1: Downloading Photoshop
Note: If you already have the Creative Cloud app installed, you can skip to Step 2.
Adobe has created a specialized “onboarding” process for new Photoshop users, but the entire purpose is to get the Creative Cloud app onto your computer. The Creative Cloud app is then used to manage all aspects of your Adobe Creative Cloud subscription, including the installation of Photoshop.
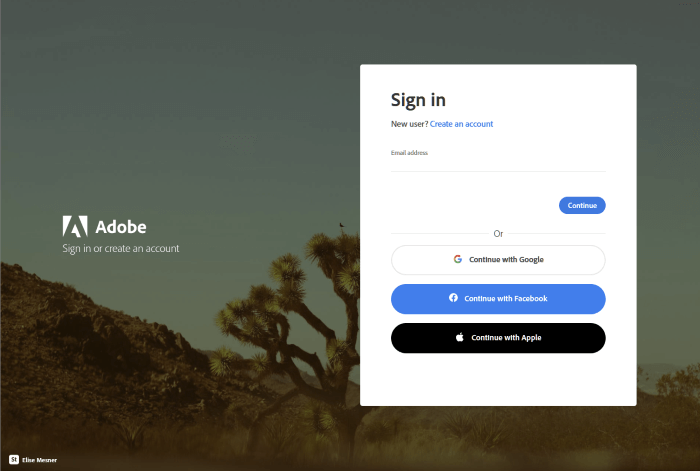
To get started, visit https://creativecloud.adobe.com/cc/. Sign in to your Adobe account, and you’ll be taken to your Creative Cloud dashboard.
This may look a bit different depending on the exact plan that you are subscribed to, but you should see something similar to the screenshot below in your web browser.
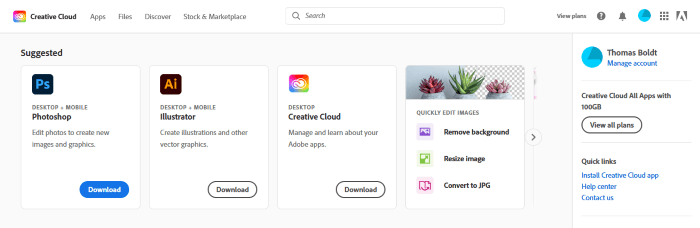
The first row of icons in your dashboard shows off some suggested actions, which should include Photoshop. Click the Download button to get started.
Note: If for some reason you don’t see Photoshop listed in the suggested section, you can click the Apps link in the menu bar, and then find the entry for Photoshop.

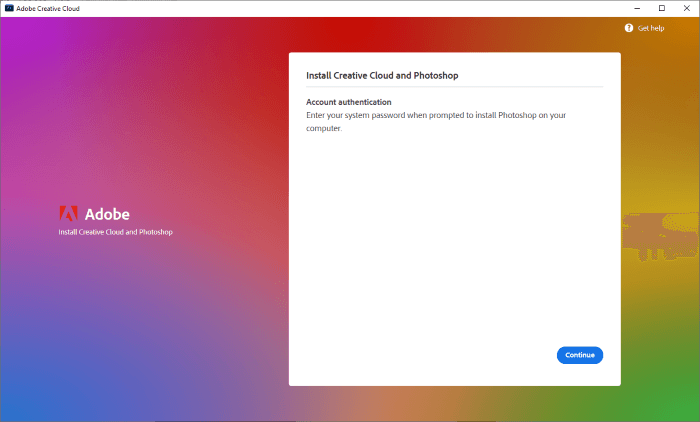
Once the download is complete, locate the installer file and run it. Follow the simple on-screen directions provided and it will download and install the latest version of the Creative Cloud app. You may need to grant administrator access on Windows or enter your password on macOS.
During the process, Adobe uses the chance to grab a little bit of free data about you for their customer database, although you can choose to click Skip question rather than provide an answer.
You can also simply walk away and ignore it since the installation process has already started and doesn’t actually require an answer to continue.
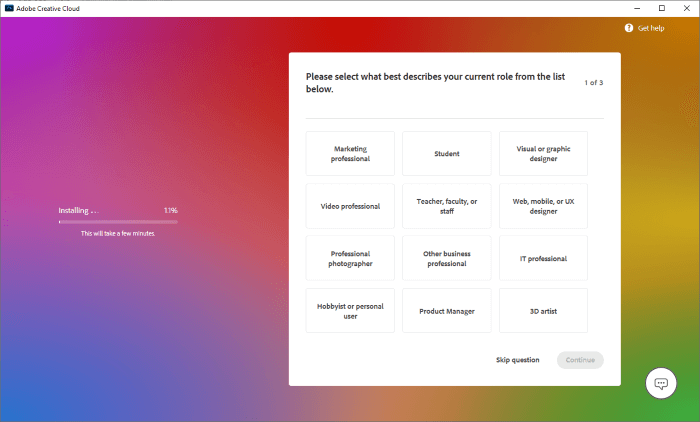
If you click Skip question repeatedly, you’ll see that there isn’t actually any advantage to giving Adobe information about you for free – but you can, if you want to.
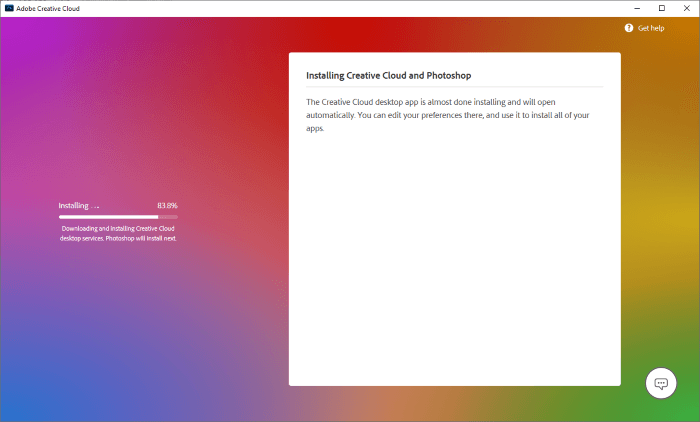
This process installs the Creative Cloud desktop app on your computer, which will then be used to install Photoshop automatically (as you can see if you take a close look at the fine print in the installer.
Once the Creative Cloud desktop app is installed successfully, it will load automatically. The app looks almost identical on Windows and macOS, which adds a nice level of consistency to the user experience.
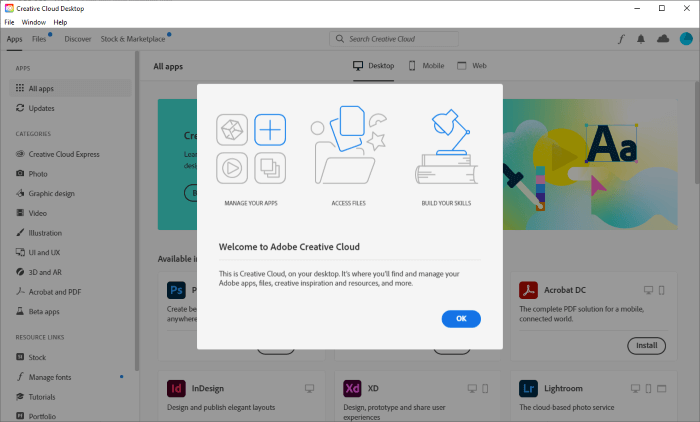
The app also features a quick tour to get you acquainted with the new app, although you don’t need to learn every feature right away.
Step 2: Photoshop Install
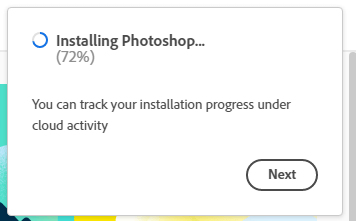
If you’ve been following this guide from the beginning, Photoshop will start automatically installing itself in the background as part of Adobe’s Photoshop-focused onboarding process.
If you downloaded the Creative Cloud app by itself instead of using the specialized Photoshop installation process, don’t worry! Photoshop won’t install itself automatically, but it’s extremely easy to do.
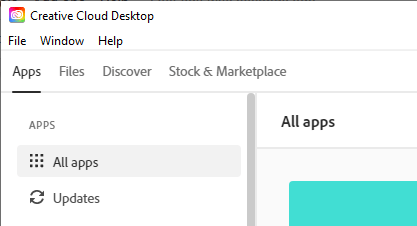
Click the All apps link on the left pane of the Creative Cloud app to see all the apps that are available with your current subscription plan.

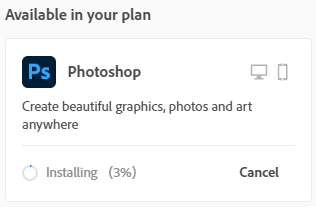
Find the entry for Photoshop, and click the Install button. The Creative Cloud app will handle everything else for you automatically.
That’s all there is to it – no swapping disks or worrying about scratched DVDs, just one click, and you’re done.
Step 3: Start Photoshopping!
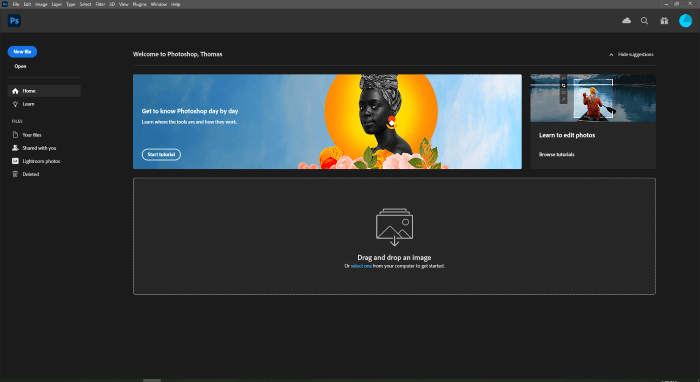
Once Photoshop is installed, it should launch automatically. After it loads, it may require you to log in to your Adobe account, although it shares login credentials with your web browser so this may happen automatically in the background if you’re still logged in to your Adobe account there.
Creative Cloud subscriptions allow you to have two devices using Photoshop at once, but you can easily manage this during the launch process if necessary.
If you’ve already installed Photoshop on other devices, you may have to deauthorize one of those devices in order to continue.
Congratulations, you’ve successfully downloaded and installed Photoshop on your computer!
PhotoshopBuzz has a huge range of handy tutorials for some common editing projects, and Photoshop also has a nice set of in-app tutorials to help new users learn what kind of edits are possible.
Happy Photoshopping!
About Thomas Boldt
Mahbub
Nice