When different wavelengths of light are refracted at different angles as they pass through a lens element, chromatic aberration also referred to as color fringing occurs.
The Lens Correction filter in Photoshop can be used to eliminate chromatic aberration, but checking the Remove Chromatic Aberration checkbox in either the Camera Raw or Lightroom Lens Correction panels is the simplest approach to get rid of fringing.
If you want to carefully edit your photo or eliminate obstinate instances of color fringing using a non-destructive technique, Photoshop comes in handy.
My name is Aly, I have over five years of Photoshop experience and am Adobe Photoshop certified.
In this tutorial, I’ll show you how you can remove chromatic aberration in Adobe Photoshop.
How to Remove Chromatic Aberration in Photoshop
I would suggest duplicating your original image layer in case you need to go back and make changes. Right-click with your mouse on top of the Background layer, and choose Duplicate Background.
Now follow the steps below to remove chromatic aberration in Photoshop.
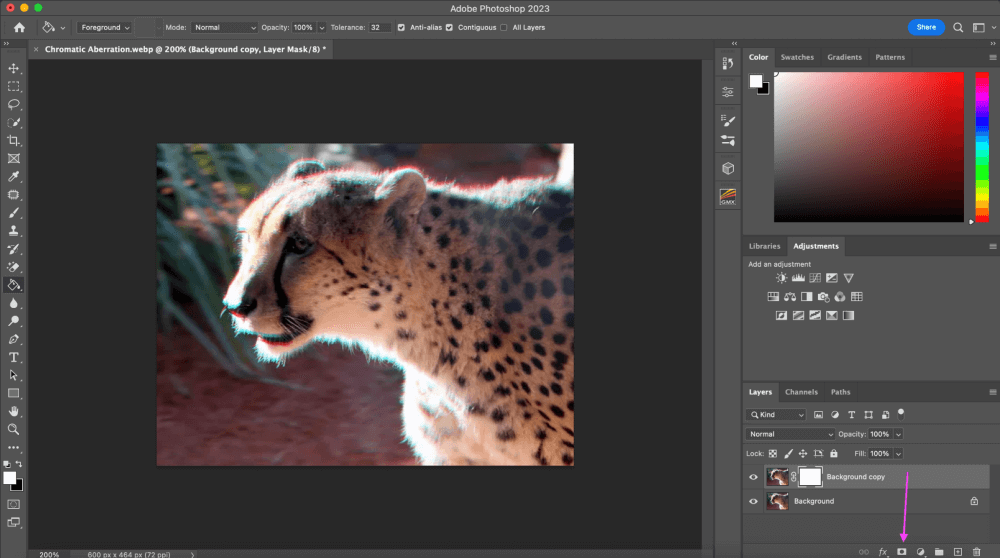
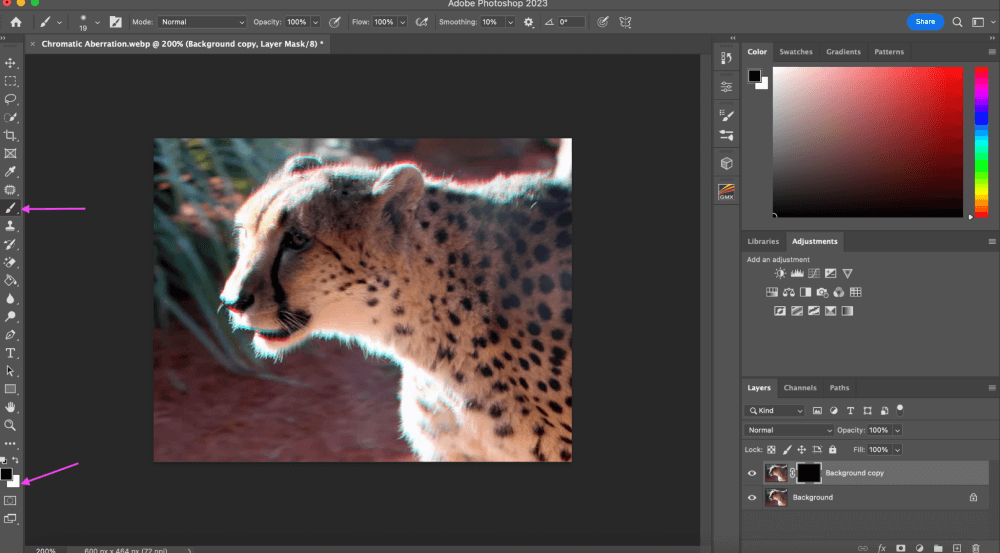
Step 1: Open your image in Photoshop and add a layer mask on top of that. You can click where the arrow is pointing to add a layer mask.
Having a layer mask associated with your duplicate makes it simpler to correct errors. The necessary modifications can also be “brushed on.”
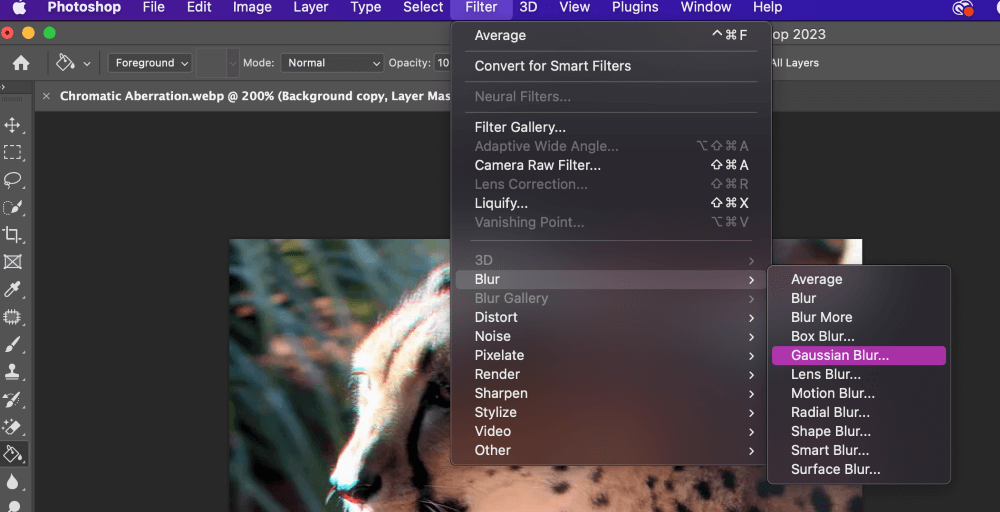
Step 2: Add blur to the photo. This seems a little strange but this is a part of the editing process. Go up to Filter > Blur > Gaussian Blur.
To make the chromatic aberration appear to be gone, you must change the blur’s radius. I usually stay between nine and twelve.
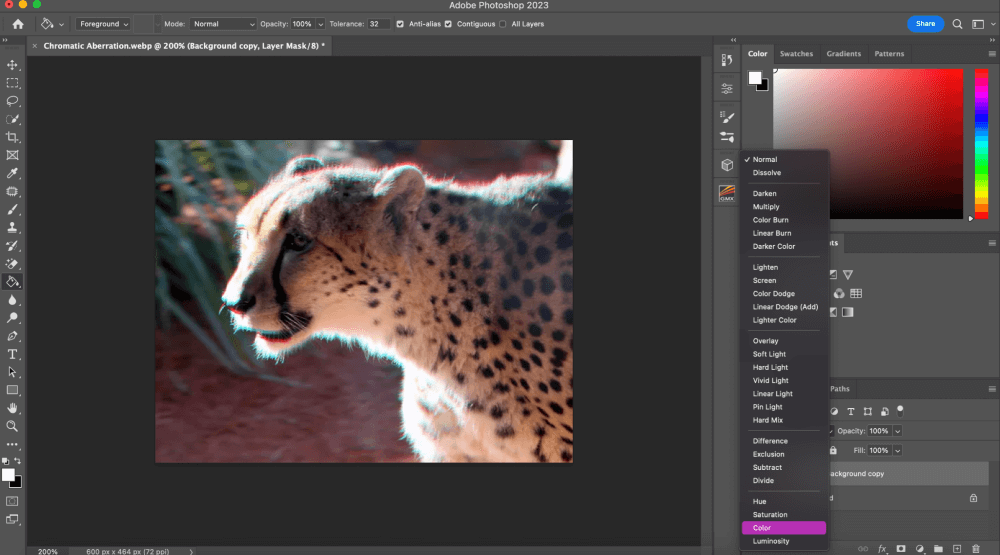
Step 3: Your duplicate layer’s blending mode should be changed from Normal to Color. This will help you desaturate the layer.
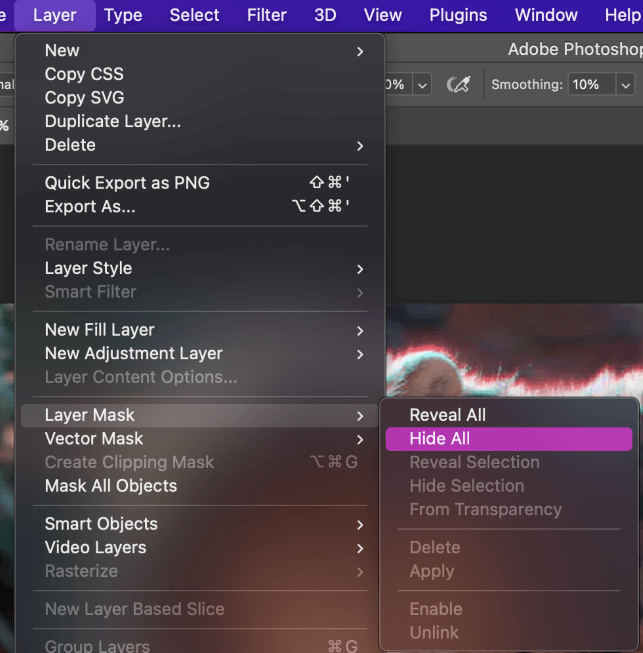
Step 4: Apply a mask to your duplicate background Layer at this point to prevent the elimination of chromatic aberration from having an impact on the entire image. To do this, click Layer, choose Layer Mask, and then click Hide All. This will conceal the layer you’ve chosen.
Step 5: Choose a soft-edged brush from the tools menu and set the foreground color to white.
Step 6: In order to paint over the areas where you see color fringing, you must first select the opacity of your brush in accordance with the degree of chromatic aberration in your image.
You can reverse your actions at a later time by changing the foreground color to black. If it helps you to envision, you can also paint over the sections you don’t want to be affected by the modifications.
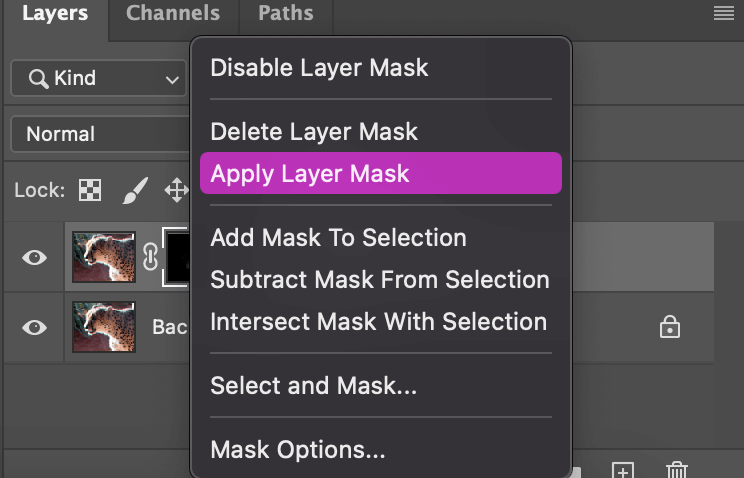
Once you are done, right-click on the layer mask and click on Apply Mask.
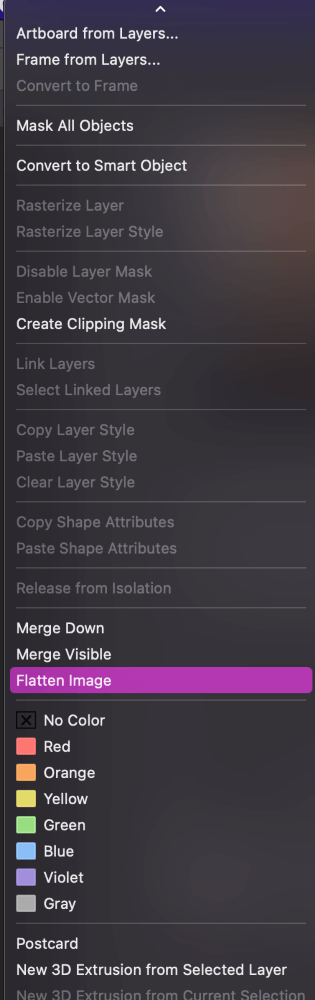
Step 7: Right-click the background layer and select Flatten Image from the menu that appears. You’ll see that this eliminates chromatic aberration in your image. Instead of the center, chromatic aberration is frequently more obvious around the corners of the picture.
Of course, there may still be glaring Chromatic Aberration at the frame’s boundaries, but you do have the choice to crop it out. If you need to keep every pixel in your image, it is not ideal (e.g., for large prints),
Final Thoughts
Now you know what chromatic aberration is and how to prevent it. Chromatic aberration is produced differently by different camera lenses.
More costly lenses typically have a specific coating to prevent it. Fortunately, chromatic aberration can be easily removed in Photoshop when using a low-cost lens.
Any questions about removing Chromatic Aberration in Photoshop? Leave a comment and let me know.
About Aly Walters