
Whether you’re trying to create a fancy depth-of-field effect, hide unwanted parts of your image, or just get creative, blurring an image in Photoshop is easy to do.
Photoshop offers a surprising number of different blur filters, but most of them are extremely specific and not actually very useful. Instead of boring you with all of them, I’ve cut through the noise (digital image joke, I’m hilarious) and selected some of the best ways to blur an image in Photoshop.
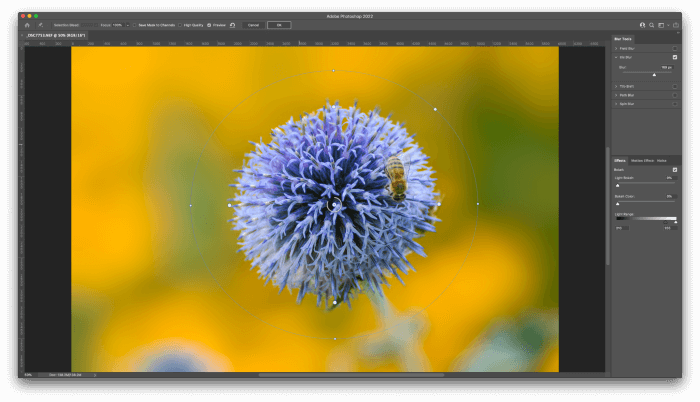
Table of Contents
The Quick Way to Blur an Image in Photoshop
If you just want to blur your entire image, here’s the fastest way to do it:
- Step 1: Open your image in Photoshop.
- Step 2: Open the Filter menu, select the Blur submenu, and click Gaussian Blur.
- Step 3: Adjust the amount of image blur with the Radius setting and click OK.
Congratulations – you’ve just blurred an image in Photoshop!
Of course, there’s a lot more to learn about burring images in Photoshop, so if you want to learn how to apply blurs selectively and explore some of the fancy new blur filters, read on!
How to Blur Images Selectively in Photoshop
If you only want to blur a part of your image, there are a few different ways that you can do it. Here are some of the most popular and useful methods!
Blurring A Selection
This technique is best for situations when you want to blur just a small part of your image. It’s a bit of a quick-and-dirty technique, but it’s useful for quickly blurring out text or faces that you don’t want visible in your image.
It works almost exactly the same as the quick way described at the start of this article, but this time, you’ll start by making a selection. You can use any of the selection tools that you want: the rectangular marquee tool works well on text, and the elliptical marquee tool makes it easy to select faces for blurring.
If you want to make the edges of the blur effect look smoother for a less jarring effect, adjust the Feather setting in the tool options panel before you make your selection. Feathering softens the edges of a selection so that any effects you apply fade in gradually on a gradient. The right setting will depend on the resolution of your image, so you may have to experiment a bit.
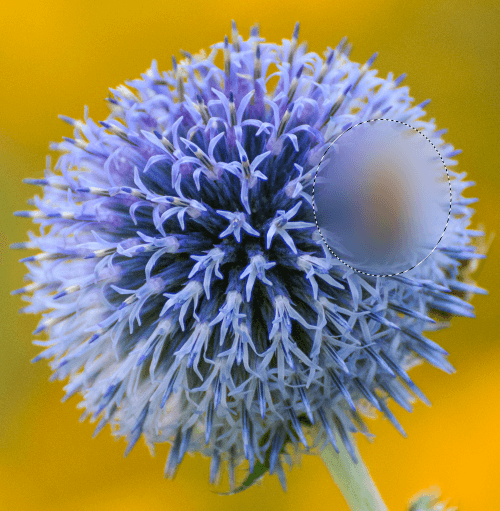
Once you’re happy with your selection, simply apply the Gaussian Blur filter with your desired settings and you’re done!
Note: if there are serious privacy concerns about your image, it’s usually a better idea to completely block out sensitive content instead of using a blur filter. Filters just use math, and their effects can sometimes be ‘undone’ by other filters.
Blurring To Create Selective Focus
If you want to blur everything *except* a specific area, you could select the area you want to stay in focus, then invert your selection, and apply your blur.
But if you want to get really fancy, this is a great chance to explore Photoshop’s Blur Gallery tools, which often create a better result than a simple Gaussian blur.
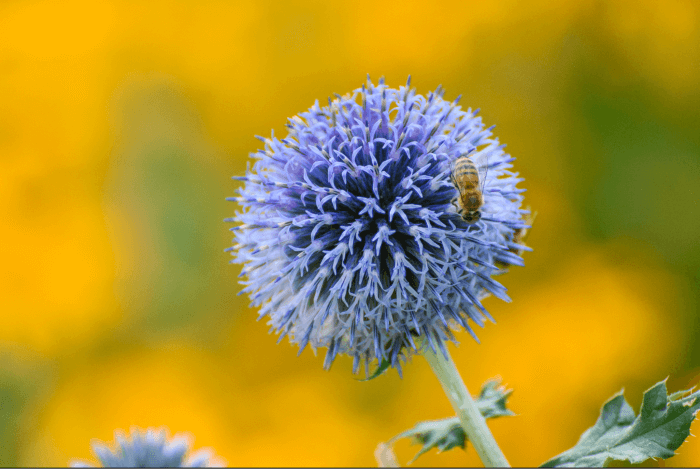
This photo of a honey bee on a flower has a nice natural blur in the background, but the stem of the flower and some leaves are a bit too distracting. I could crop them out, but I could also just blur them out of the way.
Open the Filters menu, select the Blur Gallery submenu, and then click Iris Blur. Photoshop will open the Blur Gallery, which allows you to apply any or all of the different fancy new blurs. In this case, we’ll just stick with the Iris blur.
The Blur Gallery filters allow you to preview the blur effect and control where it’s applied visually, which can save you a lot of tedious Undo commands. Simply click and drag to set the center point, then set the outer bounds of your sharp area. The inner anchor points allow you to control the midpoint of the gradient blur.
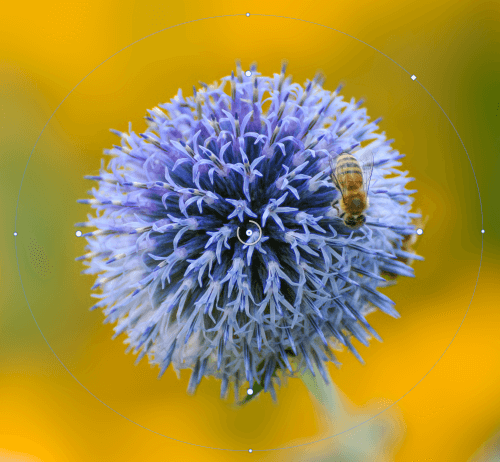
As you can see in the image above, you’ll get a much more “authentic” blur using the Blur Gallery filters than you get by using a simple Gaussian blur. That may not always be what you want, but if you’re trying to recreate in-camera effects, they’re your best choice.
Another appealing part of using the Blur Gallery filters is that you can also create a bokeh effect that mimics what you’ll get from some high-quality DSLR lenses, as well as adding noise/grain back into the image so that your fake blur really looks like it was produced in-camera.
The Ultimate Method For Blurring Images In Photoshop
This method takes the most amount of work, but it’s also the most flexible. Instead of using a fancy filter to select your blur area, we’ll use a simple Gaussian Blur and layer masks to control where it’s applied.
To get started, duplicate the layer you want to blur by right-clicking it in the Layers panel and selecting Duplicate Layer. You can also use the same command in the Layer menu, but there’s no default keyboard shortcut. Remember to name the layer something descriptive!
With the duplicated layer selected, apply the Gaussian Blur filter at whatever setting works for your creative vision.
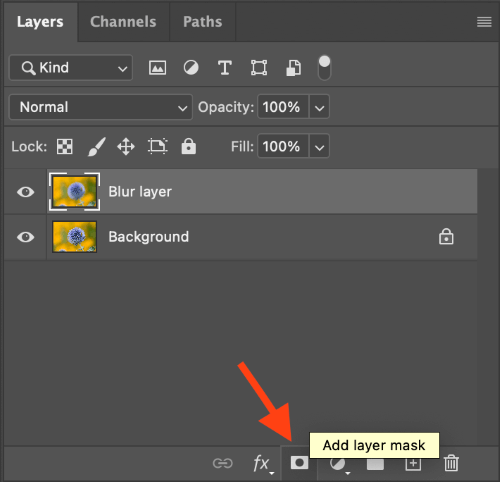
Next, add a layer mask to the duplicate layer using the Add layer mask button at the bottom of the Layers panel (see below).
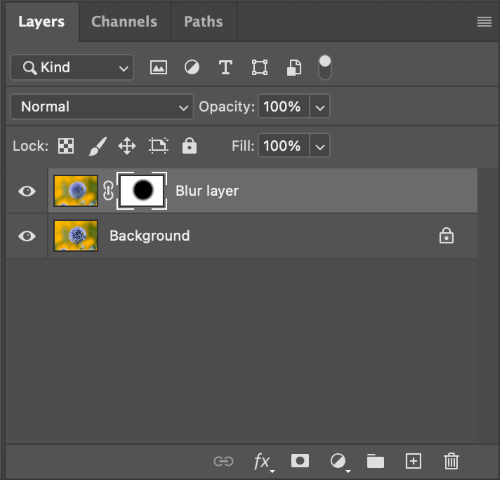
Switch to the Brush tool using the keyboard shortcut B, and make sure that your foreground color is set to pure black. Select the layer mask in the Layers panel, and then paint it black onto the mask. Anywhere that you paint black on the layer mask will be hidden, allowing the unblurred layer below to show through.
This layer mask can be as complicated as you’re willing to make it. This makes it possible to even recreate the effect of a shallow depth of field without using a fancy lens, although you’ll probably have to spend quite a while outlining your subject!
A Final Word
Those are the most common ways to blur a photo in Photoshop, but they’re far from the only methods available. Photoshop has a dedicated Blur brush and a whopping 16 different blur filters, but most of them are only useful for extremely specific situations. If you’ve got a great method for blurring images that I didn’t cover, feel free to let me know in the comments!
About Thomas Boldt