
Mockups are used by designers, eCommerce store owners, and more to give customers a realistic view of their product – without having to order and photograph samples of everything.
Do you want to sell a design online but don’t have the time or resources to photograph the product? You have to create a realistic mockup.
But how do you create a realistic-looking mockup? You can’t always just slap a design on top of the product. Without the proper shadows and textures, your design will look fake.
Hey there, I’m Cara! And, once again, Photoshop has the answer to this problem! There are all sorts of free and paid mockup templates you can download to use in Photoshop. I assure you they are far easier to use than you might think.
Come with me and I’ll show you what I mean! There are four major steps to using a mockup template to create a realistic mockup in Photoshop.
Table of Contents
Step 1: Download Your Template and Open it in Photoshop
Ideality, it would be easier if you could find free mockup templates for Photoshop. If not, There are many image websites where you can find and download free images. For this example, I went to freepik.com to download the following image.
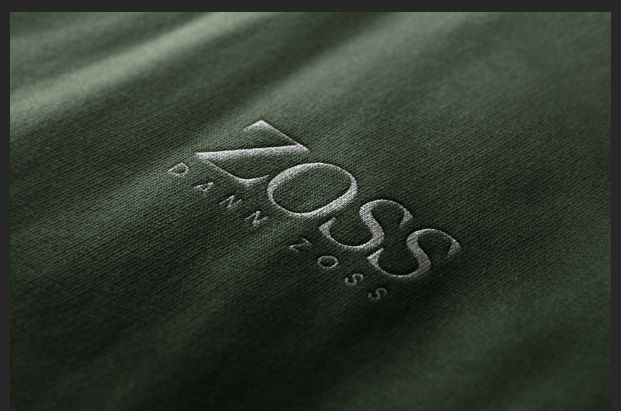
As you can see here, the logo has been embedded into the fabric and there are shadows that affect the design. If you just put a digital file on top of this, it would look super fake. But the mockup template has been specially created to offer the realism you’re looking for.
Step 2: Open the Design Layer
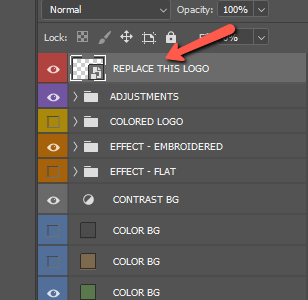
Over in the Layers panel, you should see a few layers. Find the one that is for your design. It might say “your design here” or “placeholder” or something else that indicates this is the layer to work with.
Mine says “replace this screen.” Another indication is that the layer thumbnail will have a little icon in the bottom right-hand corner that marks it as a smart object.

Double-click on the layer thumbnail to open it. This is a fairly complicated mockup with the lighting and the embroidery effects so this is what we see upon opening the smart object.
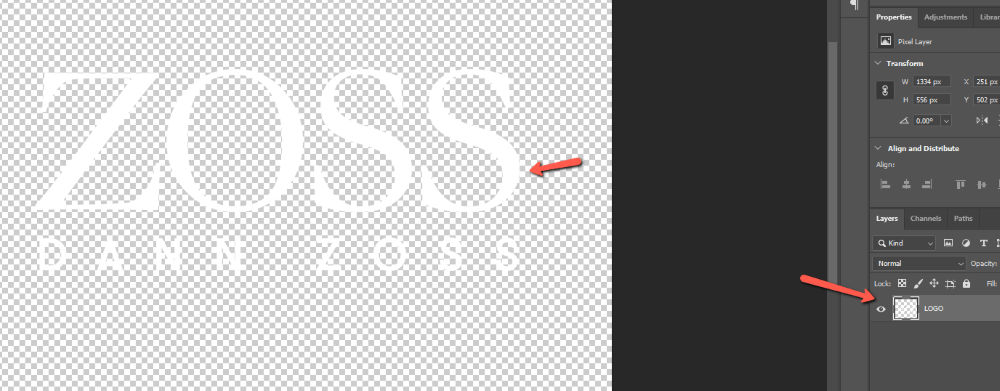
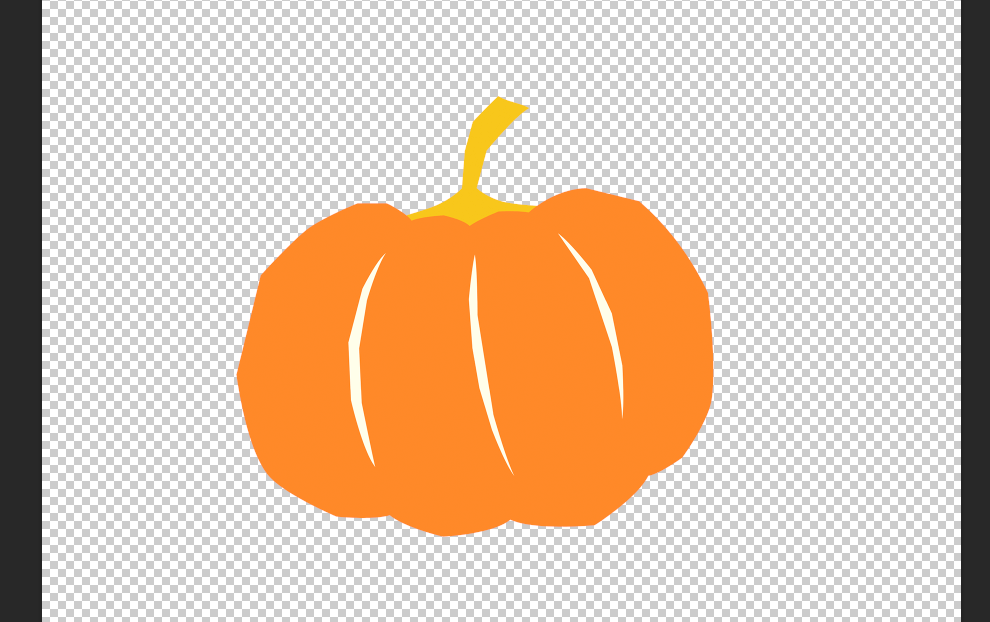
There’s another smart object with a bunch of layers adding effects. Double-click on this smart object as well. You should end up with only one layer in the Layers panel and a digital version of the design on a transparent background.
Step 3: Replace the Design
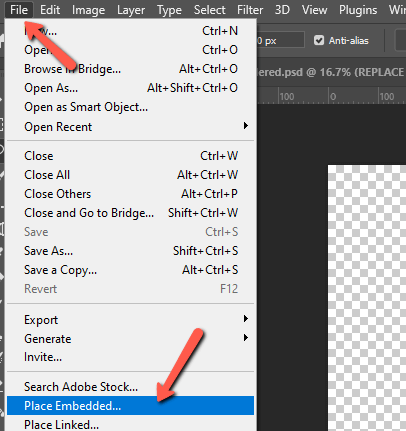
To add your design, go to File in the menu bar and choose Place Embedded.
Navigate to your design on your computer and press Place. Your design will appear over the existing logo with the Transform tool automatically active as noted by the blue box around it.
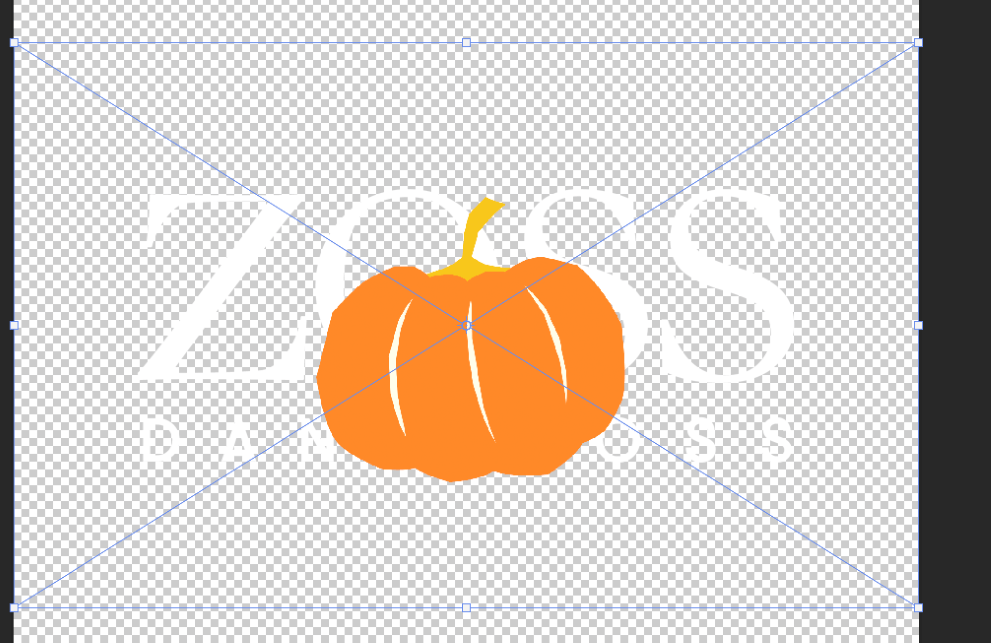
Grab the handles and drag to resize as needed.
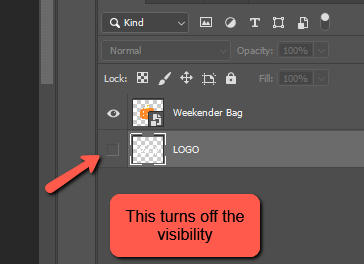
To get rid of the placeholder design, turn off the visibility or delete the original layer.
With the placeholder out of the way, double-check once more that the sizing is right.
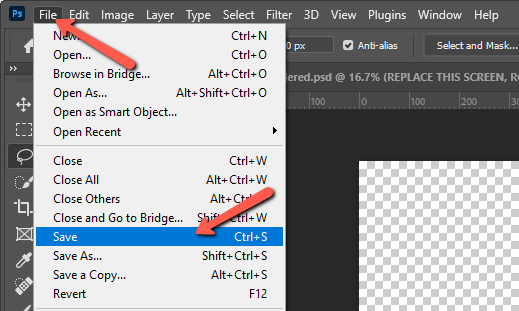
Now press Ctrl + S or Command + S to save the changes to the smart object. Or go to File and choose Save.
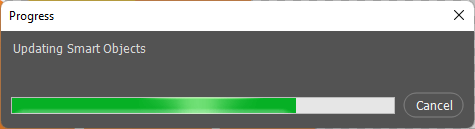
A box will pop up indicating the update.
Step 4: Final Adjustments
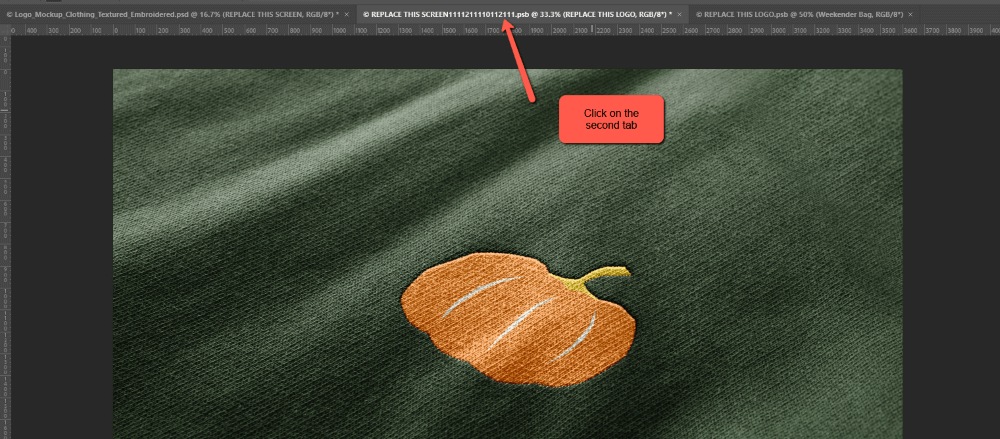
Now, you’ll notice that each time you open a smart object, Photoshop creates a new tab. Since we opened two smart objects for this mockup, you should have three tabs (the two smart objects plus the original file).
After saving the second smart object, click on the second tab to go back to the first smart object. You’ll see that your design has been impressively applied to the mockup.
In this case, the smart object has a bunch of different lighting and effects you can use with your design. Turn on and off the visibility of each layer to see how they affect the image.

Once you’re happy with the result, it’s time to save this smart object too. Press Ctrl + S or Command + S to save.
Go back to the original tab and voila! Your mockup is complete. Isn’t it amazing?
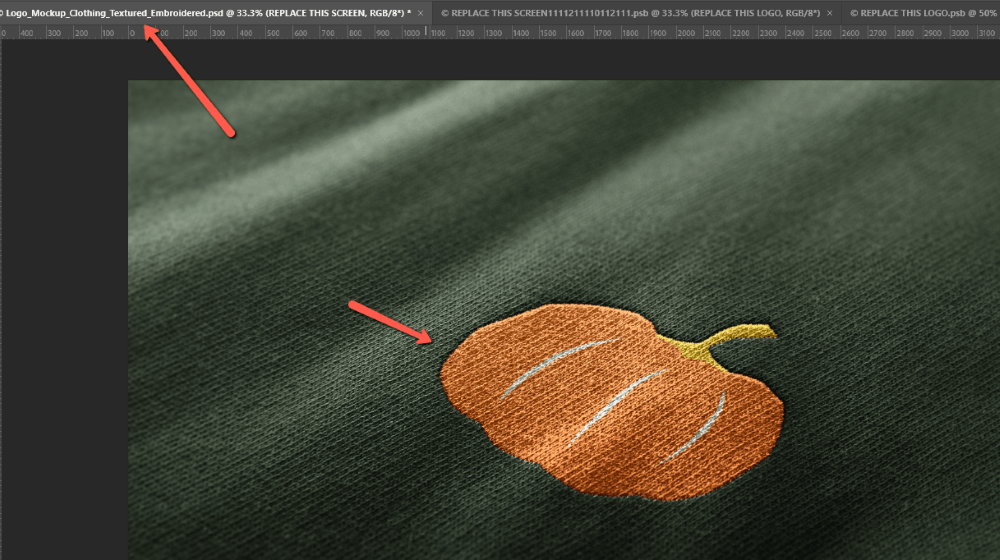
And that is how you give your customers a realistic view of how your design looks on a product without having to make and photograph every single one. Curious to learn more about working with smart objects? Check out this tutorial for editing a smart object!
About Cara Koch
Mulindwa Alex
Waaawooo good
Ezekiel
Nice tutorial, it is very educating