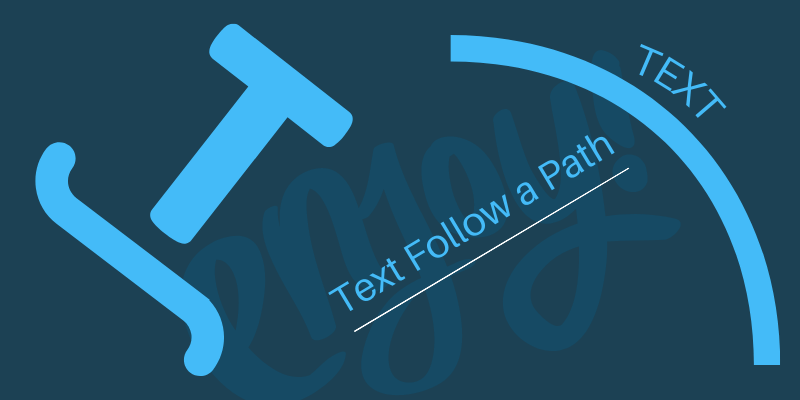
Have you ever wondered how they get those cool effects where text is written in an odd shape or follows a squiggly line? At first glance, you might have assumed the artist had to painstakingly place each letter. But let me tell you it is far easier than that.
Hello! I’m Cara and if you’ve been following my tutorials for a while here on Photoshop Buzz, you may have seen my tutorial on making text go in a circle where I showed you a technique for writing text along a path to make this happen.
Well, guess what? You can write text along all sorts of paths, not just circles. Let me show you a couple of examples.
Note: I use the Windows version of Photoshop. If you are using a Mac, the workspace will look slightly different from the screenshots displayed here.
Table of Contents
The Basic Technique
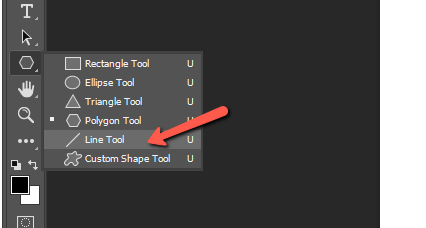
First let’s look at how to write text along a path, then look at the different ways we can use this technique. To get started, let’s choose the Line tool from the toolbar on the left.
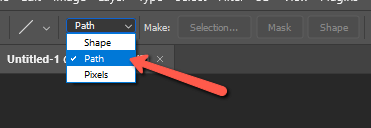
Go to the Mode dropdown menu in the Options bar and make sure it is set to Path.
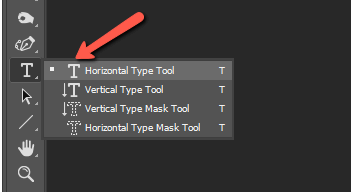
Click and drag to draw a line on your project. Don’t press Enter or anything or your path will disappear at this point. Instead, click on the Horizontal Type Tool in the toolbar.
Now when you hover your mouse over the path, your cursor should turn into a capital I with a squiggly line through it. Click at the point along the path where you want your text to begin.

If you keep typing past the end of the line, the text will wrap around and continue along the other side of the line.

Are you starting to see the possibilities?
The Freeform Pen Tool
Now, what if you wanted to run your text along a squiggly line? You can use the Freeform Pen tool to create it and type your text along the path you create.
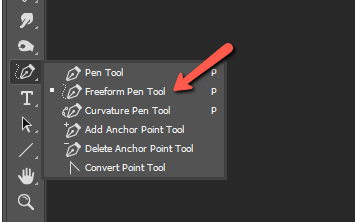
Grab the Freeform Pen Tool from the toolbar on the left.
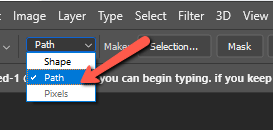
Make sure the Mode is set to Path in the Options bar.
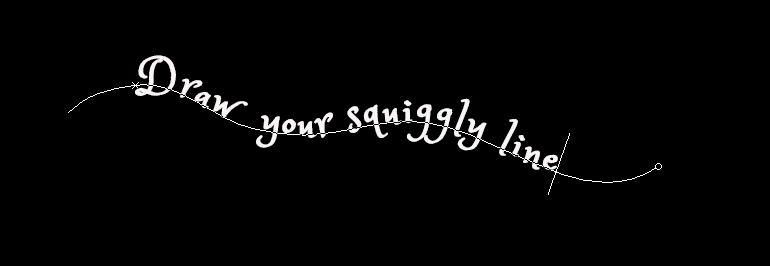
Then do the same thing. Draw your squiggly line as you please, then choose the Horizontal Type text tool. Hover over the line until the cursor changes to the I with the squiggly line and click and the point you would like your text to begin.
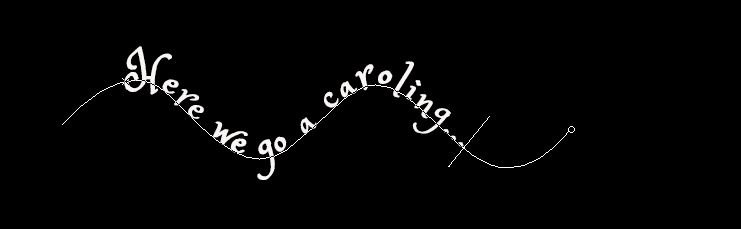
Isn’t that amazing?
And you can use this technique with any tool that creates a path. Use the Curvature Pen tool if you want more uniform curves.
And you can also use shapes!
The Shape Tools
Check this out, just as we did with the Line tool in the first part of this tutorial, any of the shape tools can be used as a path. So let’s try something crazy with a custom shape.
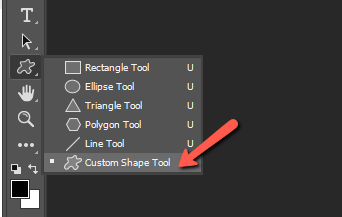
Grab the Custom Shape tool from the toolbar.
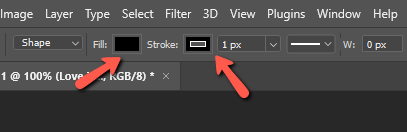
If you want your shape to be visible, start with the tool in the Shape mode. Then draw your shape. Choose your fill and stroke settings in the Options bar to make the shape the way you want it.
To learn more about working with shapes, check out the shapes section of our tutorials.
Then, switch to the Path mode and redraw the shape right over the top of the one before. Then you can switch to the Horizontal Type tool and pick your spot to begin typing.
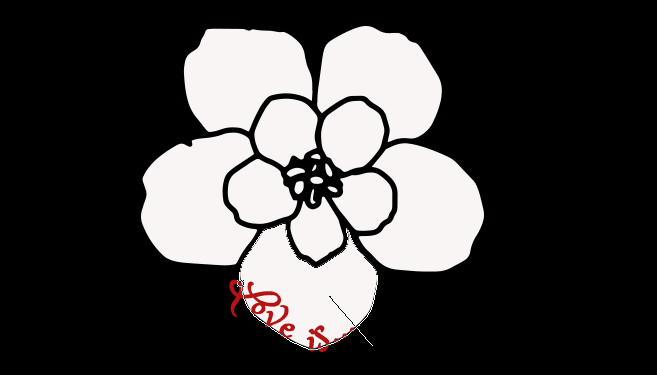
There are all sorts of fun things you can do with this. Experiment and let us know how it goes in the comments.
Curious about other text effects you can create in Photoshop? Check out how to emboss text and graphics here!
About Cara Koch