
Lines are one of the most basic graphic elements in any image, and Photoshop has a number of different methods for drawing lines. Choosing the right tool will depend on the image that you want to create, but you’ve got to know what your options are first before you can decide.
This post brings together 4 of the most common approaches to how to make a line in Photoshop.
Remember: Photoshop is supposed to be an image editor, not a sketchpad! Just because you can draw in Photoshop doesn’t mean that it’s the best tool available for the purpose. There are some great programs dedicated to drawing and sketching, and they’re worth a look.
Table of Contents
Method 1: Using the Line Tool
The simplest method for drawing a line in Photoshop is using the Line tool (*gasp*). This tool allows you to create a single straight-line between two points, but that’s it! No fancy bells and whistles. If you want to draw a more complex line, check out the next method!
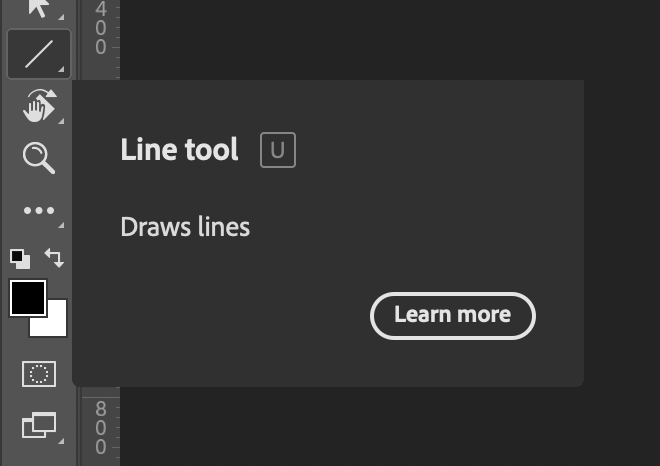
Switch to the Line tool using the toolbox or the keyboard shortcut U. Photoshop nests all of its shape tools in the same location and they all share the same keyboard, but you can cycle through the tools using the shortcut Shift + U.
Once you’ve got the Line tool selected, click and drag in the main document window to draw your line. The first point you click will become the starting point for your line, and as long as you keep holding down the left mouse button, you’ll see a placeholder representation of where your line will appear.
Release the left mouse button to finalize your line.
Because the Line tool creates a vector shape, you can adjust all of its parameters at any point.
Check the tool options panel at the top of the document window, and you’ll see the standard vector options for Fill color and Stroke color – but because this is a line that has no space for a fill, the Fill color setting doesn’t actually do anything.
You can also adjust the thickness of your line in pixels, points, or any other unit that Photoshop understands.
Method 2: The Pen Tool
If you want to draw a line that’s more complex than a basic two-point line segment, you’ll need to use the Pen tool. The Pen tool allows you to create multi-point line segments, and you can easily create complex curves while you’re at it.
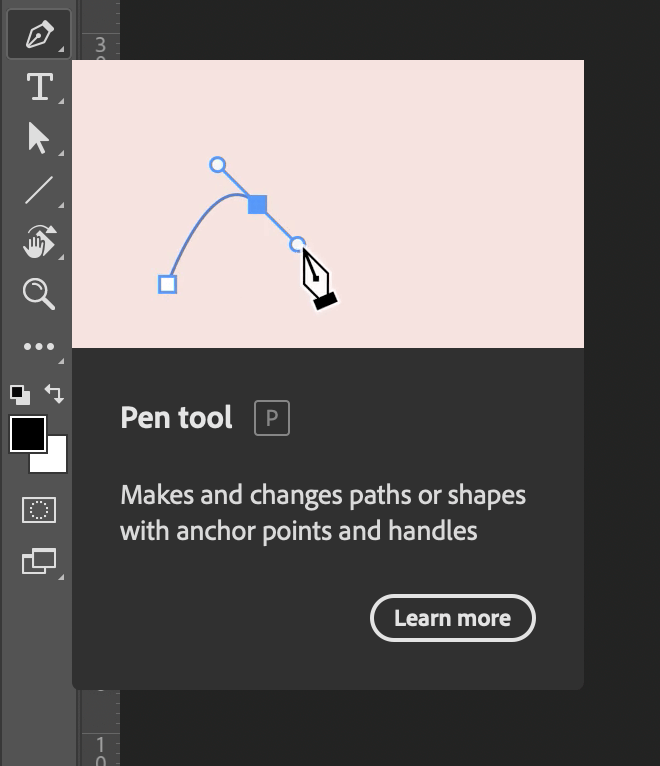
Switch to the Pen tool using the toolbox or the keyboard shortcut P. The Pen tool can create lines and shapes, so you’ll have to set the Fill color to No color in the color picker menu. No color is represented by a white square crossed by a red diagonal line.
Click anywhere in your main document window to set your first anchor point, which will be the beginning of your line. Click again in another spot to set the next anchor point, but if you want to create a curve instead of a straight line, click and drag your second point and the line preview will update.
If you can’t get exactly the right curve you want at first, don’t worry! The Pen tool also creates a vector shape, which means that every part of it can be edited later on, everything from its placement to the colors, line thickness, and more.
While using the Pen tool, hold down the Command key (use Ctrl on a PC) and you’ll see that the cursor switches temporarily to the white arrow that represents the Direct Selection tool.
This allows you to reposition your anchor points and adjust the handles that control the curves of your line.
If you’ve created a curved line but want to convert it into a sharp corner point, hold down the Option key (use the Alt key on a PC) and you’ll see the cursor switch temporarily into the Convert Point tool. Click your curved anchor point and it will be converted into a corner point.
Method 3: The Brush Tool
If you don’t want to create a vector-based line, you can also draw a line in Photoshop using the Brush tool. Obviously, you can freehand draw a line using the Brush tool, but there’s also a way to get a perfectly straight line with only one extra key.
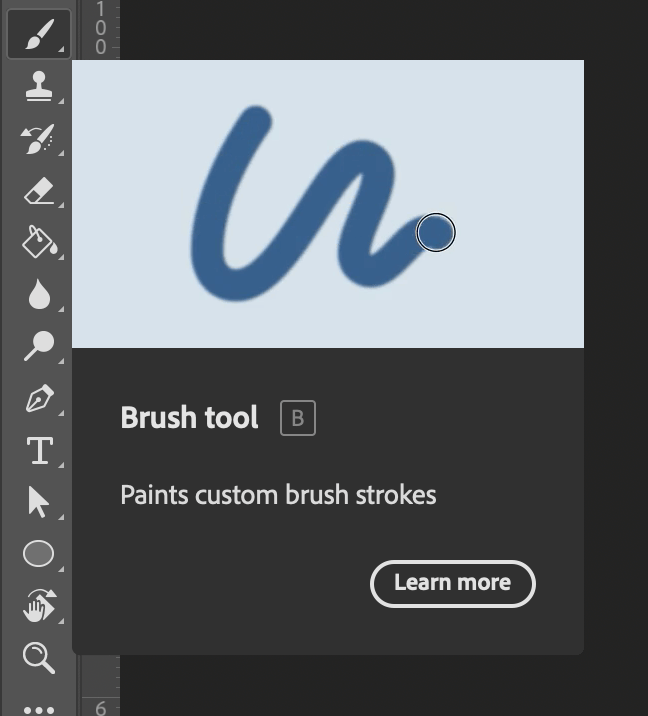
Switch to the Brush tool using the toolbox or the keyboard shortcut B. Click once anywhere in the main document window to set the first point on your line, then hold down the Shift key, and click again in another spot to set the endpoint of your line.
Photoshop will draw a perfectly straight line between the two spots you clicked!
This method works with any of Photoshop’s brush-based tools, allowing you to draw straight lines while clone stamping, spot healing, and so on.
This method doesn’t create a vector shape, so you’ll have to finalize all your size and color settings before you draw your line.
Method 4: Using the Marquee Tool
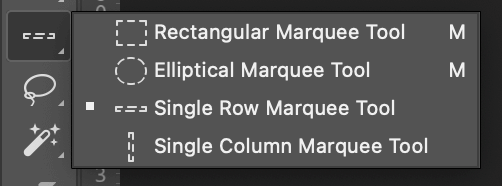
The Single Row and Single Column Marquee tools are two of the lesser-known tools in Photoshop, but they can be extremely useful for a lot of different situations.
It’s actually so rarely used that Photoshop doesn’t automatically assign it a keyboard shortcut, but you can find it nested in with the Rectangle Marquee tool.
Each tool selects a single row of pixels for the entire width or height of the document.
Once you’ve created your selection you can quickly fill it with your current foreground color by pressing Command + Delete (use Ctrl + Delete if you’re on a PC) or fill it with your current background color by pressing Option + Delete (use Alt + Delete on a PC).
If you want to create a line using a marquee selection that’s wider than a single pixel, you’ll have to use the Rectangle Marquee tool, but you can use the same fill shortcuts to actually draw your line.
A Final Word
Those are the four most common methods for drawing a line in Photoshop! Now that you know what your options are, it’s time to get back to your project and start drawing.
If you find yourself doing a lot of drawing in Photoshop, you might want to consider exploring a dedicated drawing and sketching app such as Autodesk Sketchbook.
Happy drawing!
About Thomas Boldt