Did you know that you can technically paint a masterpiece in Photoshop? Yep, without a single drop of paint, you can create breathtaking digital art.
Hey there! I’m Cara and while making a painting in Photoshop is different than painting on paper, I will admit that I’m just not that kind of artist. I won’t be whipping out a Van Gogh or anything even remotely recognizable anytime soon.
However, I can show you how to use the paint tools such as the Brush Tool and Pencil Tool in Photoshop. Once you understand how they work, you’ll understand how to paint in Photoshop. Then you can set to work creating your own amazing masterpiece painting!
Table of Contents
The Brush Tool
There are several tools that digital artists use in Photoshop to create digital paintings. The most obvious one is the Brush tool, so let’s start there. I’ll explain the brush options as well.
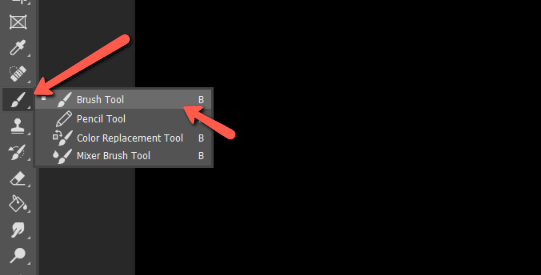
Choose the Brush tool from the toolbar on the left or press B on the keyboard.
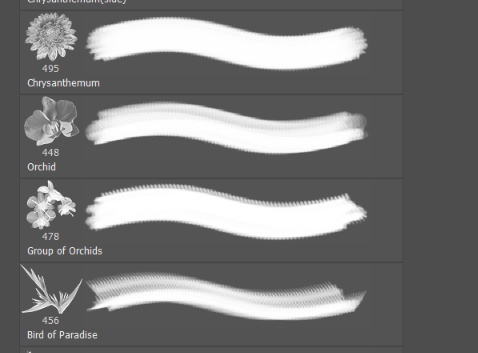
Painters use different brush sizes and brush strokes to create different effects. To simulate this in Photoshop, there are different brush tips you can use.
You can stick with the basic circle offered in Photoshop, download thousands of different shapes and objects that you can use as a brush tip, or create your own brush. Here is an example of some different brush tips that I’ve created in Photoshop.
Plus, you can control the way the color is applied through different settings. Let’s walk through them.
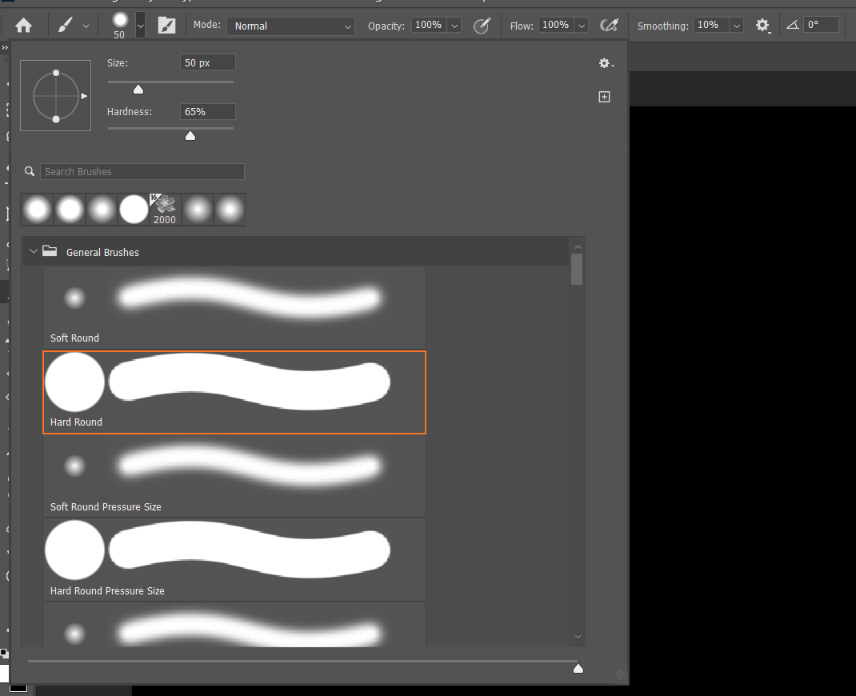
We’ll start with the basic brush size and hardness. Click the dropdown arrow next to the brush preset near the left end of the Options bar. You can choose one of Photoshop’s brush presets or select your own size and hardness.
Hardness
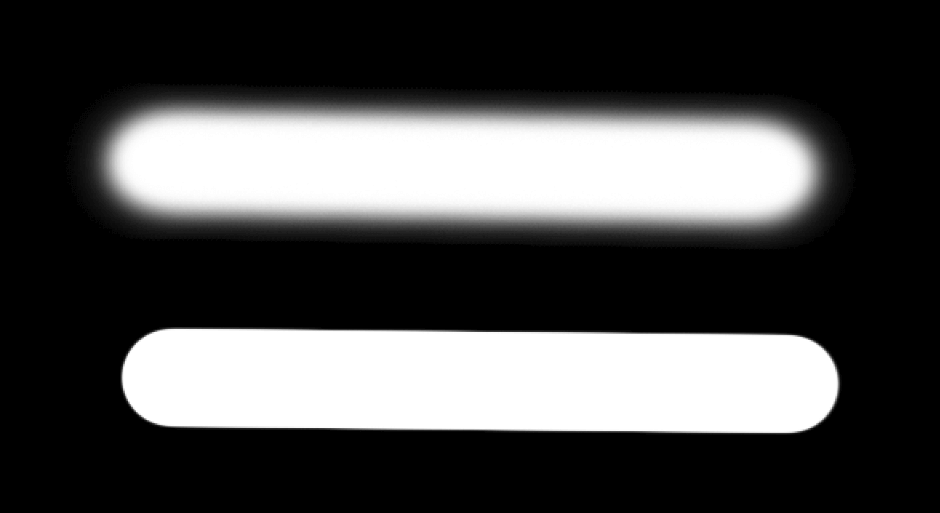
Hardness refers to how hard of a line the stroke will paint. For example, the top line in the image below is at 0% hardness and the bottom is at 100%.
You can save brush settings and tips that you use frequently as a preset. Click the plus sign surrounded by a square on the right side of the Brush Preset panel.
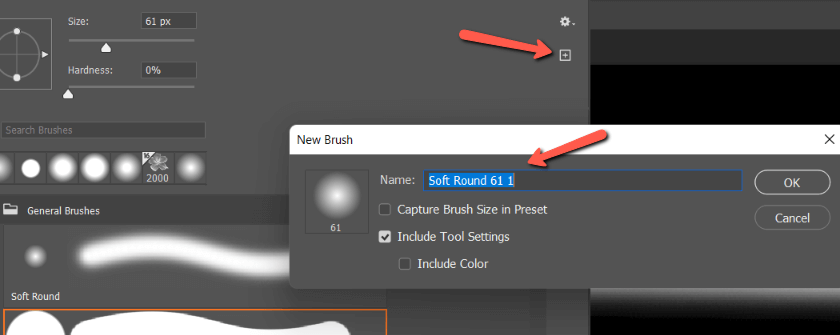
Pick a name for your preset and press OK.
Opacity
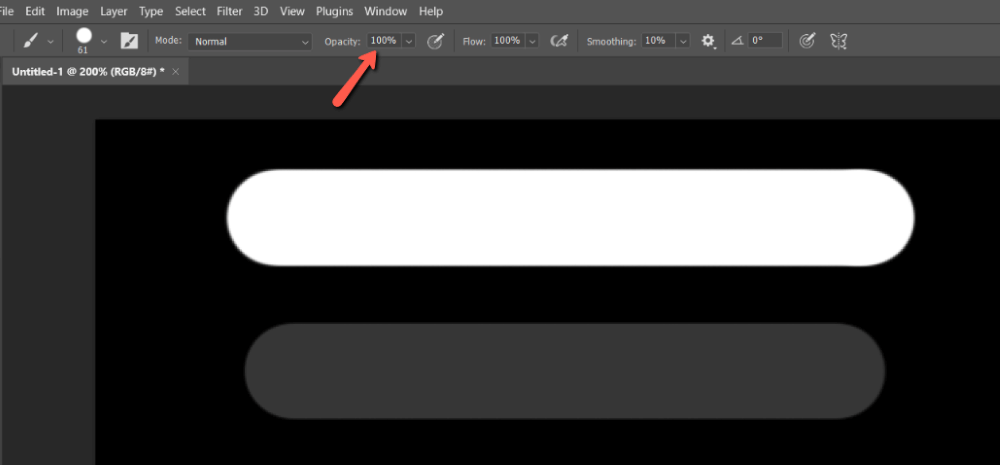
Opacity refers to how opaque the color will be. The top line here shows white at 100% opacity. The bottom line is 20% opacity. It looks gray because the black background is 80% showing through the white line. If I took the opacity down to zero, the line would be invisible.
Flow
Flow is related to opacity but works a little differently. A lower flow rate means the paint will “flow” slower. However, it will build up to whatever your opacity point is set to.
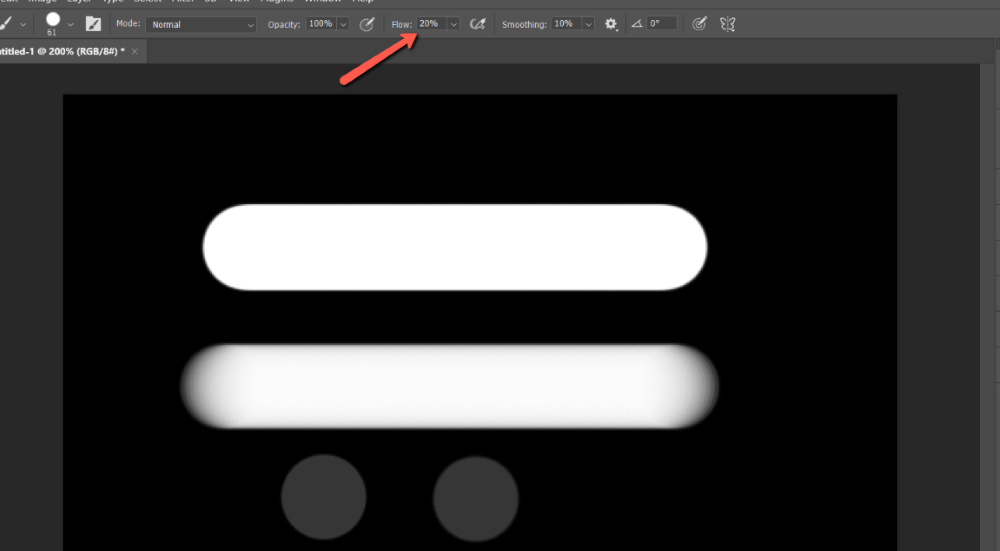
In this example, the second line is at 20% flow and 100% opacity. Once the brush gets going, it reaches 100% opacity, but the beginning and the end of the brushstroke are fainter. The circles are what happens when you click only one time with a flow rate of 20%
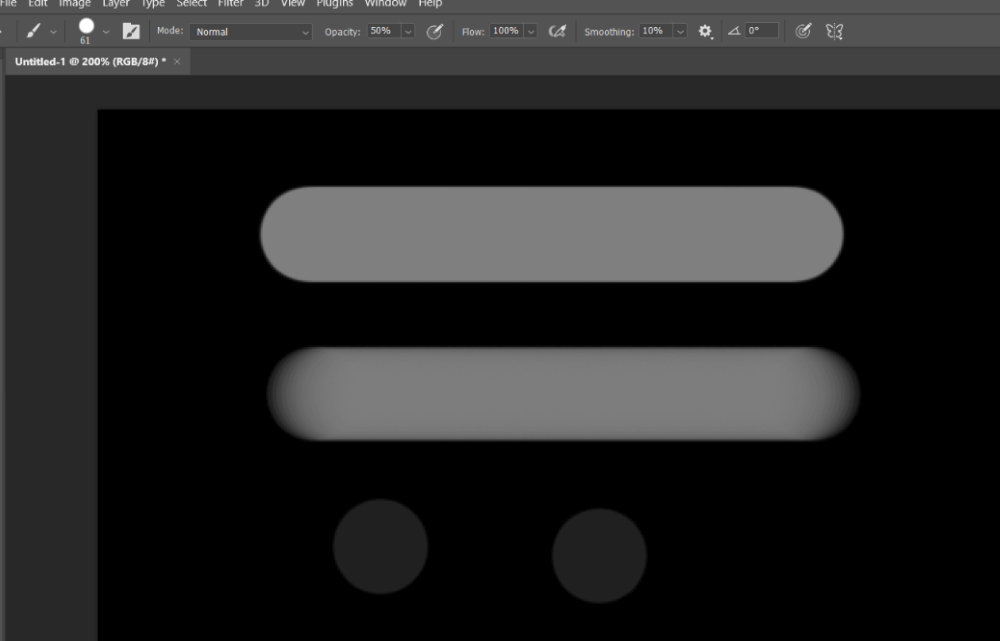
Here I lowered the opacity to 50% so you can see how they interact. The top line has a flow of 100% so it is fully applied up to 50% opacity. The bottom line has a flow of 20%. It starts at 20% and flows up to 50% opacity. The circles show you what just one click looks like.
Shortcut tip: with the Brush tool active press a number key to set the opacity in intervals of 10. For example, 1 for 10, 2 for 20, etc. Hold Shift and press a number key to change the flow.
Airbrush Mode
The airbrush option allows you to smoothly switch the rate of color application — even in the same stroke. With this option on, the longer you hover over a spot, the more color will be added, up to your defined limit.

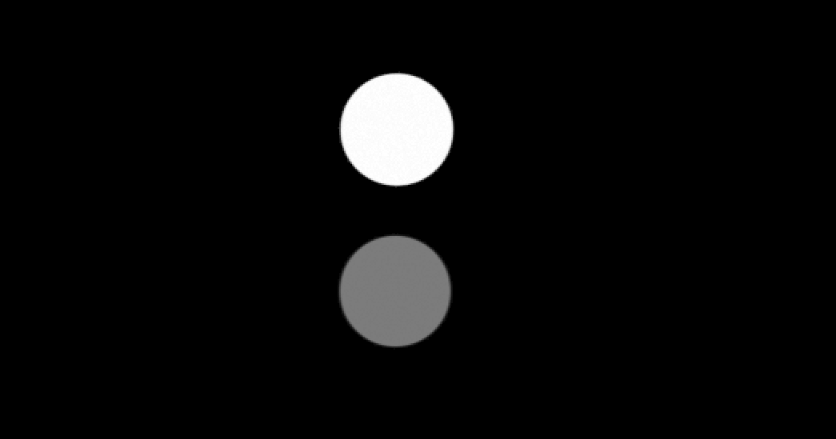
In this example with my Flow at 20% and the Opacity at 100%, I held down the mouse button for a couple of seconds on the top circle. I clicked only once quickly with the same settings to create the bottom circle.
Smoothing
Smoothing controls how fast or slow the brush paints.
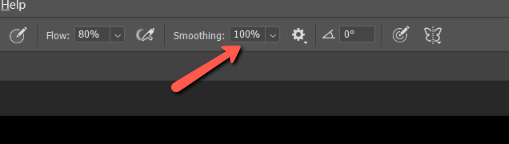
At 100% the brush stroke oozes slowly across the canvas. This makes it easier to be more precise but is frustrating if you want to move quickly.
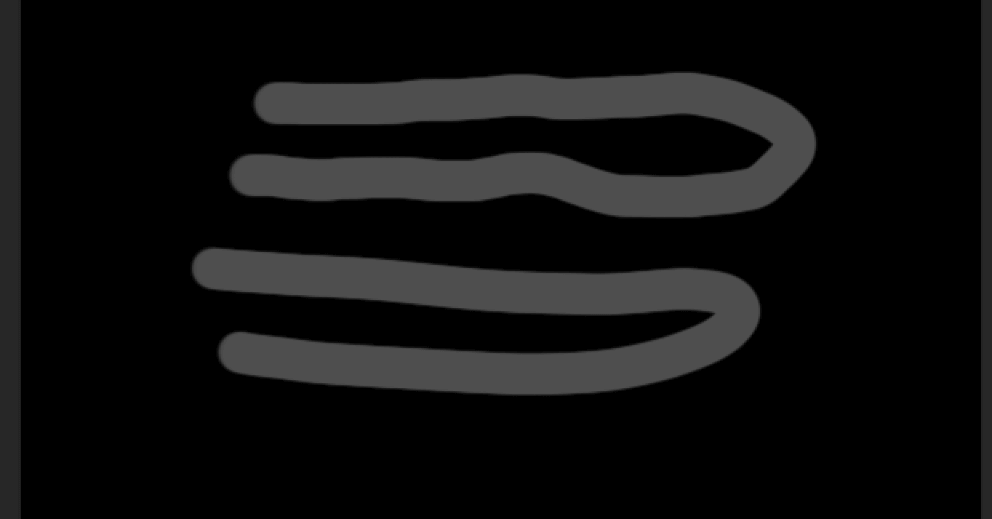
I painted the top line here at 0% smoothing and you can see it’s a little wobbly. The bottom line is painted at 100% and is much smoother.
Smoothing Modes
The settings wheel next to the smoothing box allows you to control the behavior of the brush.
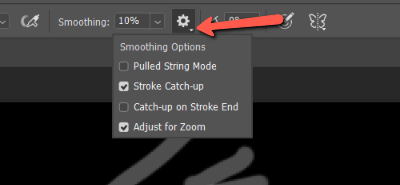
Pulled string mode only applies paint when the “string is taut.” This lets you pause in the middle of your stroke without leaving a puddle.
Stroke Catch-up will allow the paint to catch up to your brush when you pause, otherwise, it stops abruptly. Catch-up on Stroke End means the paint will catch up with your brush even if you’ve let go of the cursor.
Adjust for Zoom helps cut down on jittery strokes by automatically adjusting the smoothing as you zoom in or out.
I suggest playing with these different modes to visually understand how they work.
The Pencil Tool
The Pencil tool is similar to the Brush tool. However, where the brush tool has a soft edge, the pencil is hard. Notice how no matter the size, the edge of the stroke is jagged.
The settings for the brush tool are basically the same as for the brush. The main differences are that the Flow setting and airbrush option are missing. The other settings all work exactly the same.
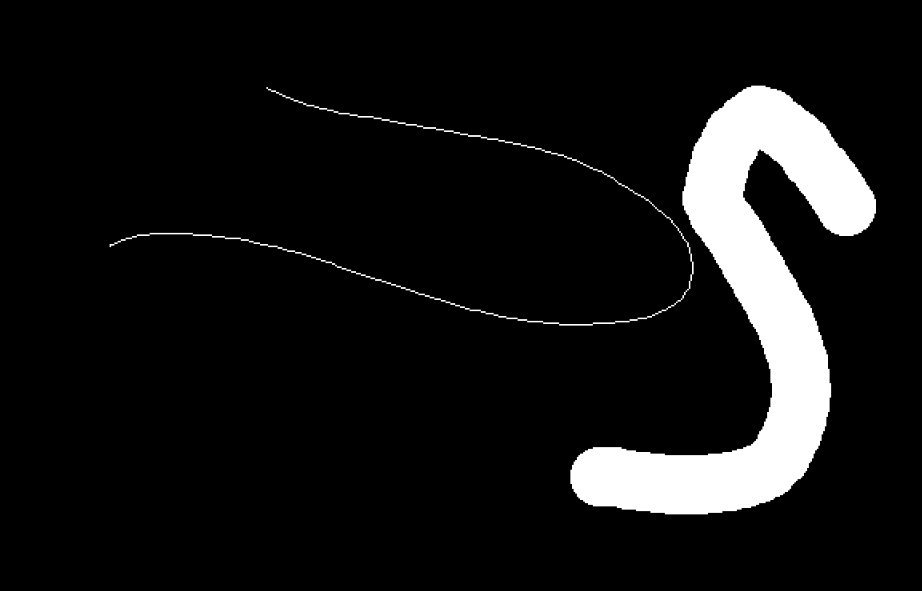
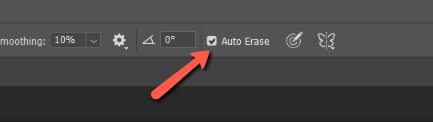
The Pencil tool also has an Auto-Erase option that allows you to erase the foreground color while simultaneously filling in with the background color.
I made the vertical line on the left without the Auto-Erase option. I drew the second line with the Auto-Erase option checked and I started on the white part of the image.

Whew! Do you feel like you’re ready to paint a masterpiece yet? There are plenty of techniques that digital painters use to make their masterpieces come to life. However, these basics of how to paint in Photoshop will get you started.
Curious about an easier way to create a painted look? Check out our tutorial on turning a photo into a watercolor painting in Photoshop!
About Cara Koch