Photoshop is an immensely complex program with a huge array of features, and it’s often a good idea to start with the absolute basics when you’re learning something new.
While it’s designed to be a photo editor and not a drawing app, there are still a lot of situations where you’ll need to draw a circle in Photoshop.
Here are the three simplest methods!
Table of Contents
Method 1: Using Vector Shapes to Draw Circles
Depending on your situation, this may be the best method for drawing a circle in Photoshop. I generally don’t recommend using Photoshop’s shape and vector tools because Adobe Illustrator, Inkscape, or any other program specifically designed for vector graphics is a better choice, but sometimes you just need to use Photoshop.
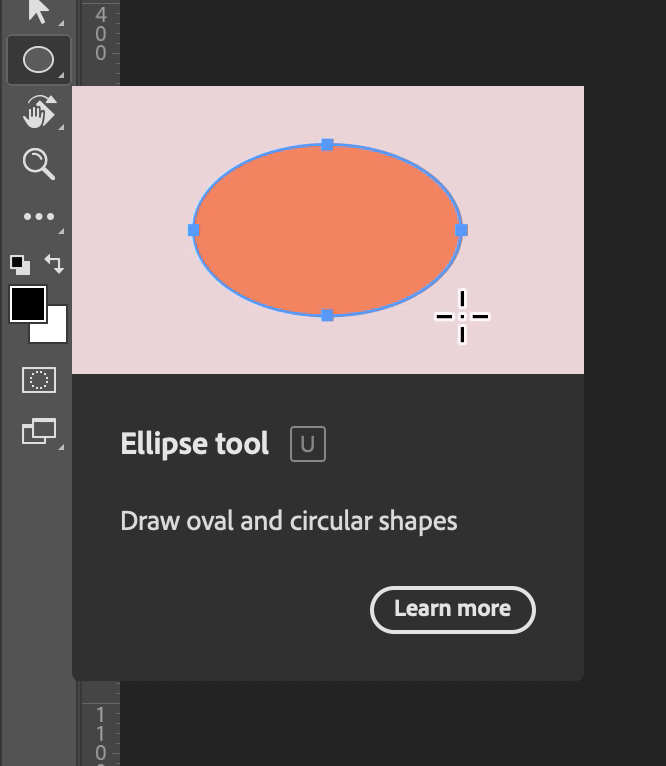
Switch to the Ellipse shape tool using the toolbox or the keyboard shortcut U. Photoshop nests all of the shape tools together with the same keyboard shortcut, but you can cycle through the tools by pressing Shift + U.

Once you’ve got the Ellipse tool selected, check the tool options panel at the top of the main document window to make sure that the path type is set to Shape, not Path or Pixels. You can also adjust the stroke and fill colors using the color pickers, and customize the stroke width.
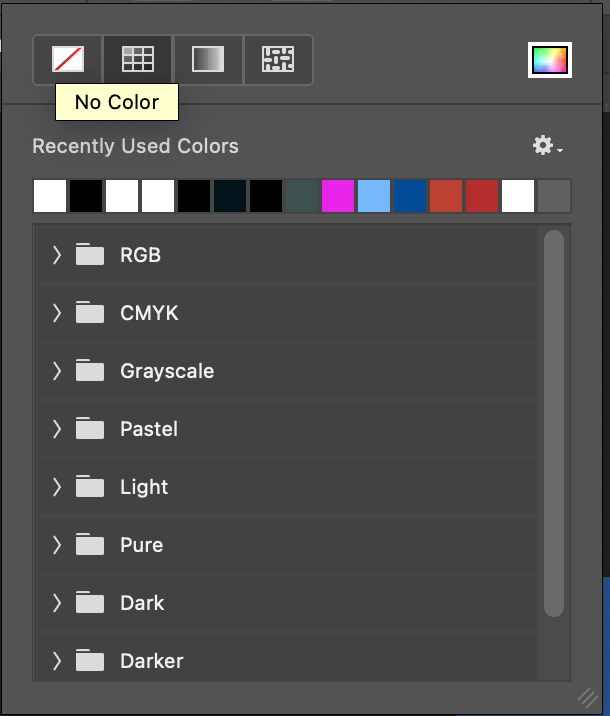
Adding a stroke outline around the circle is optional, and it can be removed by changing the Stroke color to No Color which is represented by a white square crossed with a red diagonal line (see above). You can also do the same thing with the Fill color if you’d rather create a circular outline.
Once you’re happy with your settings, click and drag in your main document window to draw a perfect circle!
Because it’s a vector shape and not rasterized pixel data, you can always go back and edit the colors, add a stroke, or change the thickness at any time. You can even reposition it completely!
If you find yourself drawing a lot of vector shapes in Photoshop, though, I strongly recommend that you explore a dedicated vector graphics program for similar projects. You might be amazed at what they are capable of!
Method 2: The Brush Tool
Another extremely simple way to draw a circle in Photoshop is to use the Brush tool. The default brush is already in a circular shape, so it’s a natural choice for drawing a circle!

Switch to the Brush tool using the toolbox or the keyboard shortcut B, then simply click once anywhere in your Photoshop document to stamp a single circle using your currently selected foreground color.
If you want your circle to have perfectly sharp edges, increase the Hardness setting to 100% in the tool options panel, or create a soft-edged circle by reducing the Hardness setting.
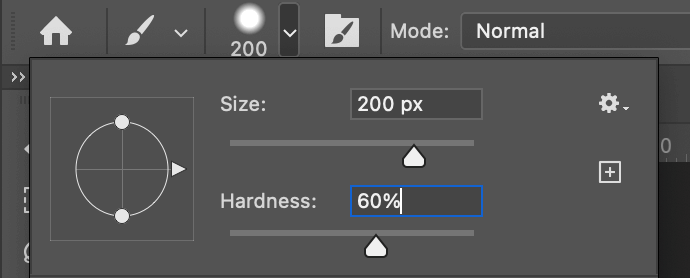
You can also adjust the brush size quickly up or down using the [ and ] keys, and adjust the brush hardness by holding down the Shift key and pressing [ or ].
These shortcuts apply to all of Photoshop’s brush-based tools, so you should practice them until their second nature. It will really speed up your editing workflow!
If you want to get fancy and create an outlined circle, you can switch to the Eraser tool without moving your cursor using the keyboard shortcut E, reduce the brush size a bit using the [ key, and click again to delete the pixels from the center of the circle.
Unfortunately, because this method uses pixel data instead of a vector shape, you won’t be able to change the color and other details about your circle unless you apply some more traditional Photoshop editing tactics.
But, in this case, it’s probably better just to use the Undo command if you make a mistake or change your mind.
Method 3: The Elliptical Marquee
Last but not least, it’s possible to use the Elliptical Marquee tool to draw a circle in Photoshop. It’s a slightly cumbersome way of doing things, but it’s definitely possible, and it allows you to draw a circle in Photoshop using patterns.
Switch to the Elliptical Marquee tool using the toolbox or keyboard shortcut M. Photoshop nests the Rectangular Marquee tool into the same shortcut, so you may have to press Shift + M to switch between the two tools.
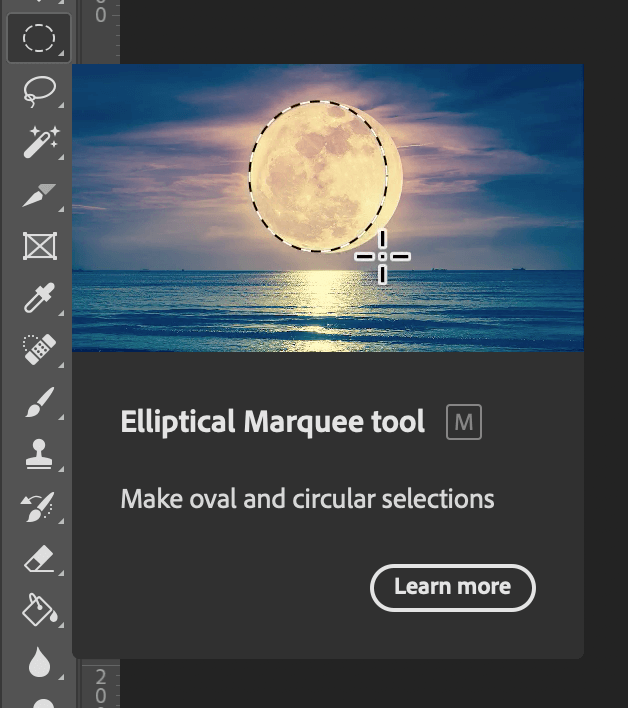
Once you’ve got the Elliptical Marquee tool selected, click and drag in the main document window to draw your selection. If you want to create a perfect circle, hold down the Shift key while dragging to force the tool to use a 1:1 aspect ratio.
You can reposition this selection as needed, and once you’re happy with its placement, it’s time to fill it in!
Use the keyboard shortcut Command + Delete (use Ctrl + Delete on PC) to fill your selection using your currently selected foreground color, or use the keyboard shortcut Option + Delete (use Alt + Delete on PC) to fill your selection using your currently selected background color.
However, if you want to do something more complex such as a pattern fill, you’ll need to use the full-fledged Fill command. You can find this in the Edit menu, or you can use the keyboard shortcut Shift + F5.
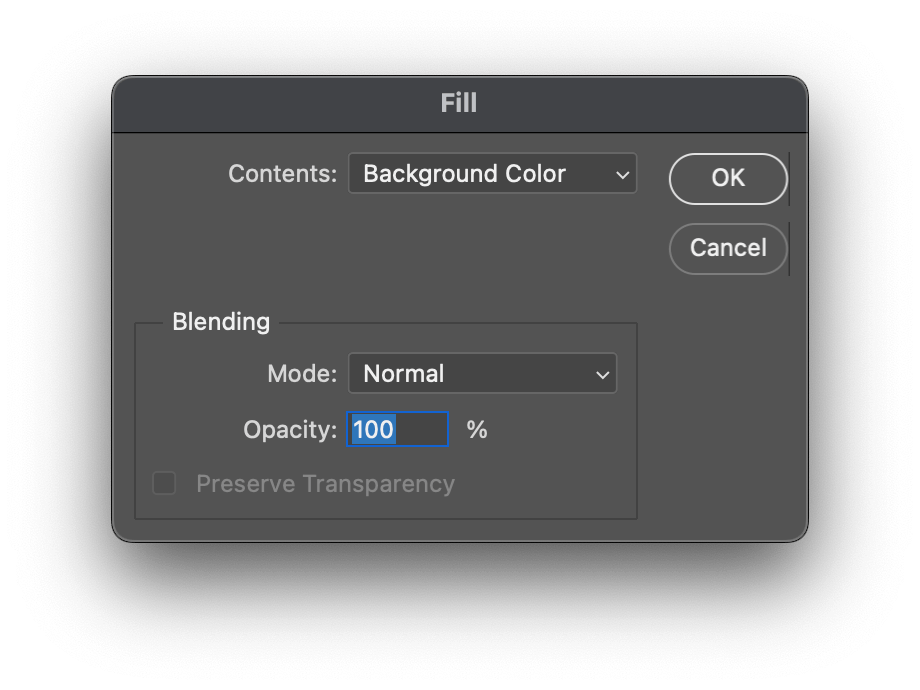
Photoshop will open the Fill dialog box, allowing you to select from a wide range of preset options as well as a few more complex options. Customize the fill-in any way that you want, click OK, and Photoshop will fill in your circle with your chosen settings.
A Final Word
Those are the most common ways to draw a circle in Photoshop! For most situations, you’ll probably want to use Method 1, but as I mentioned before, if you do a lot of vector graphics work then you really should experiment with a dedicated vector graphics editor.
The tools are a lot of fun to work with and the entire experience is designed from the ground up for vector drawing instead of having the feature tacked on as an afterthought the way it is in Photoshop.
However, you choose to do it, happy drawing!
About Thomas Boldt