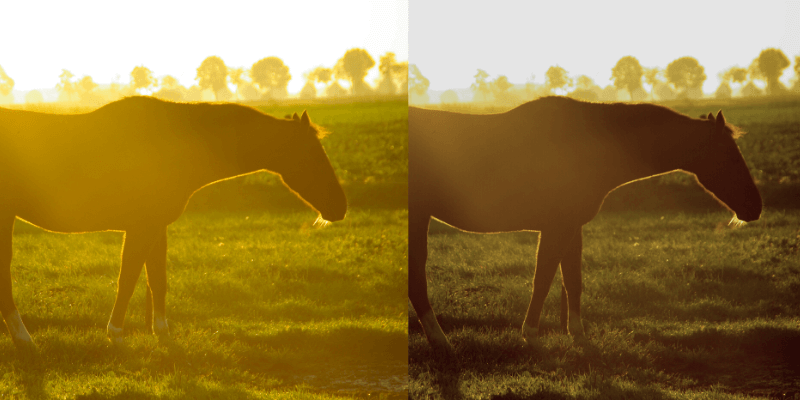
Beautiful photographs need adequate lighting, but you might not always be able to achieve the ideal illumination in your shots. As a result, some photographs could have overexposed photography, masking important features.
It can be considerably simpler to edit such photos if you know the various Photoshop techniques for correcting overexposed photos.
Nothing is more aggravating than a bad photo. Overexposed photos, also known as blown-out whites, are frequently the consequence of direct sunshine, excessive flash, or glare from shiny surfaces, which degrades the overall quality of the photograph.
My name is Aly, I have been using Photoshop for over five years and am Adobe certified. In this article, I am going to be showing you how to correct exposure in Photoshop for better photos.
6 Steps to Fix Overexposed Photos in Photoshop
An overexposed photograph is one that is simply too bright. When too much light enters the camera through the lens, the picture is overexposed. Follow the steps below to fix an overexposed image in Photoshop.
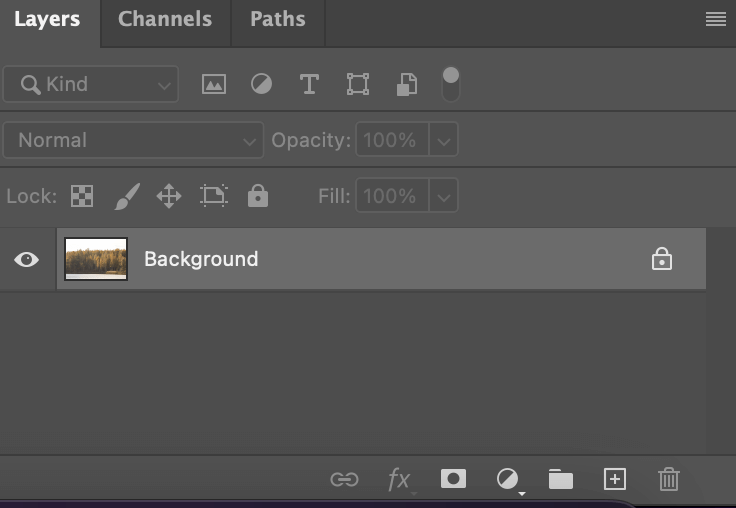
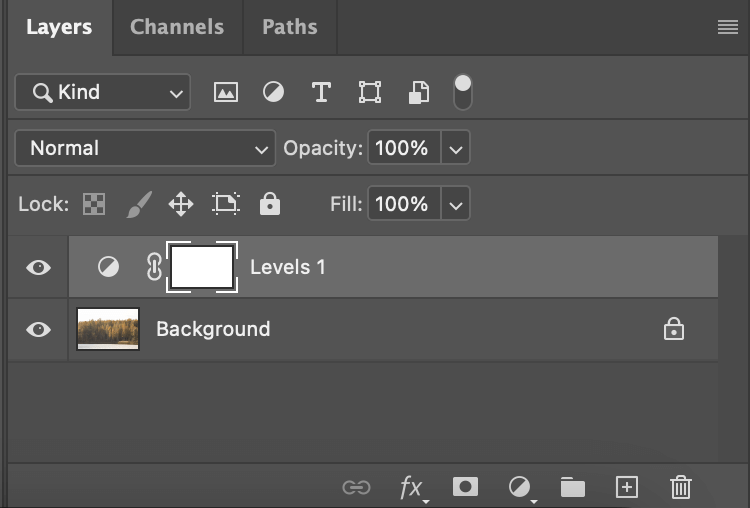
Step 1: Open your overexposed image in Photoshop. If you quickly glance at our Layers panel, you’ll see the only layer in the document is the Background layer.
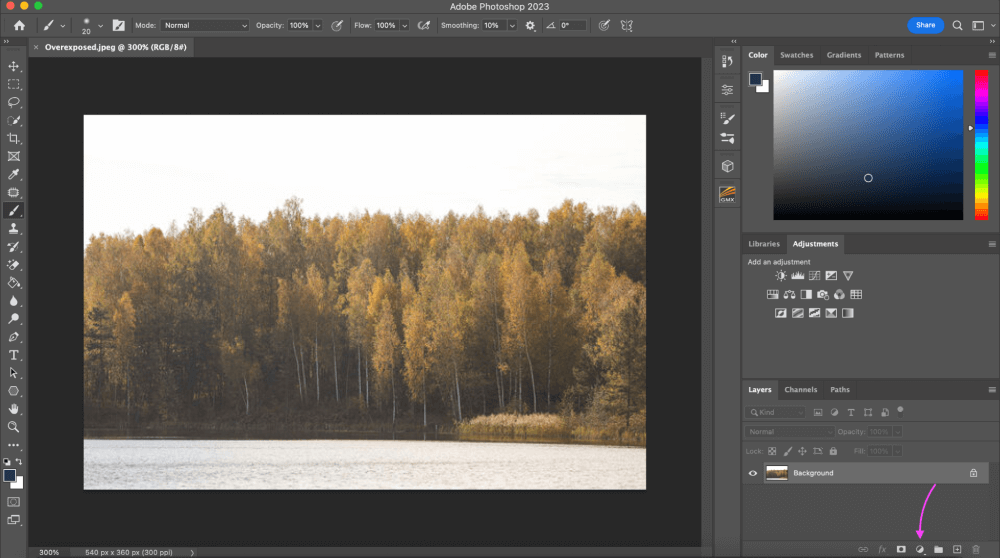
Step 2: We’ll use a Levels adjustment layer to darken the image. Select New Fill or Adjustment Layer from the Layers panel’s bottom menu to add an adjustment layer.
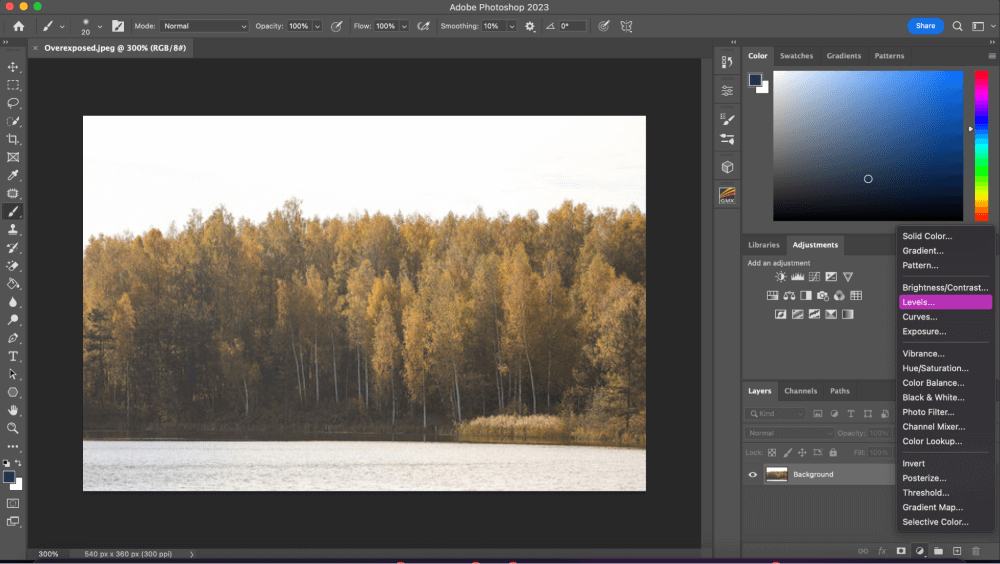
Step 3: The adjustment menu will appear, go ahead and click Levels.
Step 4: The image won’t change just yet, but if we look at the Layers panel once more, we can see that our Levels adjustment layer, Levels 1, is now positioned above the picture on the Background layer.
Step 5: The Levels adjustment layer’s controls and settings can be found in Photoshop’s Properties panel. However, you won’t need to use them for this method. Instead, all you have to do to darken the image is alter the blend mode for the Levels adjustment layer.
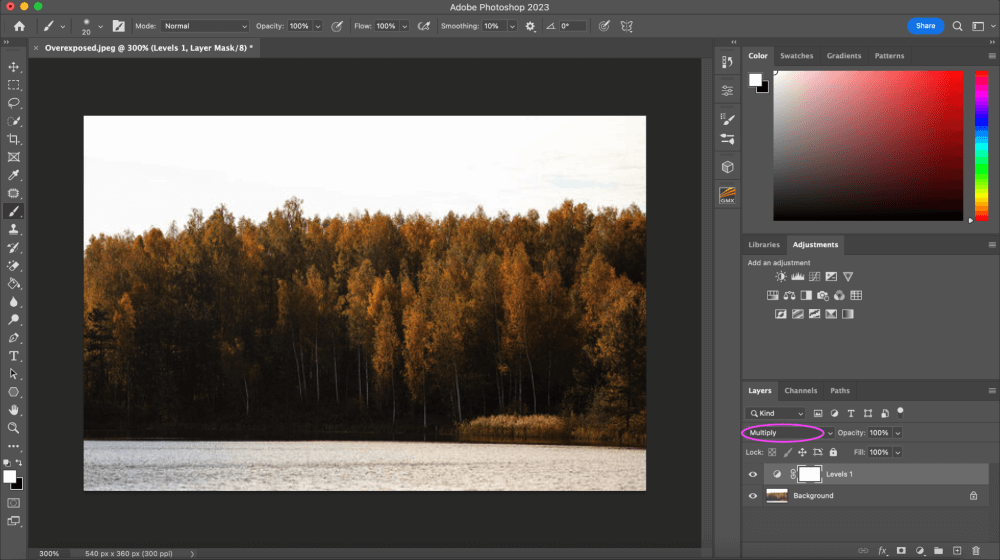
The Blend Mode selection is located in the Layers panel’s upper left corner. It is set to Normal by default. The blend mode should be changed to Multiply.
You should notice that your image appears darker and more details are visible after switching the layer blend mode to Multiply.
Step 6: If your photo now appears too dark after switching the blend mode to Multiply, we can quickly restore some of the previous brightness. You just need to decrease the opacity of the Levels adjustment layer.
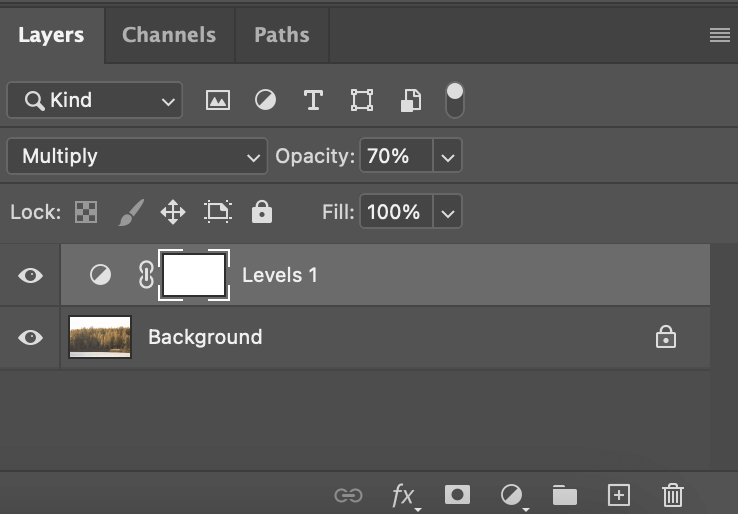
The Opacity option is located in the upper right corner of the Layers panel, next to the Blend Mode choice.
The opacity value is initially set to 100%. As you decrease the opacity, pay close attention to your image. The original image on the Background layer will increasingly become visible through the adjustment layer as you lower it. I’ll reduce mine to 70%.
Final Thoughts
As you have seen in this article, Photoshop makes it very simple to correct small exposure issues in the event of overexposed images. One of the most frequent Photoshop techniques is to adjust the exposure in specific regions of your photographs.
In the case of professional images, where the expertise of the levels adjustment layer is required, this technique might not produce the greatest results. But perfect for everyday images that you just need to touch up.
Any questions about finding Pantone colors in Photoshop? Leave a comment and let me know.
About Aly Walters