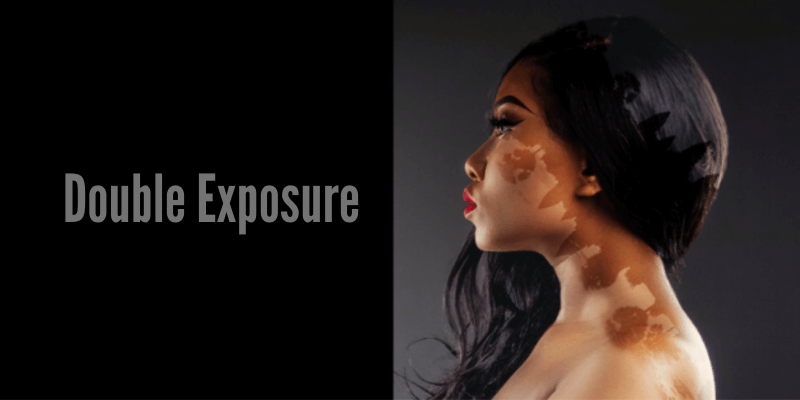
Do you want to get fun and funky in Photoshop? Playing with double exposures is a fantastic way to do it!
Hey there, I’m Cara! Sometimes in my work as a photographer, I enjoy creating double exposure right in my camera. And sometimes it’s fun to play with the photos after the fact and Photoshop makes it super easy.
Follow along as I show you how to create double exposures in Photoshop!
Note: screenshots below are taken from Photoshop CC for Windows, Mac or other versions will look slightly different.
Table of Contents
Step 1. Choose Your Images
Double exposure is two images on top of one another. In the old days, this effect was achieved by taking a picture, then rolling the film back, and taking a second picture over the top.
Back then, you got what you got. Nowadays, however, the tools we have with digital photography opened up a whole new adventure!
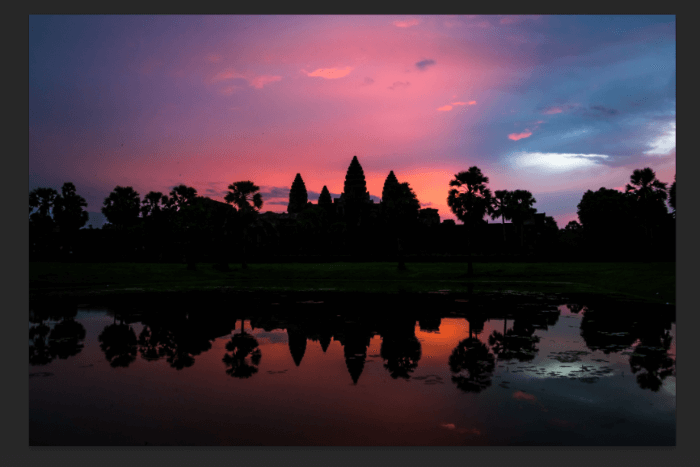
When choosing your images, look for things that will make good silhouettes like tall trees or mountains. In reality, the sky is the limit here, so you can pick whatever you want and see how it works together.
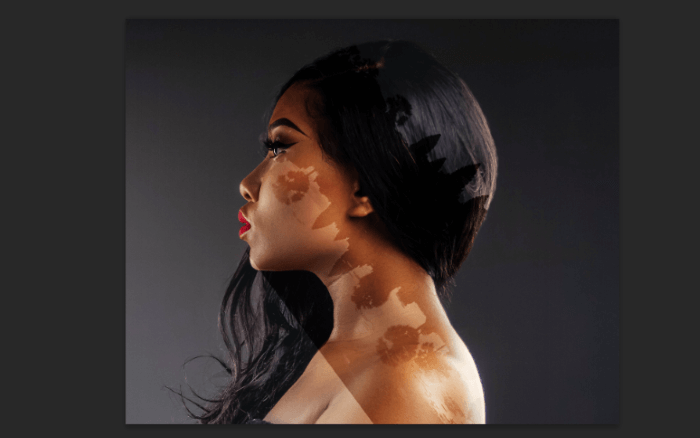
Today I’ll be working with these two images from Pexels.com.
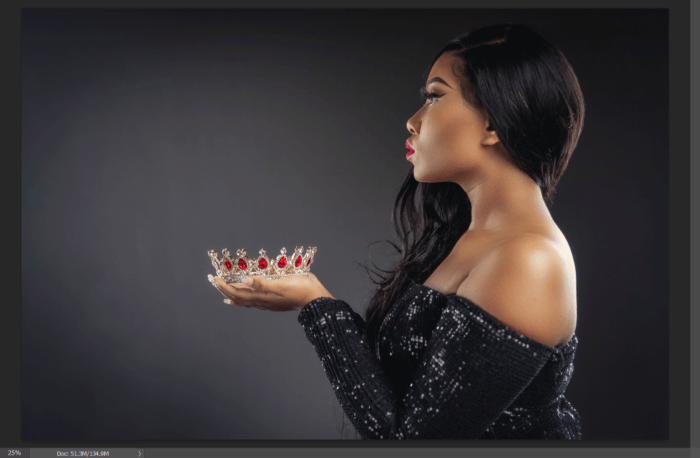
Step 2: Prepare the Bottom Image
To prepare this image for the effect I want, I’m going to clean it up a touch. A plain background is best, which my subject already has so I’ll stick with that.
I’ll crop the image to just her head and shoulders. Then select whatever selection tool (I grabbed the Magic Wand). This will make the Select Subject button appear on the Options Bar. Click it and Photoshop will automatically select your subject.
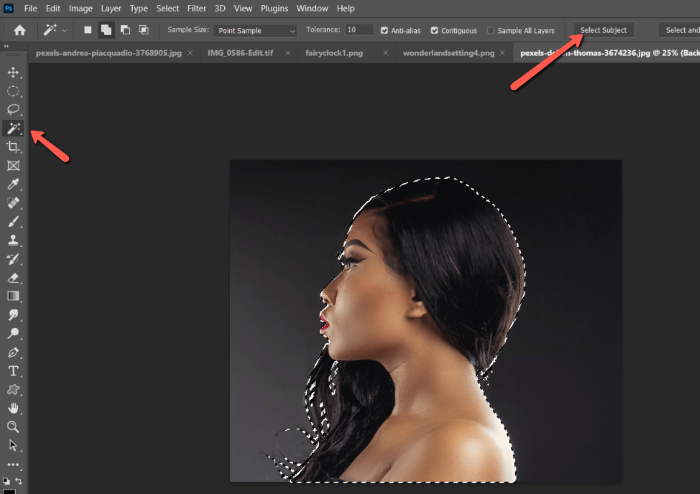
As you can see, Photoshop did quite well. You can always clean up the selection a little if you choose.
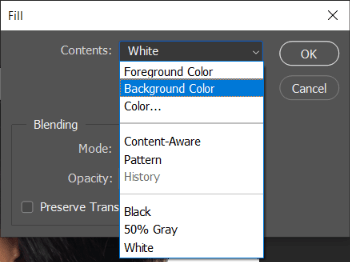
If you want to remove the background at this point, press Ctrl + Shift + I or Command + Shift + I to invert the selection. Then press Shift + Backspace or Shift + Delete. In the Fill box that appears, you can choose a black or white background or any other color you prefer.
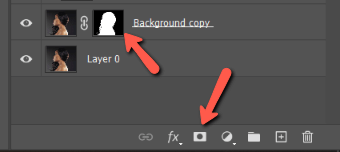
If you DON’T remove the background and fill it with a different color, you’ll need a layer mask. Do this by clicking the Mask button at the bottom of the Layers panel. This will allow us to limit the second photo only to the subject later on.
Step 3: Add the Second Image
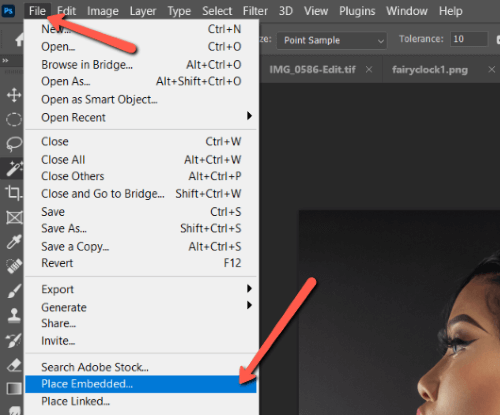
To add the second image, go to File, then choose Place Embedded. Browse the image on your computer and click Place.
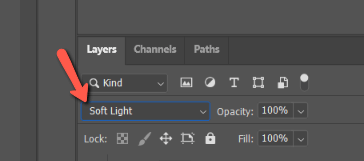
Change the blending mode to blend the two images. Screen, Overlay, Soft Light, Lighter Color, and others may work depending on your image. Simply hover over the different blending modes for a preview to see which one works for your image.
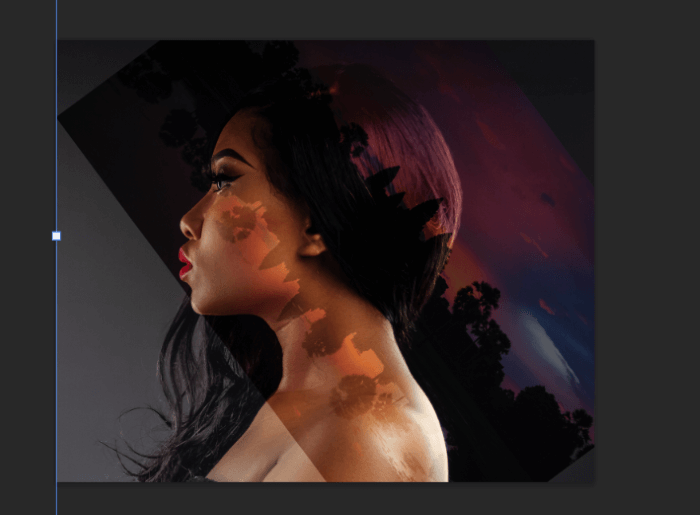
I’m going to choose Soft Light for mine.
Press Ctrl + T or Command + T to open the Transform tool. This will allow you to reposition and resize the image to your liking. I’m going to put mine right about here.
Step 4: Apply Adjustment Layers as Needed
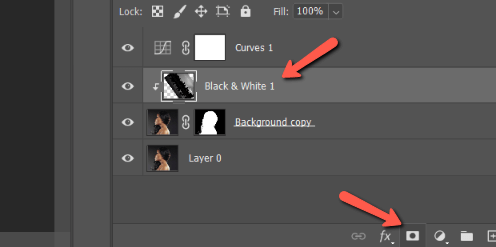
Each image will be a bit different here in what they need so feel free to play around. In my case, I’m going to add a Black and White adjustment layer. To do so, click on the half-filled circle icon at the bottom of the Layers Panel.
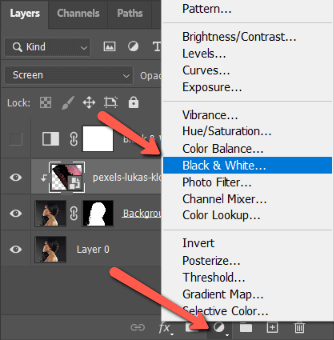
Choose Black & White from the menu. You can also use curves or levels to adjust the contrast in the image.
Not familiar with the curve tool? We have a tutorial about the Curves tool.
To limit these effects to the top image only, merge the adjustment layer with the top image. Keep in mind, you won’t be able to make adjustments after this so make sure you have it how you want it.
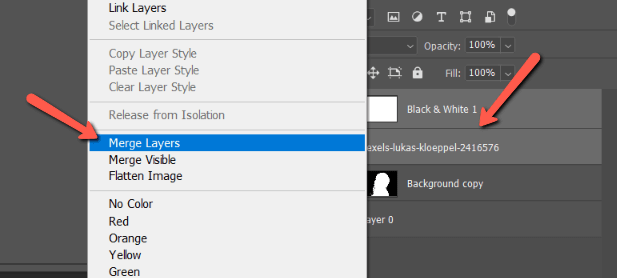
Select both layers by holding Ctrl or Command while you click on the second layer. Then, right-click and choose Merge Layers from the menu.
Note: You’ll probably have to adjust the blending mode back.
Step 5: Limit the Second Image to the Subject
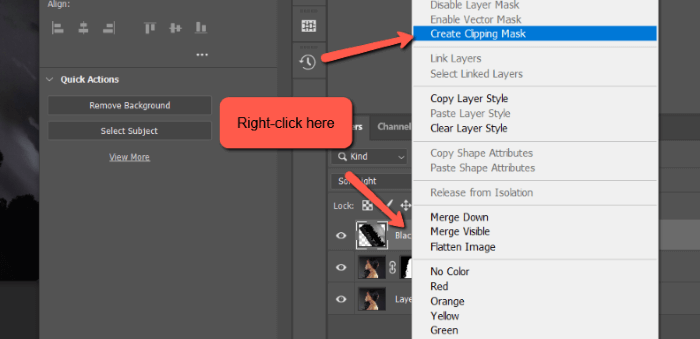
I mentioned before that we were going to use the layer mask for this. Right-click on your second image’s layer. Then choose Create Clipping Mask from the menu that appears.
Now the top image will only appear on the area we selected earlier, in this case, her head and shoulders.
Step 6: Refine with the Brush
There’s a little bit of the sky showing up on her hair and shoulder that detracts from the image, but that’s easy to fix. Select the top image layer and click the Mask button at the bottom of the Layers panel.
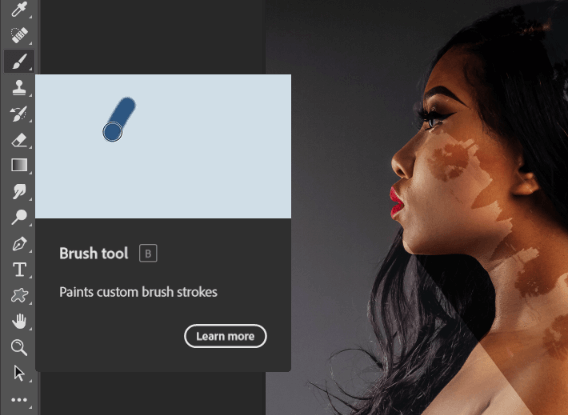
Open the Brush tool by pressing B on the keyboard or selecting it from the toolbar on the left.
Click the downward arrow to access the brush settings in the Options bar. Choose a size that is appropriate for your image and lower the hardness to create a softer edge.

With the foreground color set to black, gently paint over the areas of the top image that you don’t want.
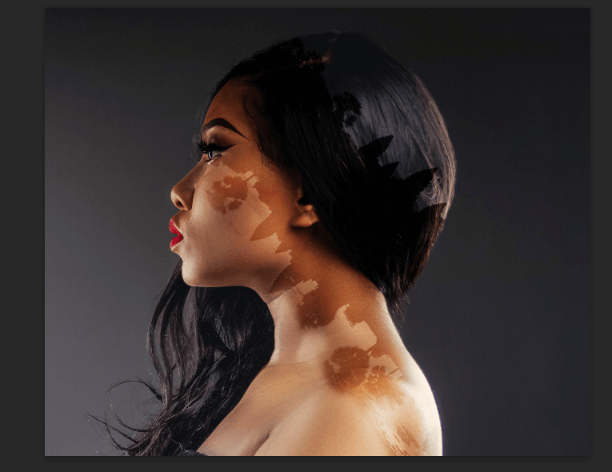
There you have it! There are so many interesting things you can do with this technique. Have fun experimenting!
Looking for more tips on how to edit with Photoshop? Check out our tutorial on how to add clouds to a photo!
About Cara Koch