You took a picture however, the skin appears washed out, overly pink, orange, red, or all of the above. While you dislike the skin tone, you enjoy the pose and setting. Did you know that it takes less than a minute to correct the skin tone in Photoshop? I am going to show you how to change the skin color in Photoshop to your liking.
I have over five years of Adobe Photoshop experience, Adobe Photoshop certified, and I can assure you that your photo will no longer be ruined because of off-tone skin color. Even if you are new to Photoshop, with these easy steps your photo will be fixed in no time.
In this article, I am going to cover two different ways that will help you achieve the desired skin tone in your photograph in Photoshop.
Table of Contents
Key Takeaways
- You will have to fine-tune the image after you apply the initial adjustment, but Photoshop will do most of the hard work for you.
- Don’t get discouraged if one way doesn’t work out the way you imagined, that’s why I’m going to show you multiple ways to get the job done.
- Make sure you are saving your work every so often to ensure you don’t lose your changes.
Method 1: Using the Curves Adjustment Layer
This method works best when the skin tone is near what it should be. It is important to get the skin tone set as soon as possible in the editing process, though this method can be used before or after other edits.
Step 1: Select the skin tones in your image. To correct skin tones in Photoshop, open the image by navigating to File > Open.

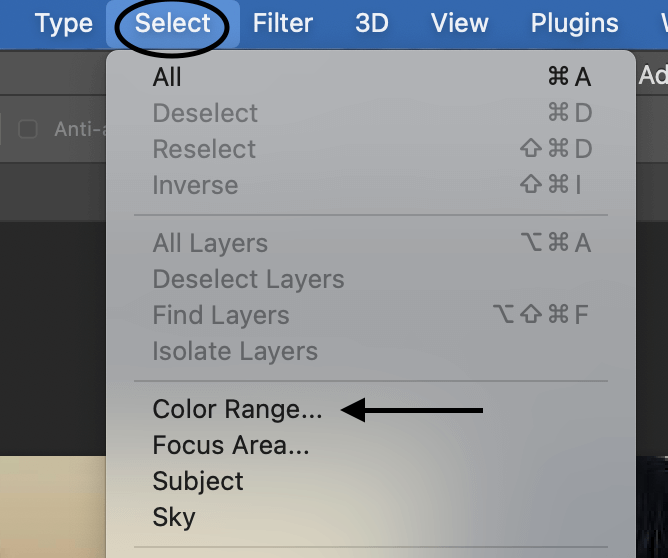
Step 2: To avoid affecting the rest of the image after opening the file, you must first select the skin color hues. The Color Range window can be found by selecting Select > Color Range.
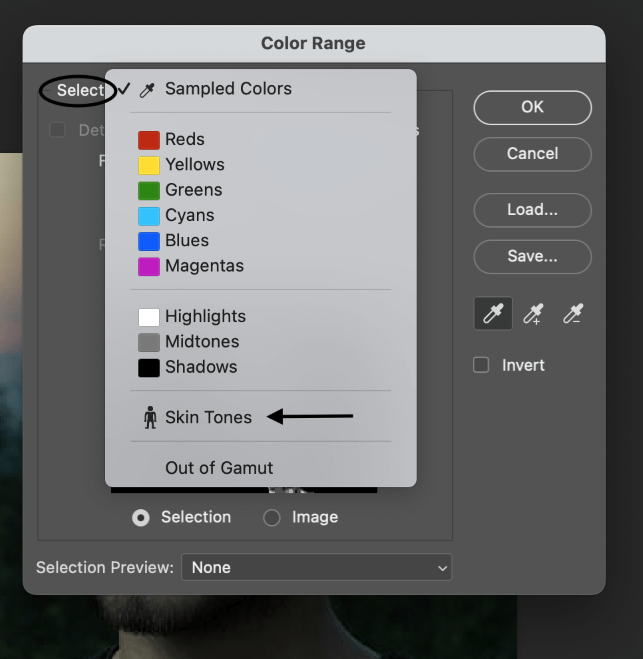
Step 3: Use the drop-down menu next to Select in the Color Range window to select Skin Tones.
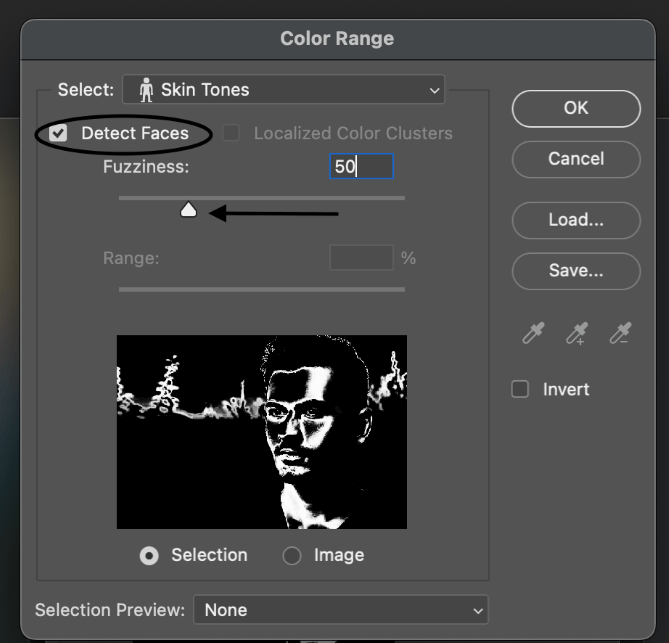
Step 4: After choosing Skin Tones, click the box next to Detect Faces, then move the Fuzziness slider to somewhere around 45-50. This will assist Photoshop in focusing on the skin tones and away from other colors in the image that have a similar hue.
The degree of fuzziness depends on the skin tones in your image.
Step 5: Go ahead and play around with the fuzziness slider. The preview box will show you what the image will look like depending on the number you choose.
When you’re satisfied with your choice, click OK. The skin tones in your image will now have marching ants all around them. The image’s other areas that have shades comparable to the subject’s skin tone will also be chosen if there are any.
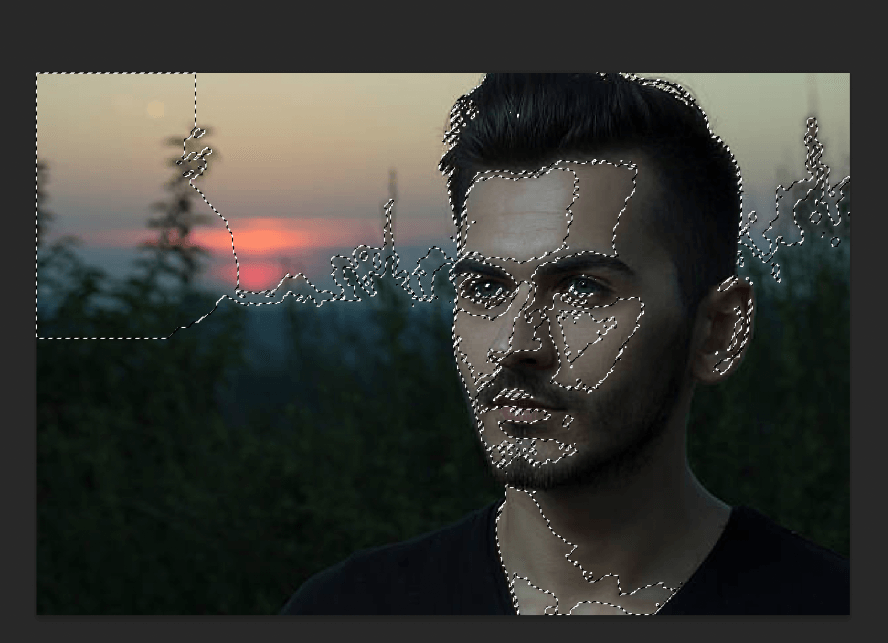
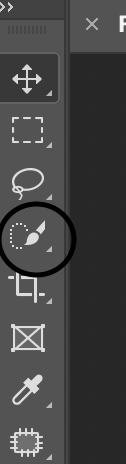
As you can tell in my image, other parts of the photo are selected. To eliminate these areas, first, choose the Quick Selection Tool from the toolbar or click W. Holding down Alt (Windows) or Option (Mac) and drag over the areas you want to deselect when the tool is chosen.
Only the skin’s surface will be available for selection after you’ve eliminated the undesired parts. Now that this color has been corrected, you can move on to the next step, which is correcting the skin tones with the Curves adjustment layer.
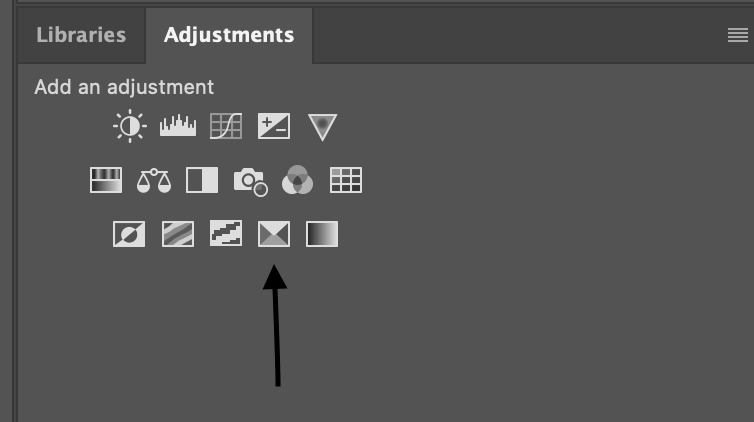
Step 6: Make a new Curves adjustment layer once the appropriate areas have been chosen. Select the Curves icon from the Adjustments menu on the right side of your screen to do this.

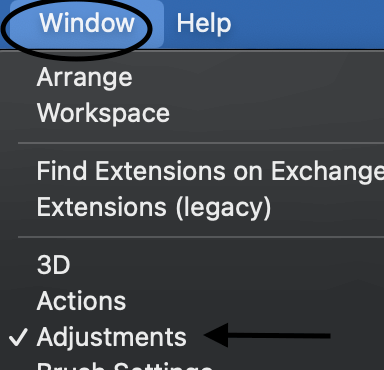
Note: If the panel is not visible on the workspace’s right side, choose Window > Adjustments to bring it up.
Step 7: Open the Curves adjustment panel and click the RGB drop-down menu. Then, choose the color that is most similar to the inaccurate skin tone. In my case with my image, I need to get rid of the orange-red tint of the skin in this situation, choose Red.
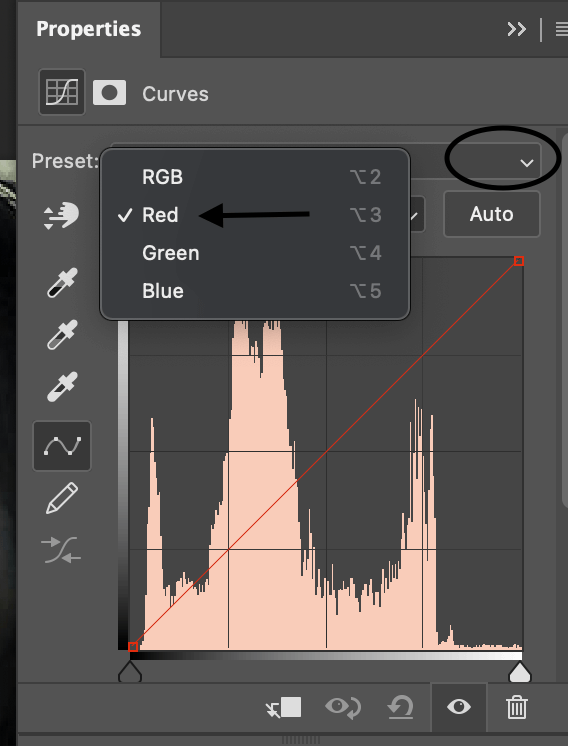
Step 8: Adjust the skin tones by clicking on the centerline and dragging it downward. The line needs to be dragged to the location indicated in my illustration. To adjust the color as needed, choose another portion of the line and drag it downward.
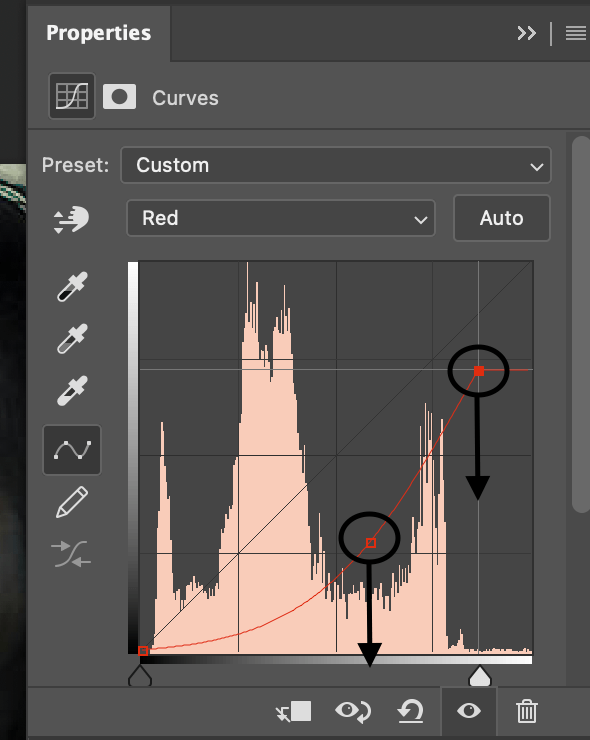
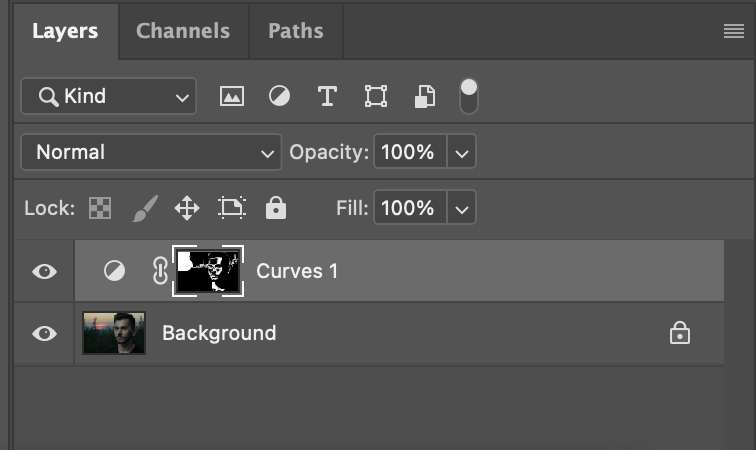
To lower the redness and give the skin tones a more natural appearance, I added cyan by dragging down the red curve. If you need to later re-adjust the skin tones, the Curves adjustment will also add a new layer to the Layers panel that you can change.
Now your photo should look better than when you started, but if not, no worries that’s why I am going to show you another way to fix the skin tone in your image.
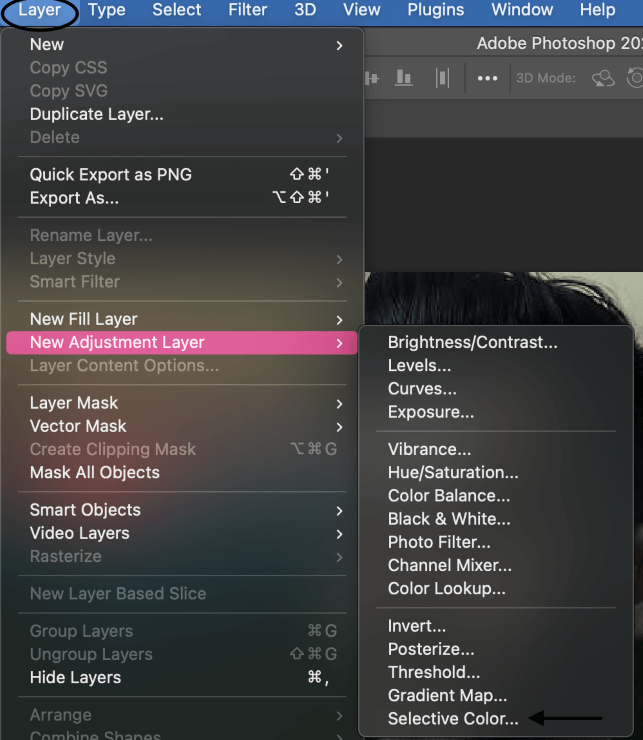
Method 2: Using The Selective Color Adjustment Layer
By adjusting specific colors in the image, you can use the selective color technique to make minor corrections to your image. The following adjustments can be made by using a layer mask or the “choose skin tones” technique described in the previous section.
Step 1: You will see the images shown like this:
Or like this:
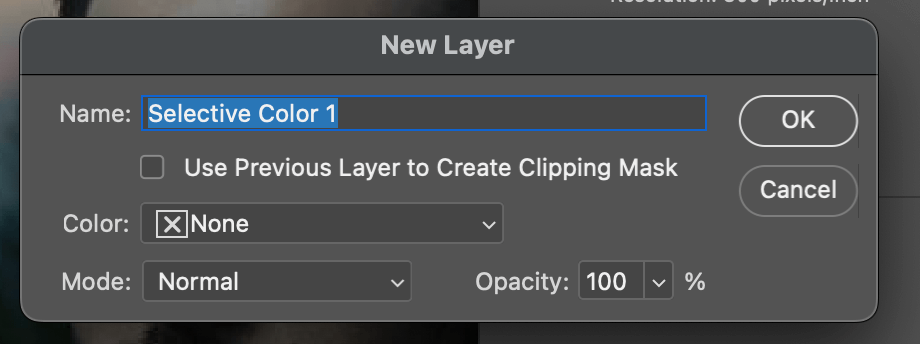
Step 2: A window will pop up when you choose Selective Color from the menu; give your new layer a name if you wish, then click OK.
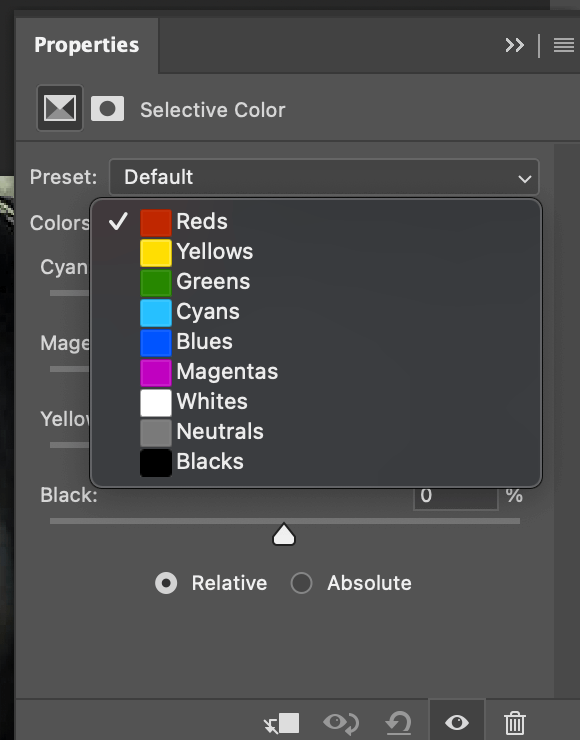
Step 3: Choose the color set in the Properties section that is most similar to the color in the image you are adjusting. I will choose Reds in this instance from the drop-down menu next to Colors.
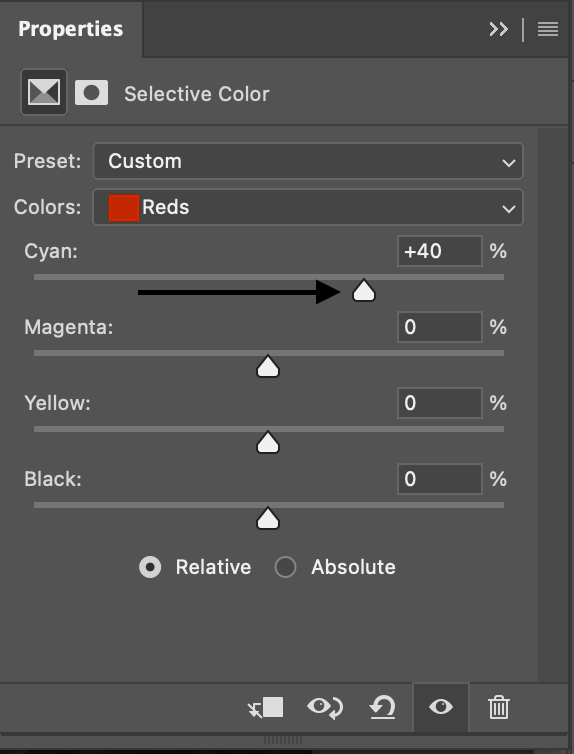
Step 4: Now you can change the sliders to decrease and enhance different colors in the image. The Cyan slider needs to be adjusted to the right in this instance I will add more Cyan to the image because the skin tone is too red. More red will be added to the image by moving the Cyan slider to the left. Adjust your image to your choosing.
Step 5: You can continue with other image changes once you are satisfied with the adjustments. You can later go back and make changes to the colors since a new layer will be created in the Layers panel.

Final Thoughts
One more tip, remember to save your work to ensure you don’t lose any of your changes.
There you have it! Your image should be adjusted to look the way you had imagined.
Now you have the knowledge to fix other photos that may have the same issue. Photoshop is excellent in the case that one way doesn’t seem to work out for your image, there is always another way, and that usually does the trick.
Any questions about changing the skin tone in Photoshop? Leave a comment and let me know.
About Aly Walters