Changing the color of objects is one of the most popular uses of Photoshop, and it’s a great introductory project for new image editors to sharpen their Photoshop skills. It’s also extremely important if you work for product development like T-shirts.
Color changes come up a lot in all types of photography from products to portraiture, so let’s take a closer look at how it works.
Table of Contents
The Quick Guide to Change The Color Of A Shirt In Photoshop
If you’re already familiar with Photoshop or another image editor and you just need a quick refresher, here’s how the process works:
- Step 1: Select all parts of the shirt in your image.
- Step 2: Create a Hue/Saturation adjustment layer.
- Step 3: Adjust the Hue slider in the Properties panel until the shirt is the desired color.
That’s all there is to it! Changing the color of objects in Photoshop is quite easy to describe, but it can be a bit daunting to do it yourself when you’re still new to the world of image editing.
If you’d like to read more about how it works as well as helpful tips on the easiest ways to make your selection and what to do if the shirt you want to change is white, grey, or black, then read on!
Note: The source image used in this tutorial is the property of Alex Perez, courtesy of Unsplash.
The In-Depth Guide to Color Changes in Photoshop
It may sound simple when you’re typing the question into Google, but once it comes down to a practical application of the simple ideas, things can get tricky. Let’s break down the steps involved in changing the color of a shirt in Photoshop, and see how it all works.
Step 1: Selecting the Shirt
In order to apply a color change in Photoshop, the first step is to tell Photoshop which parts of the image you want to change.
There are a variety of tools for creating selections in Photoshop, and the best option will depend on the exact content of your image. Sometimes, you’ll need to combine several different tools to get the fastest results.
Often, the best option is to directly to the Select and Mask workspace, which is a relatively recent addition to Photoshop’s exhaustive array of selection tools. It sort of replaces every other selection tool, especially when you’re creating complex selections such as an entire shirt.
To get started with Select and Mask, open the Select menu and choose Select and Mask, or you can use the keyboard shortcut Command + Option + R (use Ctrl + Alt + R on a PC).
If you’ve already got a selection tool active, you may also be able to launch Select and Mask using the button on the options bar above the main document window.
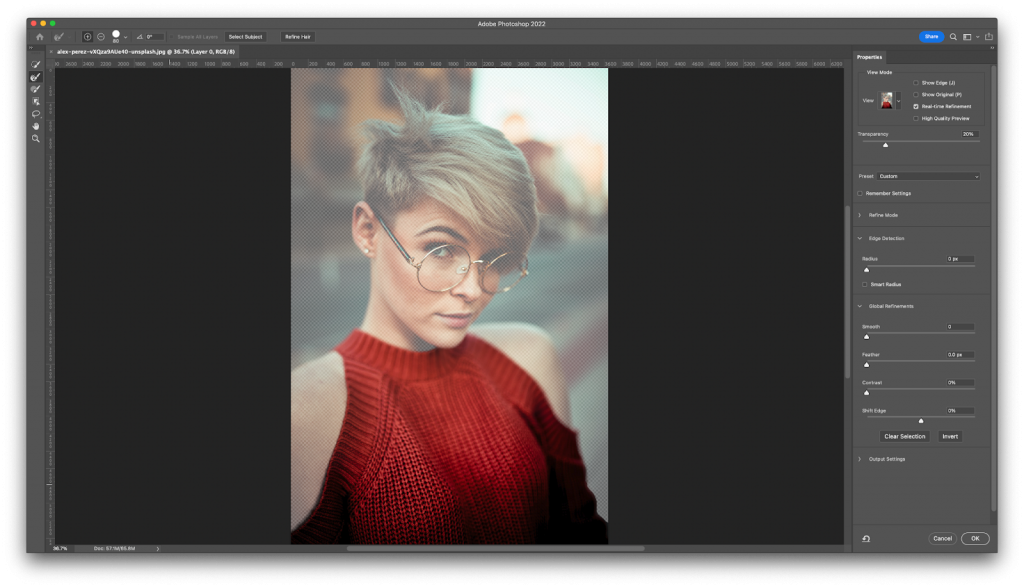
Select and Mask brings together a few useful selection tools accessible on the left side of the window and some great customization options available on the right.
Use a combination of the Object Select tool, the Brush tool, and the Quick Selection tool to make your selection, and use the Refine Edge tool if necessary to tell Photoshop exactly where the edges of the shirt are. This is very helpful for complex edges that have lots of texture.
Pay close attention to the icon in the middle of your brush cursor: if it’s a + sign, you’ll add to your selection, but you can hold down the Option key (use the Alt key on PC) to switch to subtracting from your selection.
Once you’ve got all the parts of your shirt selected, find the Output Settings section in the bottom right of the Select and Mask workspace (see below).
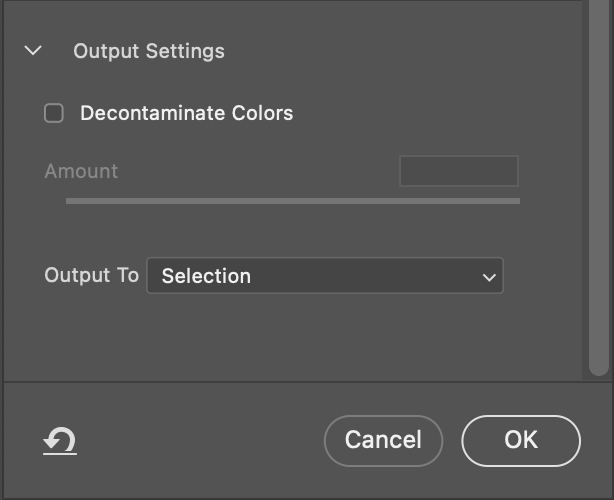
Make sure that Output To is set to Selection, and click OK to exit the Select and Mask workspace. You’ll see that your selection is now complete!
Step 2: Creating a Hue/Saturation Adjustment Layer
Now that we’ve told Photoshop which parts of the image we want to change, it’s time to start the color change process. The best method to change the color of a shirt in Photoshop is with a Hue/Saturation adjustment layer, and they’re very easy to use!
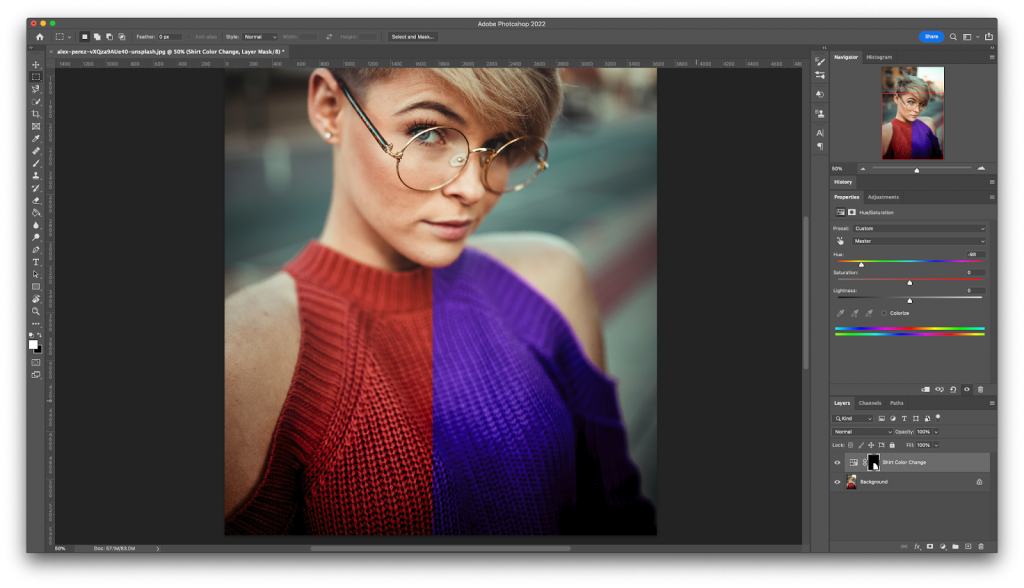
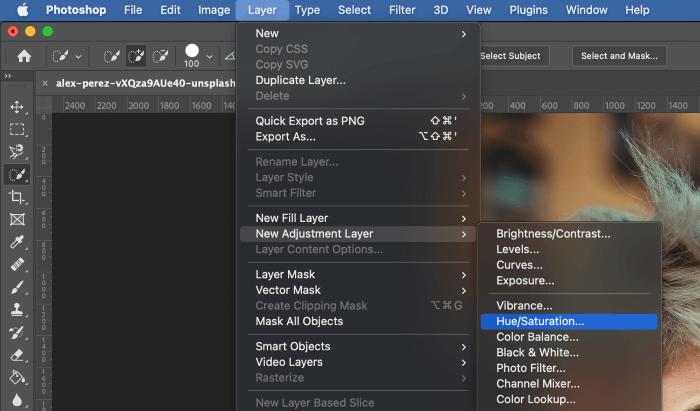
With your selection still active, open the Layer menu, select the New Adjustment Layer submenu, and click Hue/Saturation.
Give your new layer a descriptive name, and click OK. It’s just a good habit to be in!
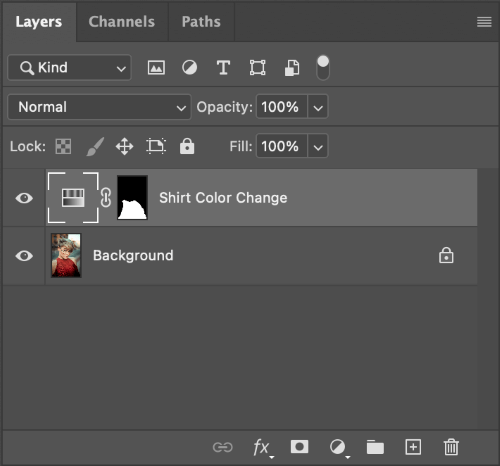
You’ll see a new entry in the Layers panel in the bottom right corner of the screen.
Because there was an active selection when creating the new adjustment layer, Photoshop automatically used the selection to create a layer mask, which will limit the layer’s effects to just the shirt (or any other areas of the image that were selected).
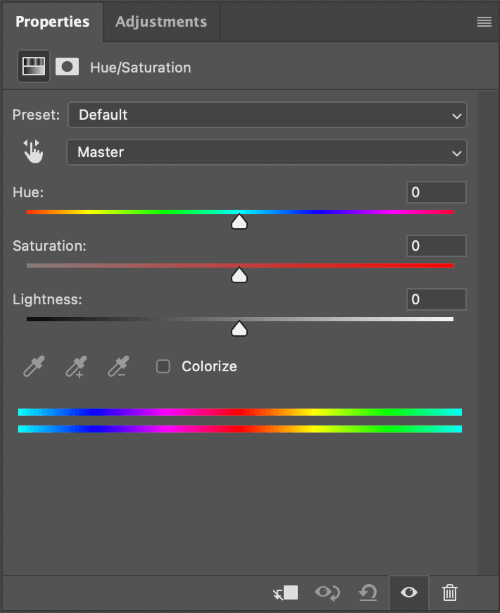
Adding a new adjustment layer also activates the Properties panel, allowing you to customize the adjustment (see below).
Step 3: Change the Color of Your Shirt
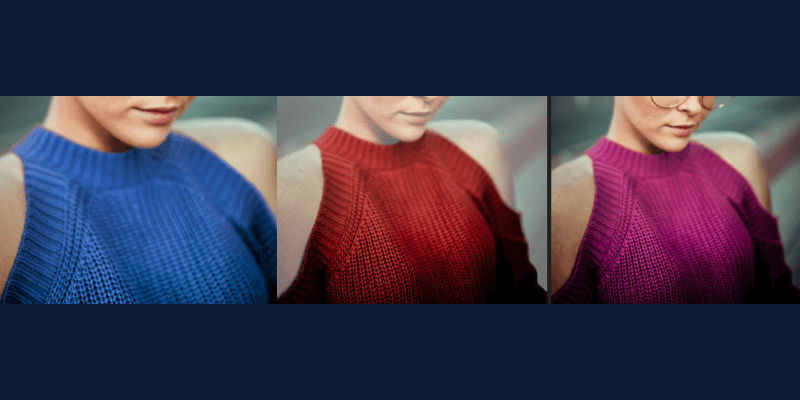
Last but not least, it’s time to actually apply the color change. Drag the Hue slider and watch as the shirt changes color in real-time! Just keep in mind that not every hue will look natural, especially if your image has complex lighting, so make sure you choose a color that looks good!
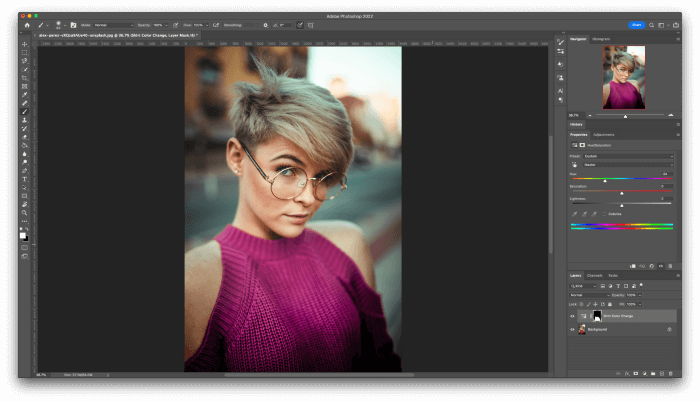
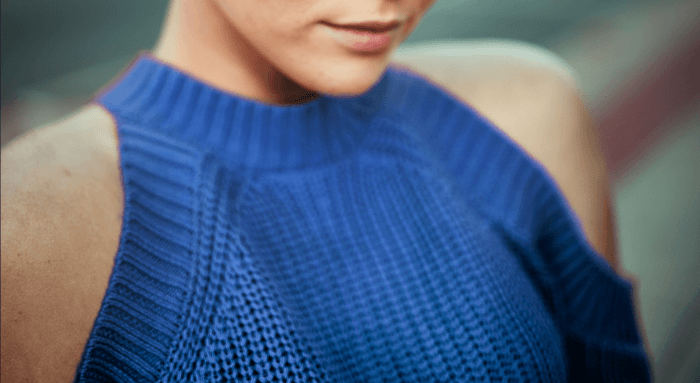
You may also discover that your mask isn’t quite as precise as you thought, as I discovered when I tried to make the model’s shirt blue.
Some reddish fringing around the edges of the shirt didn’t show up on the purple version, but it became immediately obvious with more contrasting colors.
Fortunately, it’s easy to adjust your layer mask. Set your foreground and background colors to the default using the keyboard shortcut D, switch to your brush tool using the keyboard shortcut B, and then click the layer mask thumbnail in the Layers panel to select it.
While it remains selected, all your brushwork and edits will only apply to the layer mask.
If there’s an area that should be changing color but isn’t, paint white pixels onto the area. If there’s an area that shouldn’t be changing color but is, paint black pixels overtop. The layer mask will update in real time, showing you the updated color adjustment results.
Troubleshooting: Shirts With No Hue
If the shirt you want to change doesn’t have any color to it, you’ll have a hard time using the Hue adjustment slider to modify it. Instead, you’ll need to check the Colorize box in the Properties panel, which will turn your selected color into a transparent overlay.
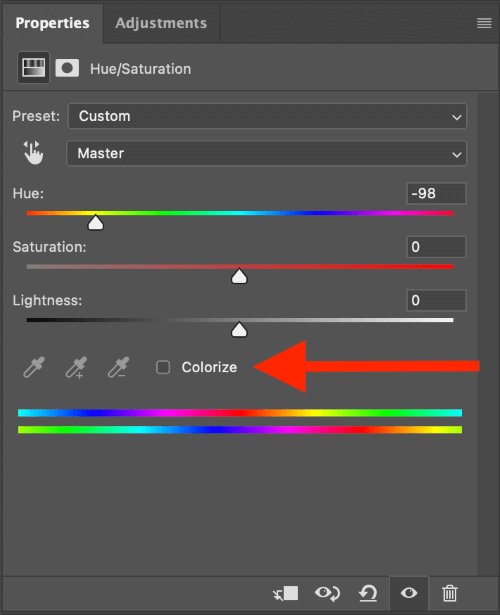
This method works much better on light-toned shirts like white or gray because black shirts are often too dark to display much color. You may have to play around with the Saturation and Lightness sliders as well to get the proper results.
A Final Word
That’s just about everything you’ll need to know to change the color of a shirt in Photoshop! This example was a fairly simple one, although you may have noticed that the depth of field blur caused some issues when creating the selection and color change.
Despite how simple it sounds to change the color of a shirt, every single image has its own quirks that will require creative problem-solving (at least, until Adobe’s Sensei AI gets so good that we just have to tell Photoshop what we want and it does it for us).
Happy color-changing!
About Thomas Boldt