The Frame tool in Photoshop makes it ridiculously easy to add frames to your project. While you can accomplish a similar feat with layer masks, smart objects, etc, the Frame tool makes it 10x faster.
Hey-oh! This is Cara again. If you’ve read some of my other tutorials here on Photoshop Buzz, you may already know that I hate to waste time. That’s what makes the frame tool so awesome! It’s one of those shortcut tools that makes a project super easy.
There are different effects you can make with the frame tool, you can make a frame to place an image, add a frame to an image, and even make a frame from a shape.
Let me show you what I mean!
Note: the screenshots below are taken from Photoshop CC for Windows, Mac or other versions can look slightly different.
Table of Contents
Make a Frame to Place an Image
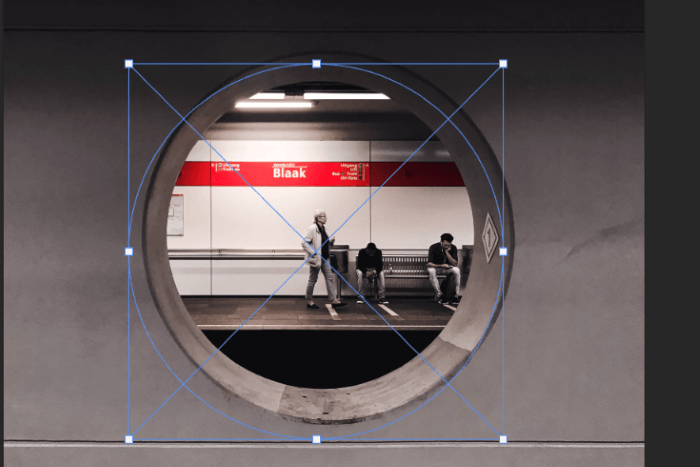
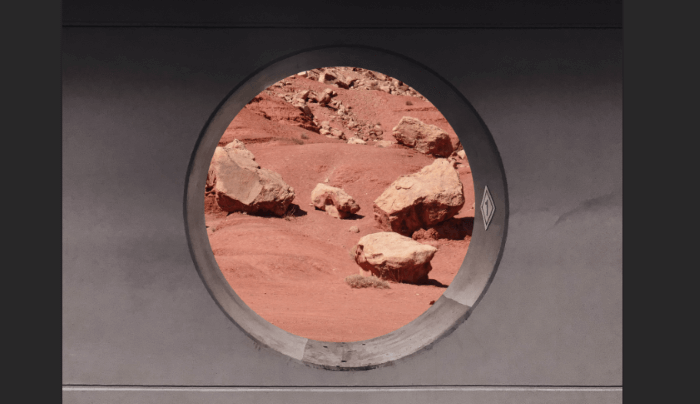
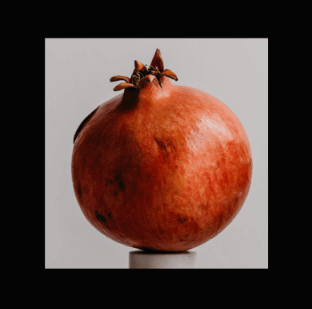
Let’s start with a circular frame. I got this image from Pexels.com. Let’s say we want to replace the scene through this circular window with a different image.
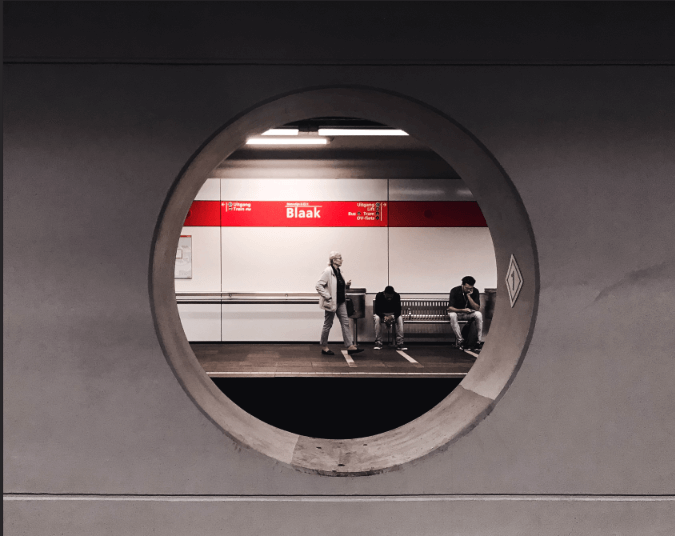
You could go the long route with layers, masks, and painstaking steps. Or you could simply drop a frame on the image and have it done for you.
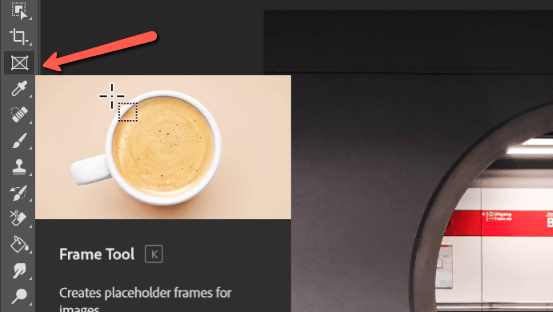
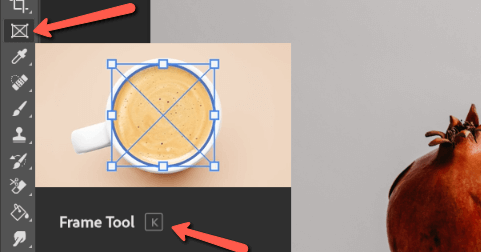
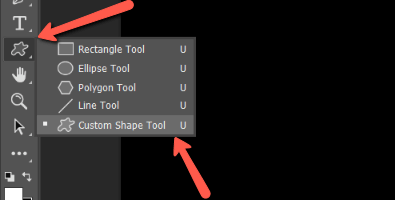
Step 1: Select the Frame Tool
Choose the Frame tool from the toolbar on the left.
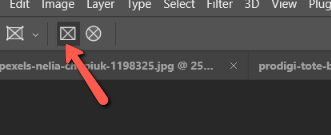
In the Options bar, you can choose two framing options, circle or rectangle. You can create any type of ellipse (circle, oval) with the circle option and any type of rectangle with the rectangular one. Let’s pick the circle one for this image.
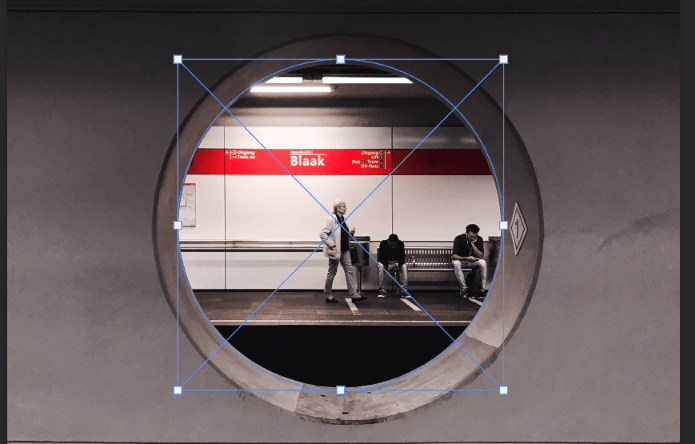
Click and drag over the image to place the frame where you want it. Hold Shift to constrain the frame to an exact circle.
Don’t worry about placing it perfectly the first time. You can grab the handles to adjust the frame later.
Step 2: Place the Second Image
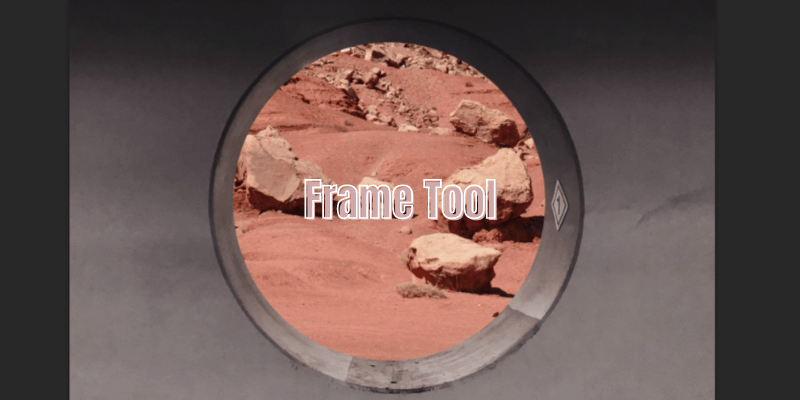
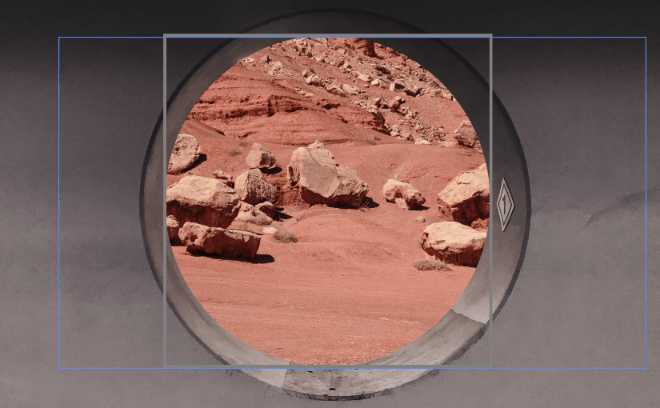
Now we’re going to drop this “Martian landscape” image into the frame, also provided by Pexels.com.

Go to File and choose Place Embedded.
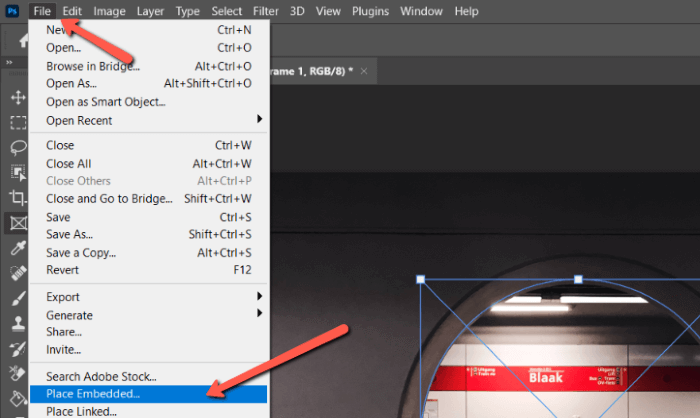
Navigate to the image you want to use on your computer or from another program like Lightroom. Choose the image and click Place.
Photoshop will drop the image inside your frame, easy peasy!
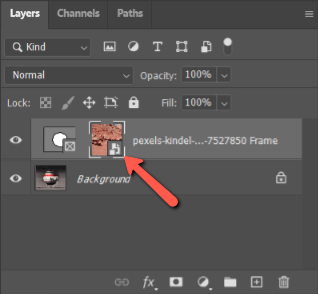
Notice over in the Layers panel that the image is automatically placed as a smart object.
Plus, it is automatically constrained to the inside of the frame. Thus, you can drag the image around to reposition it as you please.
You can also press Ctrl + T or Command + T on the keyboard to resize the image as needed.
Pretty simple, right? The same technique can be applied with the rectangle option to make rectangular frames and fill them with images.
Now let’s look at what else you can do with the Frame tool!
Add a Frame to an Image
Let’s drop a frame directly on top of the image we want to frame. This is also really simple to do.
Select the Frame tool from the toolbar or press K on the keyboard.
Let’s choose the square orientation this time.
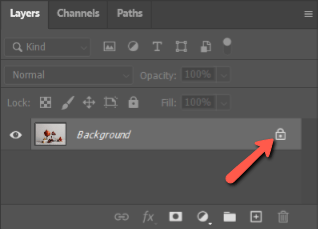
This next step is very important, don’t miss it or you’ll be scratching your head wondering why it’s not working. If you’re working on a background layer, unlock the layer by clicking the padlock icon on the right side of the layer.
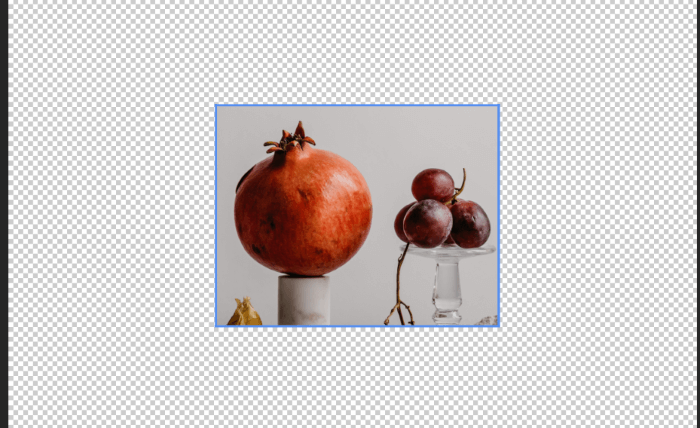
Then, click and drag out your frame where you want it. It doesn’t have to be perfect on the first go. You’re able to adjust the size and positioning later.
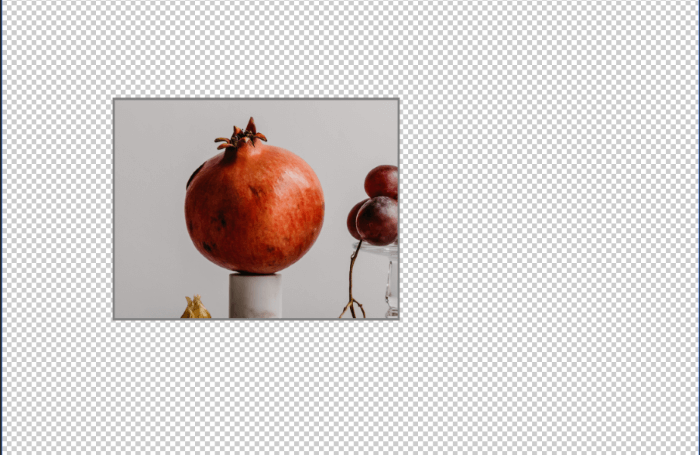
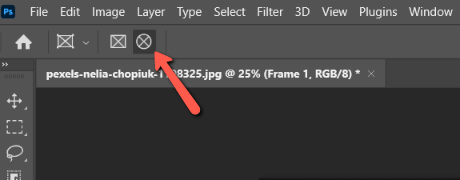
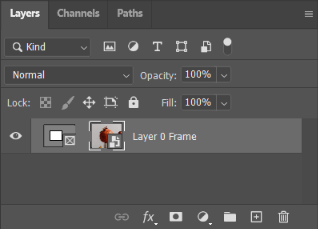
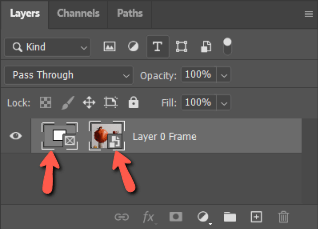
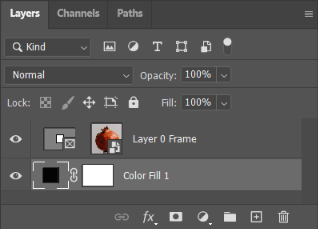
Notice how the image is turned into a smart object? Because of this, you can easily replace the contents of the frame with another image. A new frame icon also appears to the left of the image thumbnail on the same layer.
Make Adjustments
Select the image thumbnail as seen in the above screenshot to resize or adjust the position of the image inside the frame.
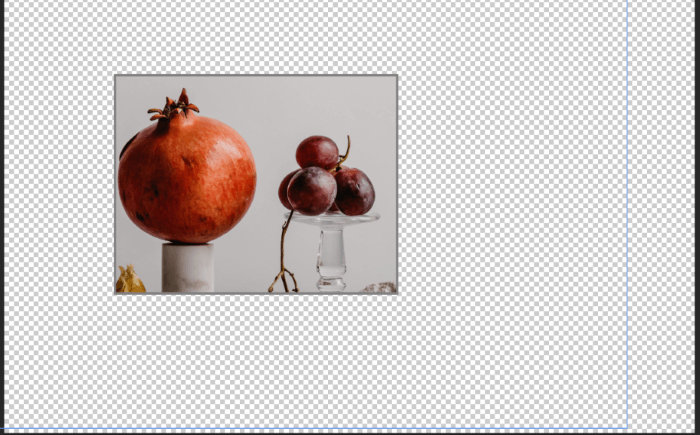
Hold Shift while clicking to select both the frame and the image.
This allows you to move the whole image and frame to a new position on the canvas.
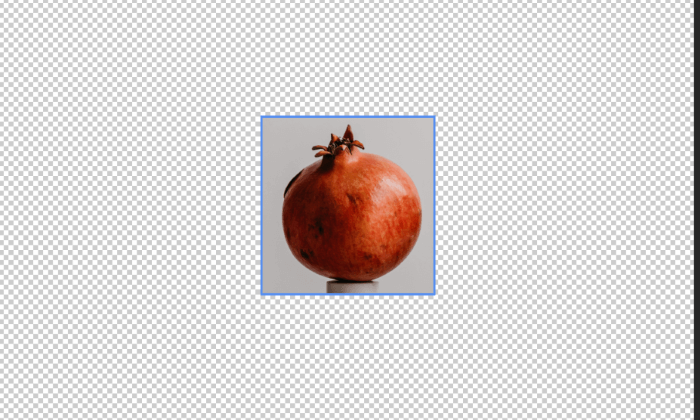
Finally, with only the frame thumbnail selected, click directly on the frame to resize the frame around the image.
Add a Fill Layer
To fill in around the image, simply add a solid color fill layer. Click the half-filled circle icon at the bottom of the Layers panel and pick Solid Color.
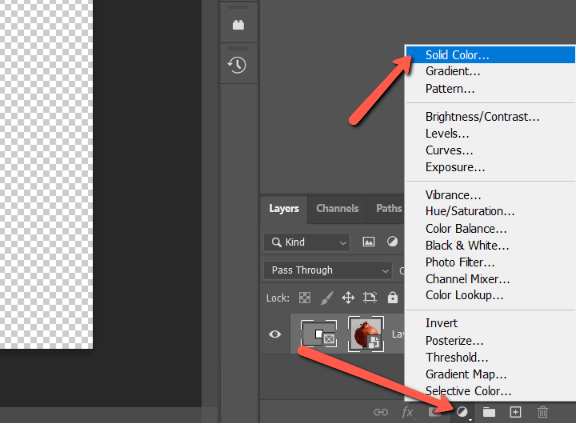
Choose whatever color you want from the color picker and hit OK. Then, drag the solid color layer under the frame and image layer. Adjust your canvas size as needed.
Voila!
Make a Frame from a Shape
This just keeps getting better! You are not limited to elliptical or rectangular shapes to make frames. You can place whatever shape you want on the canvas and create a frame from it.
Check this out.
Open a new document and pick the Custom Shape tool from the toolbar.
Choose a shape from the Options bar and place it on the canvas. Remember to hold Shift to maintain the aspect ratio of the shape as you drag.
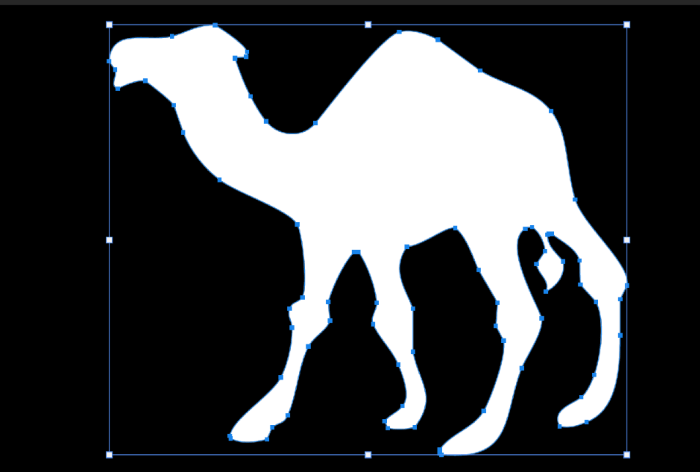
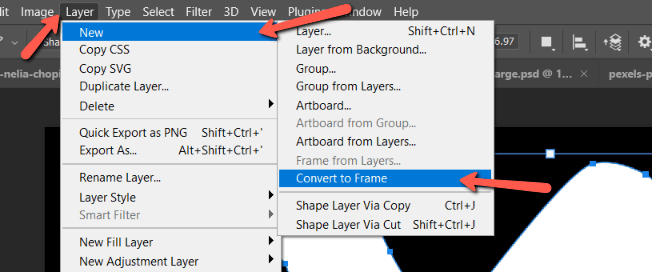
Now, go to Layer in the menu bar, hover over New, and choose Convert to Frame.
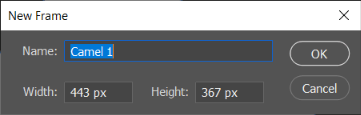
In the box that opens, name your frame and press OK.
Drop an image into the frame with the Place Embedded command as we did earlier.
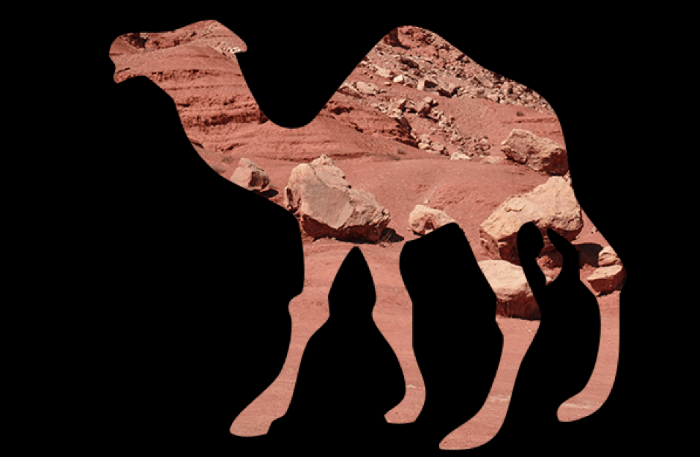
Awesomeness!
Ready to learn more amazing tricks in Photoshop? Check out how to fill a shape with color in this tutorial!
About Cara Koch