Can’t always predict when a pimple wants to pop out on a photo shooting day right? Well, no problem, Photoshop can remove the pimple or any spots that you don’t want and make you look as beautiful as always.
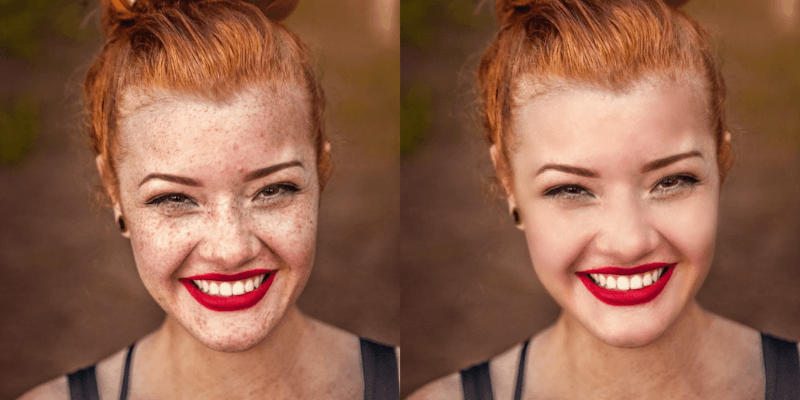
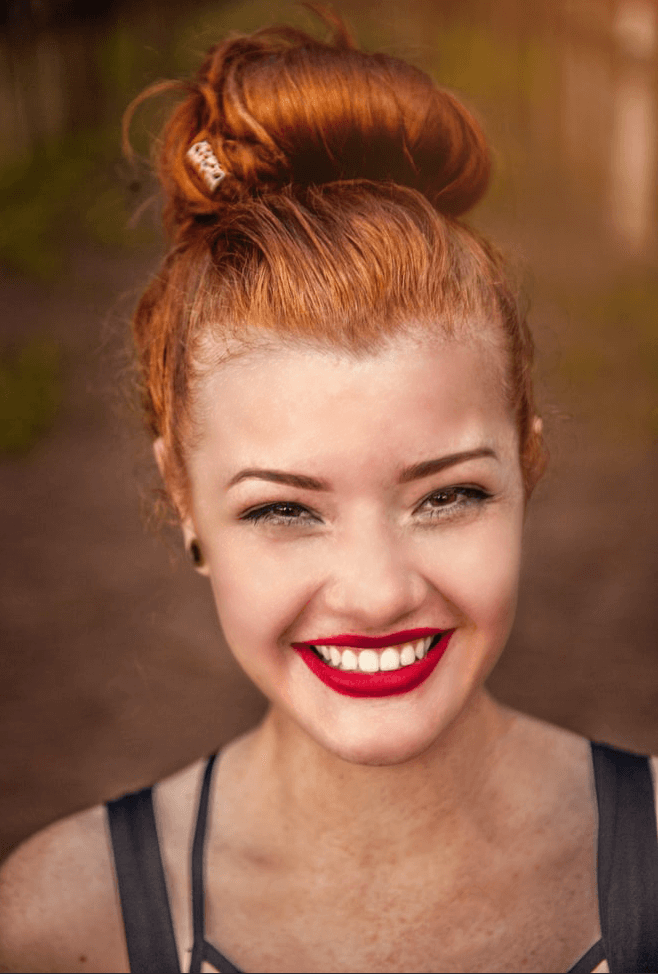
Freckles are absolutely beautiful, but I’m always curious to see different versions of the beauty. Want to see how this lovely lady looks without freckles?
In this tutorial, I’ll show you two ways to remove spots and freckles on her skin. You can use these two methods to touch up/airbrush any image you need.
Note: All screenshots are taken from Adobe Photoshop CC Mac Version. Windows or other versions can look different.
Method 1: Image Filter & Adjustments
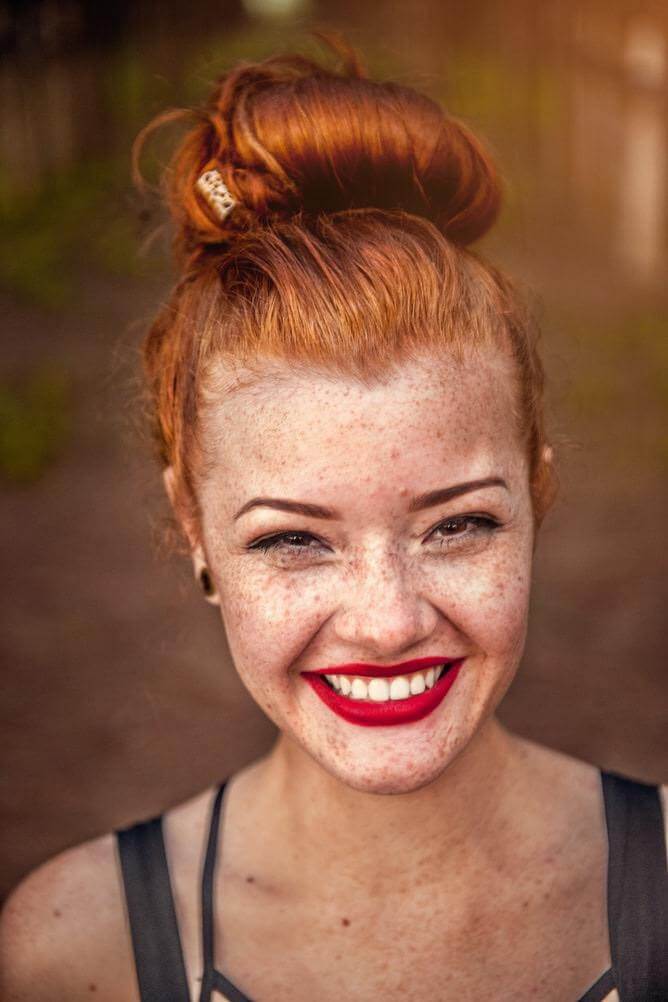
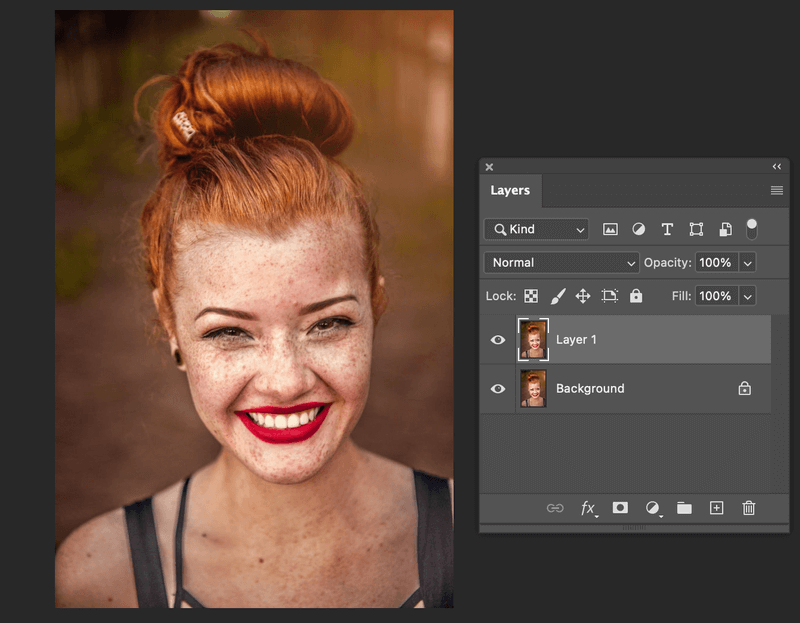
Step 1: Open the photo in Photoshop and duplicate the background layer. You can right-click on the background and select Duplicate Layer, or use the keyboard shortcuts Command (Ctrl for Windows users) + J to duplicate a layer.
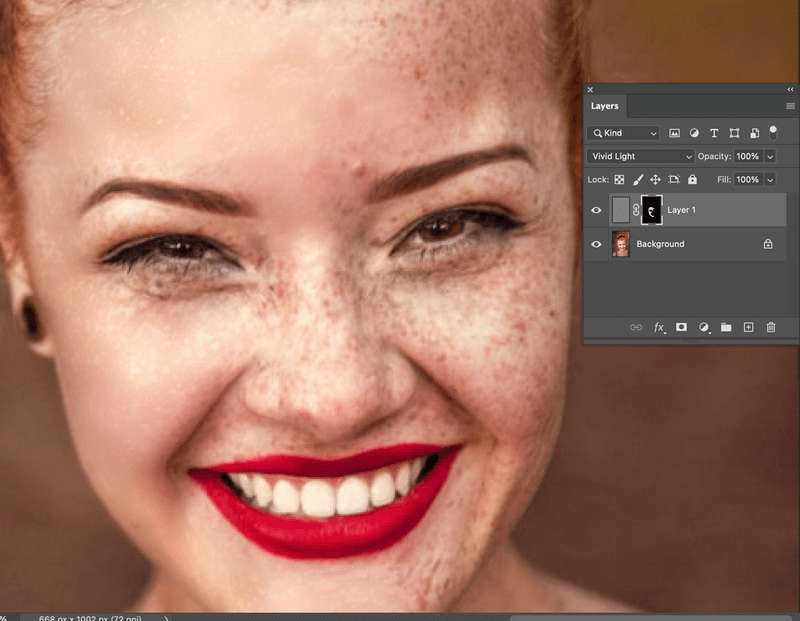
Step 2: Select Layer 1 and go to the top menu Image > Adjustment > Invert.
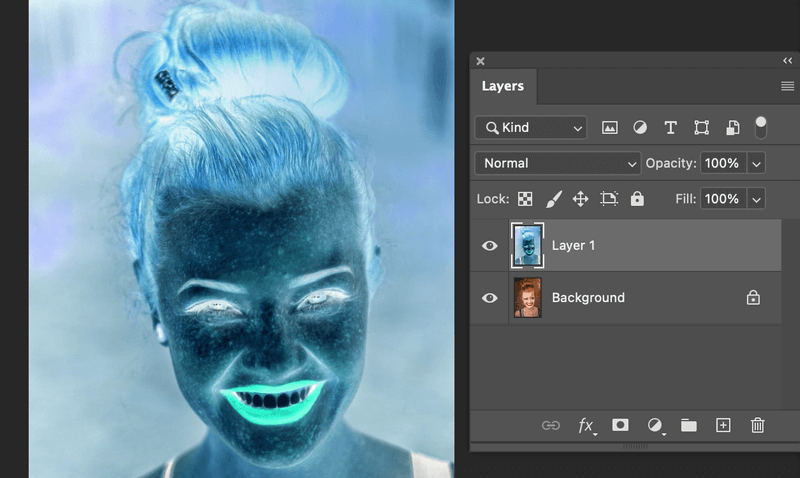
Change the layer blending mode to Vivid Light.
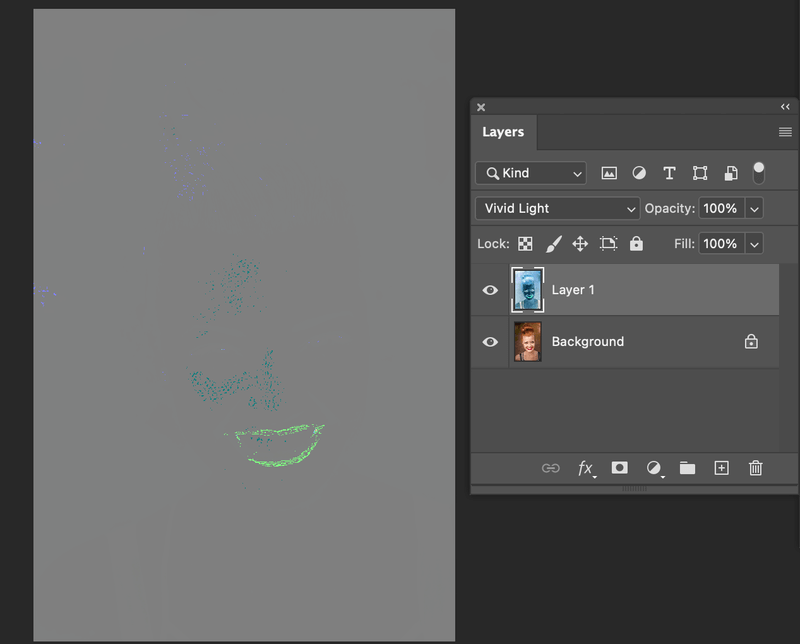
Step 3: Go to the top menu again and select Filter > Other > High Pass. The High Pass filter highlights the edges and its radius controls how much you want to highlight the edges.
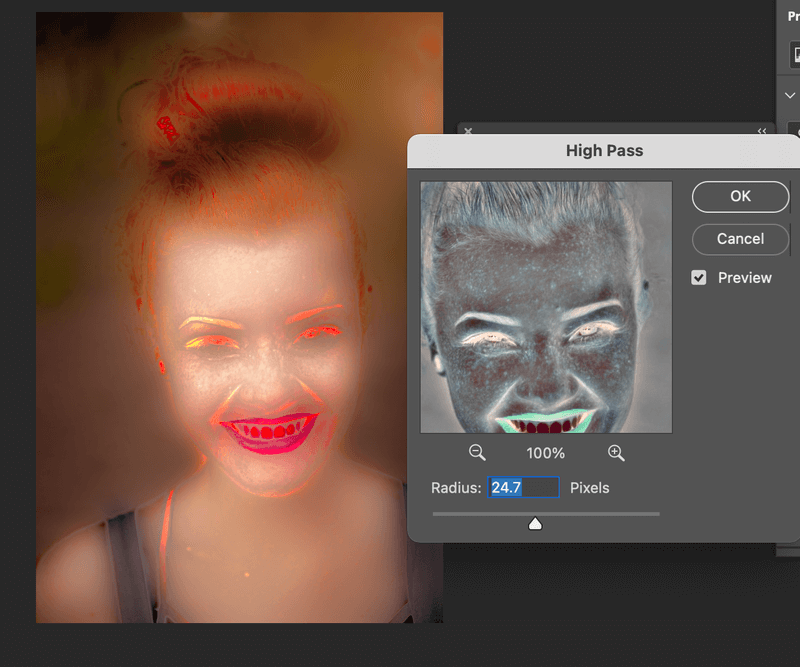
The lower the radius value, the less image area it highlights. If you set the radius really low, it’ll only highlight the detail area. I set mine to be around 24 pixels, which is a good value for most portrait photos.
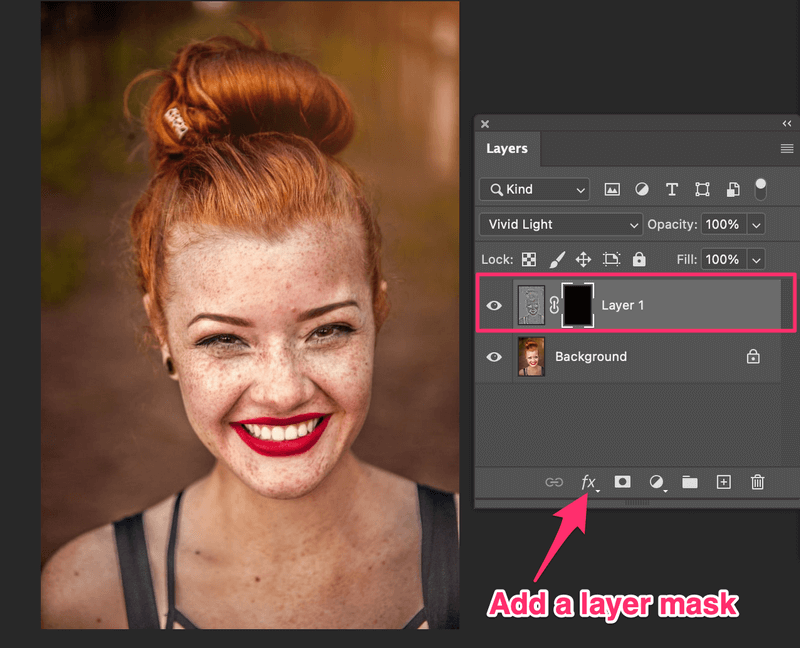
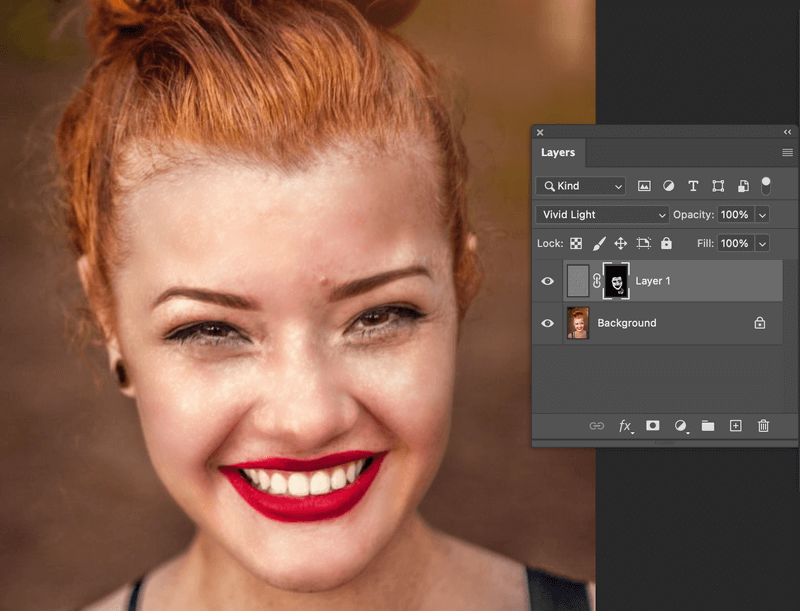
Step 4: Add an Invert Layer Mask by holding the Option key (or Alt if you’re on Windows), and clicking on the add a layer mask icon. You’ll see the original image again.
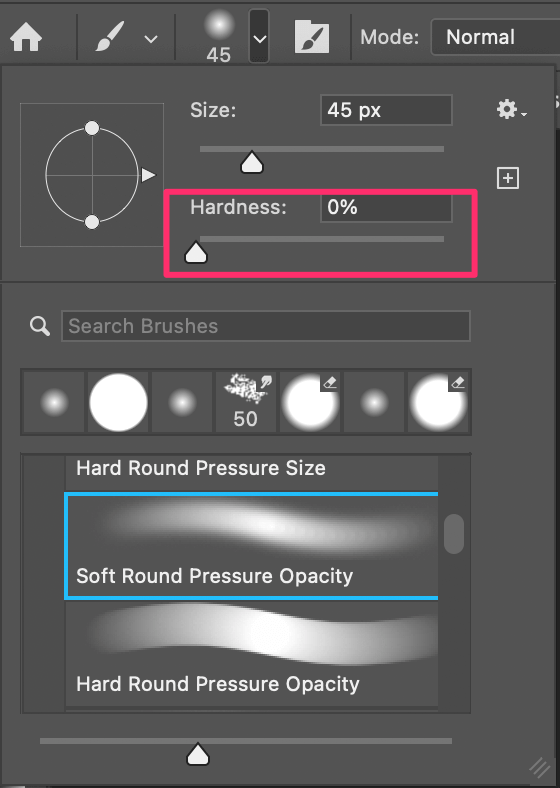
Step 5: Select the Brush Tool from the toolbar, change the foreground color to white, and choose a soft brush (set the Hardness to 0%)
Start brushing on the skin where you want to remove spots and freckles. I brushed the left side of her face. See the difference?
Continue brushing until you remove all spots that you don’t want. You might have to adjust the brush size and opacity when you airbrush different areas.
The skin should be pretty smooth after using this method. But notice there are still some spots and highlighted areas? You can use the Spot Healing Brush Tool to touch up the image, read the second method below for more.
Method 2: Spot Healing Brush Tool
Continuing with the image above, now let’s work on some details.
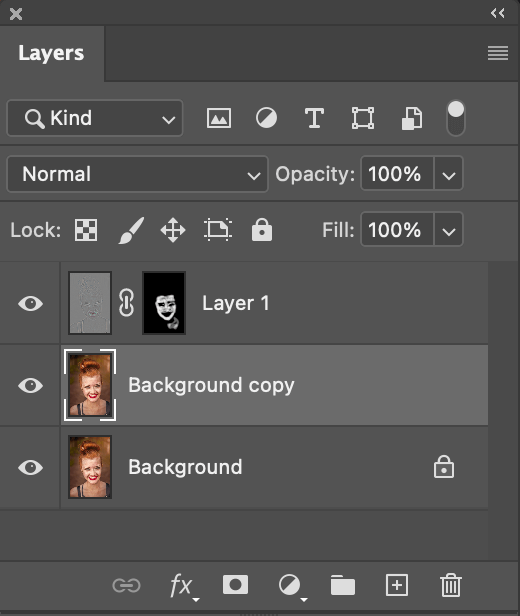
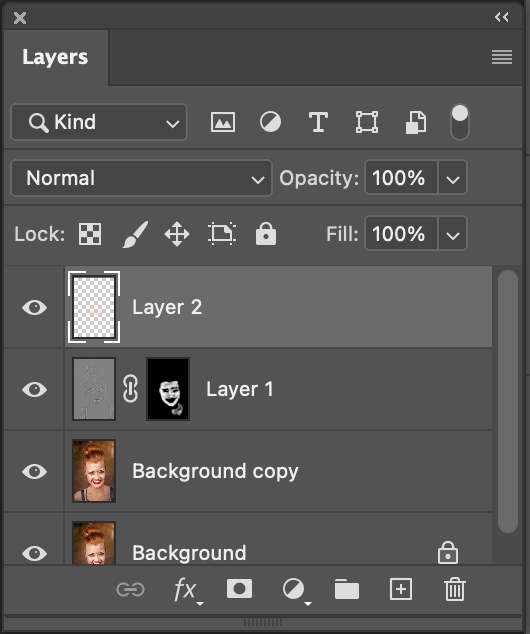
Step 1: Select the Background (image) layer and duplicate the layer. It should be underneath Layer 1.
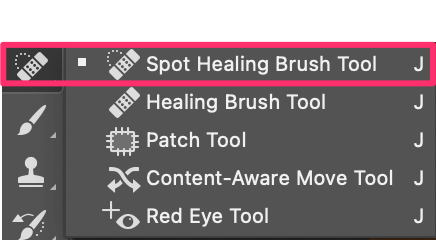
Step 2: Select the Spot Healing Brush Tool from the toolbar.
From the top toolbar set the brush type as Content-Aware.

Now you can zoom in on the image where you want to remove any spot.
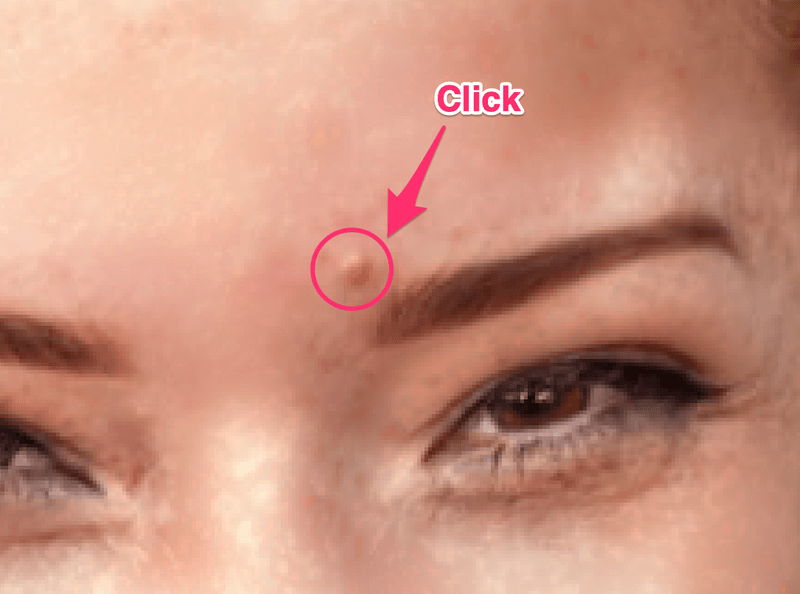
Adjust the brush size to slightly bigger than the spot and simply click on the spot to remove it.
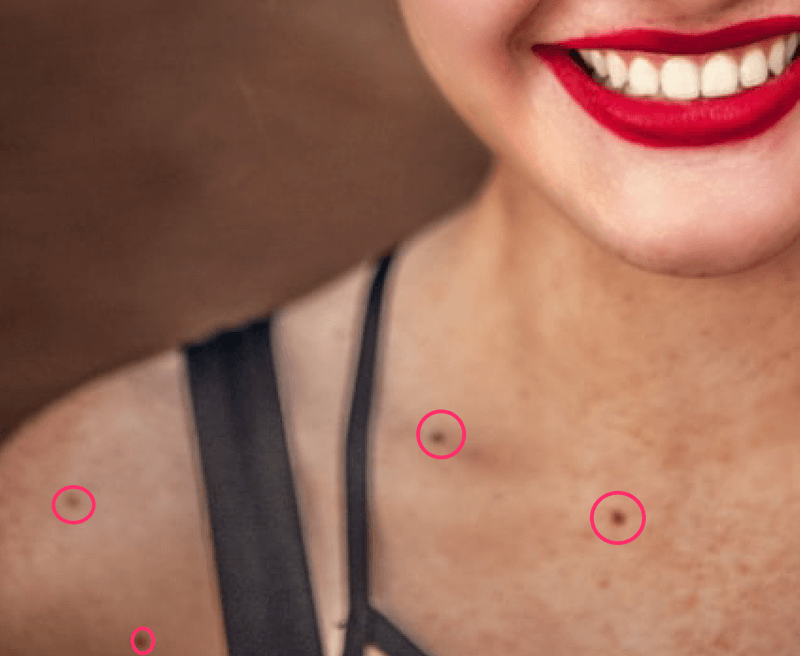
I’m going to use the same method to remove other obvious spots.
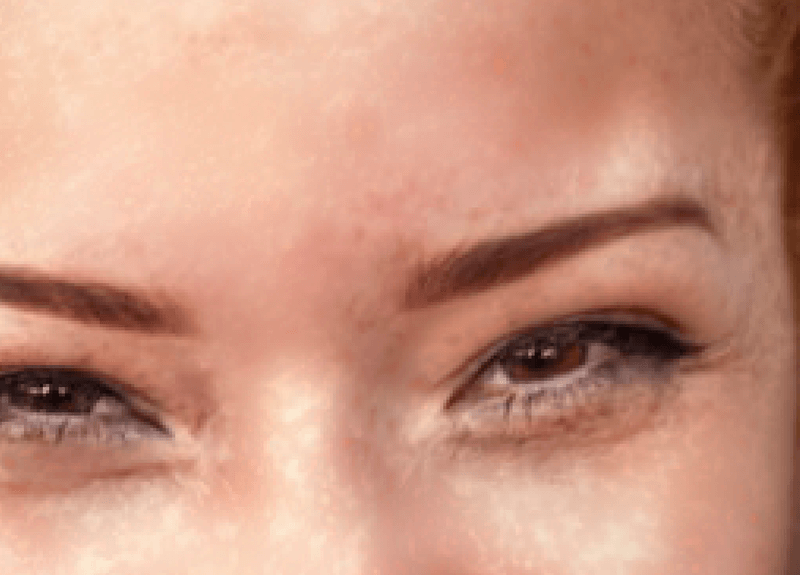
The spot healing brush tool samples the skin area near the spot you click on. See? All good.

If you want to adjust the lighting on the face or smooth some areas, you can add a layer on top of Layer 1 and use the brush tool to brush on her skin.
Use the Eyedropper tool to sample color near the area you want to brush on, adjust the brush Hardness to 0% and lower the opacity.

You should be able to even out the highlight spots on her cheeks and nose area. Looking good?
Wrapping Up
Depending on how deep you want to touch up the image and what result you’re looking for, you can remove spots in a minute or you can take your time to go over a deep clean-up for the skin.
The Spot Healing Brush Tool is great for removing obvious spots and the other method works well in airbrushing skin in general. Either way, you can add a soft touch of Brush Tool, and adjust the layer opacity to make it look more natural.
About June
sparky
looks good but I want to capture an image in the airbrush and “spray” it onto another image
June
If you want to actually combine 2 images, you may be best to position 1 image over the other and use the layer opacity and a layer mask on the top layer. That way you can remove bits of the image and achieve the effect that the 2 images have merged. Hope that helps.