
Portrait retouching is one of the most common uses of Photoshop in the entire world. Whether it’s an engagement photoshoot, a professional headshot, or a magazine fashion shoot, you always want your models to look their very best.
As a result, a huge amount of time is spent on skin smoothing edits, but there is a new Photoshop feature that can dramatically speed up and simplify your portrait retouching: the Skin Smoothing neural filter.
If you haven’t explored them before, neural filters are probably the most exciting thing to happen in Photoshop in a long time.
They are the latest product of recent advances in AI machine learning techniques, and they’re all still technically in beta testing, but many of them are worth exploring already – especially Skin Smoothing.
Here’s how you can use the latest tech with your own images!
Table of Contents
The Quick Guide to Smooth Skin in Photoshop
Here’s a quick overview of a modern skin-smoothing process:
- Step 1: Use the Spot Healing Brush to remove any blemishes.
- Step 2: Launch the Skin Smoothing Neural Filter.
- Step 3: Adjust settings until the skin has been sufficiently smoothed.
That’s all there is to it! Neural Filters do all the heavy lifting and save you a huge amount of time. If you want to take a closer look at how the process works and learn a bit more about the other improvements it brings, then read on!
Smoothing Skin in Photoshop With Neural Filters
(Note: the stock image used in this tutorial is from Unsplash.com, courtesy of user Anamnesis)
As always, keep in mind that many people pride themselves on their beauty marks or birthmarks, so be sure to check with your subject before proceeding – especially if they’re a client! A quick discussion can head off a lot of future issues.
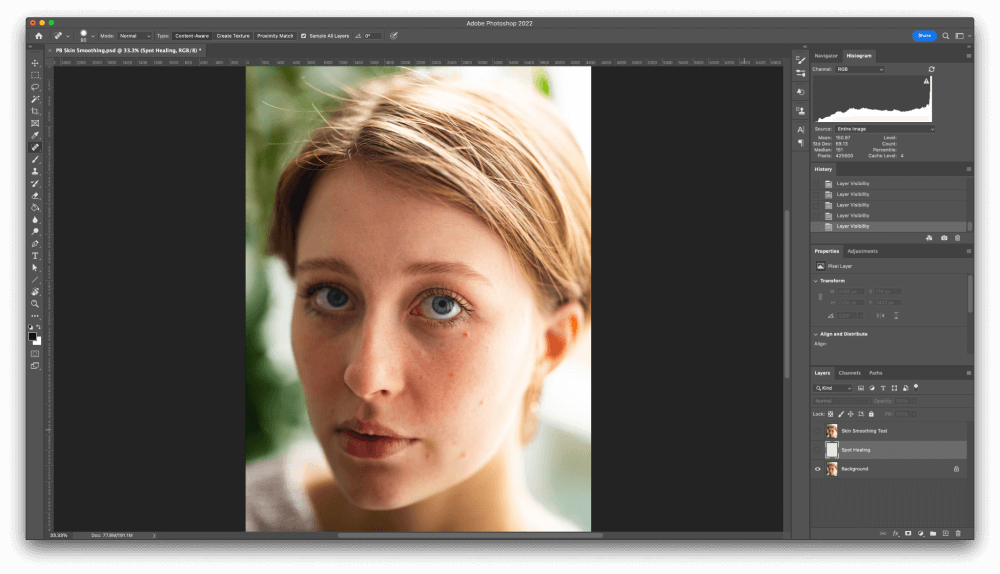
Step 1: Spot Healing
Before you get started with the Skin Smoothing neural filter, it’s a good idea to remove any large blemishes from your subject’s skin.
The Skin Smoothing filter can often remove them too, but the settings required can also look a bit over-processed, so it’s often better to remove blemishes first with a more precise tool.
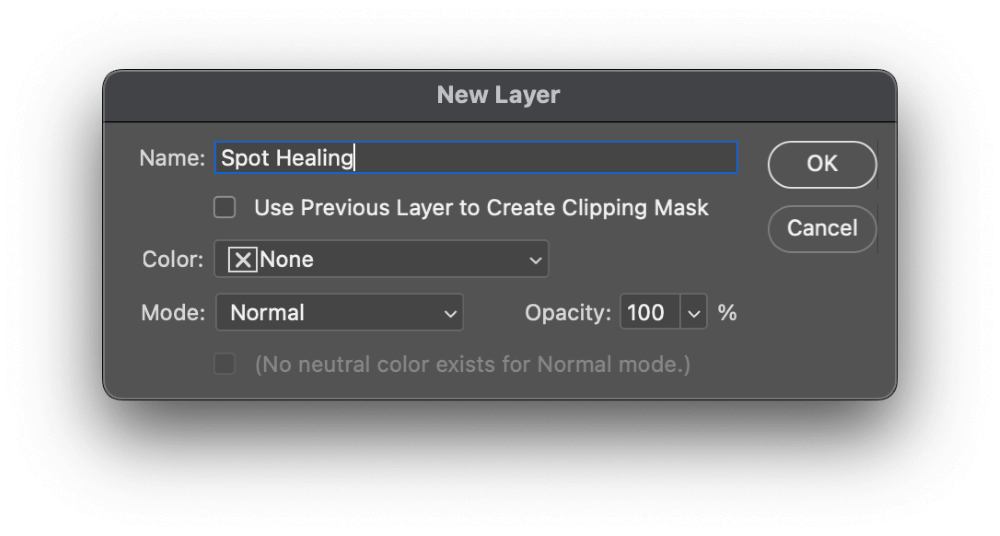
Create a new layer to hold all your spot-healing pixels by pressing the keyboard shortcut Command + Shift + N (use Ctrl + Shift + N if you’re using Photoshop on a PC). Give your new layer a descriptive name and click OK.
Switch to the Spot Healing brush using the toolbox or the keyboard shortcut J. In the tool options bar at the top of the main document window, make sure that the Type setting is Content-Aware, and that the Sample All Layers box is checked.
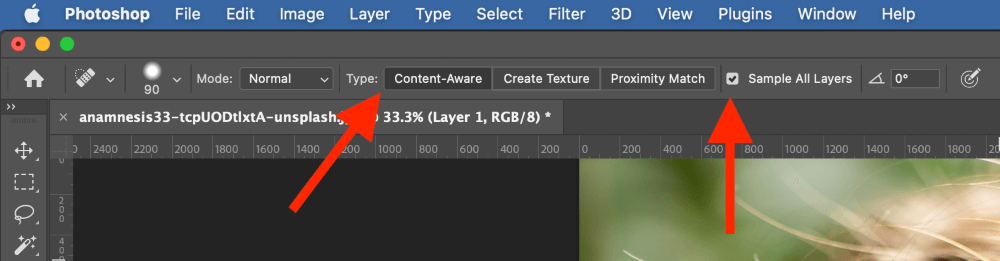
Click each blemish to remove it, adjusting your brush size as necessary.

Step 2: Layer Prep
Neural filters only work on the currently selected layer, so you’ll need to duplicate your spot healing and background layers and then merge the copies to create a working layer for the Skin Smoothing filter.
Hold the Shift key and click each layer in the Layers panel to select them both, then right-click one of them and choose Duplicate Layers from the popup menu.
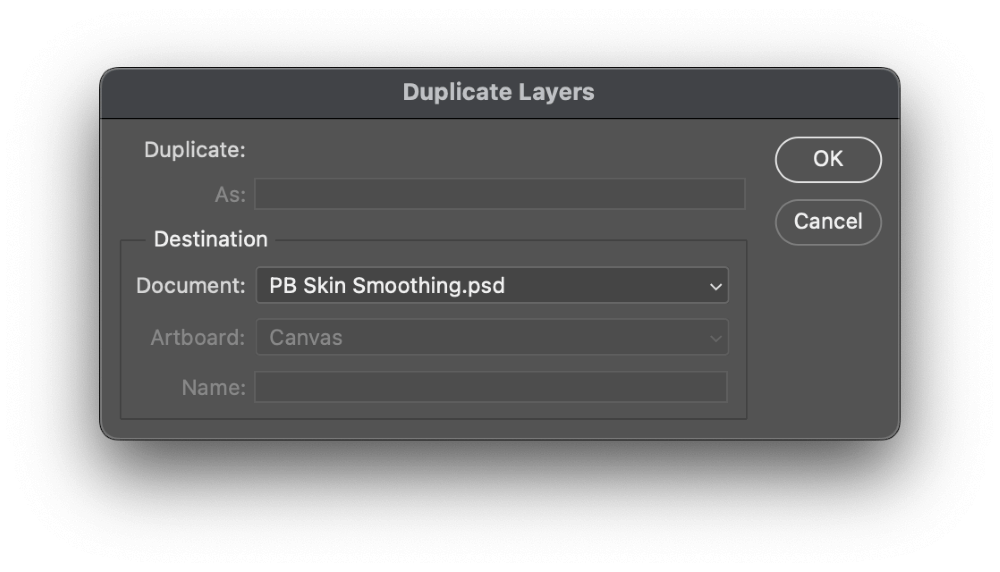
In the Duplicate Layers dialog box, make sure that the Destination document is your current working document, and click OK.
The two layers will be duplicated, as you can see in the Layers panel. Right-click them again, and choose Merge layers.
The two layers will be flattened into a single layer that we can use with the Skin Smoothing filter, but we’ll also still have a backup copy of our original image and our spot healing layer.
Step 3: The Skin Smoothing Filter
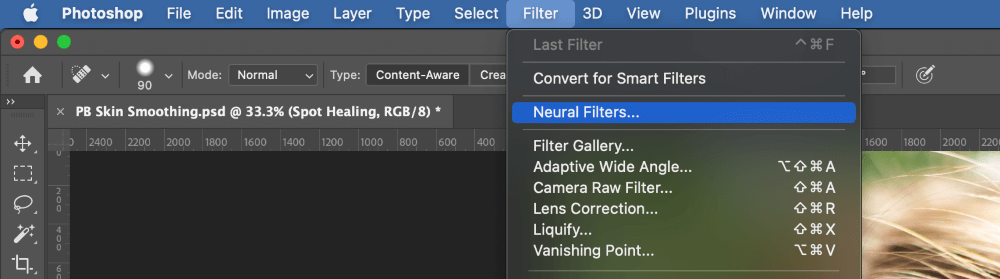
At last, it’s time to fire up the new filter and see how it works. Make sure that your newly merged layer is selected, then open the Filters menu and click Neural Filters.
Photoshop will launch the Neural Filters window, which allows you to experiment with all the AI-based tools that they’re testing.
You may need to download them individually, depending on whether or not you’ve used them before, but it’s as simple as clicking the small cloud download icon beside each entry in the list.
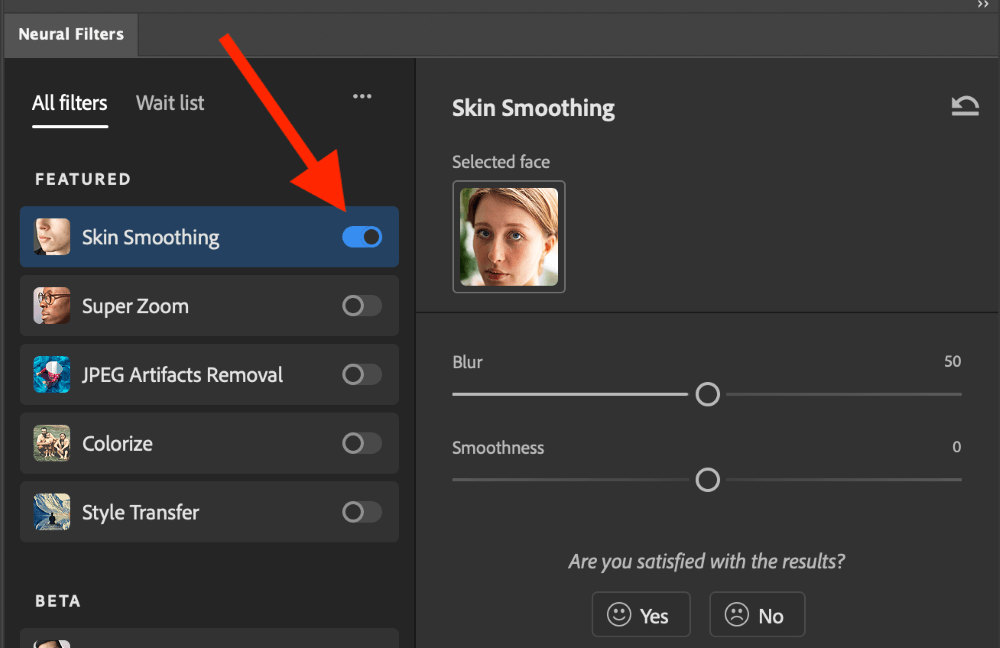
This photo only has one face visible and one face detected, but for group shots, you can adjust each face individually.
In this example, even the default settings create a very smooth skin appearance, perhaps even over-softened – but that’s entirely automatic with no manual smoothing required at all!

Adjust the settings until you’re happy with the results, then make sure the Output setting is New Layer and click the OK button.
Photoshop should have already finished all the processing during the preview phase, so your new layer should be ready to go!
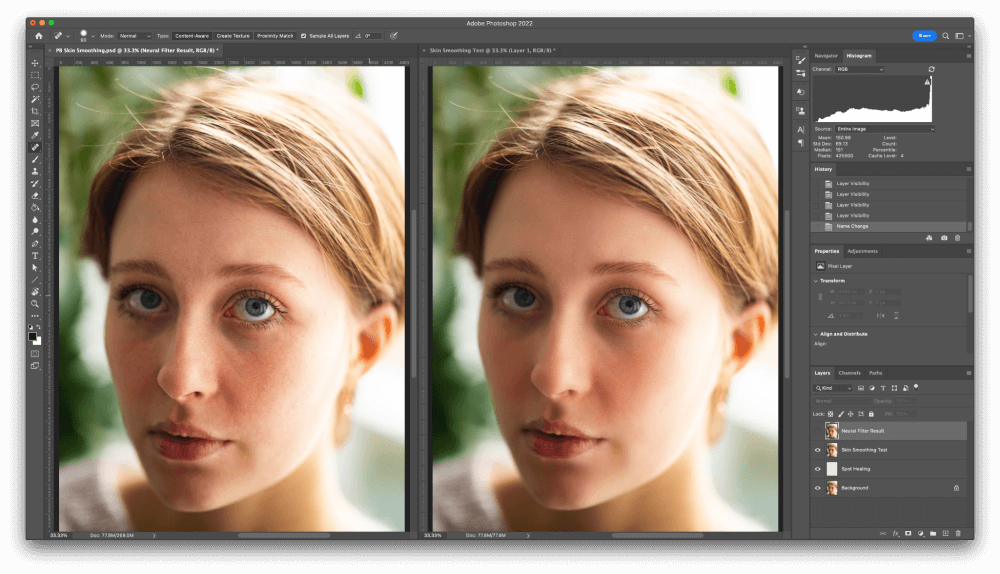
Because you’ve got the smoothed version on a separate layer, you can also add a layer mask if you want to have more control over the location of the smoothing effect.
In this case, the smoothing is a bit too noticeable around the model’s eyes, so a quick layer mask and a bit of brushwork will allow the unsmoothed eyes to show through more clearly.
That being said, I’m very impressed with the results of the Skin Smoothing filter, and I think it’s currently the best way to smooth face in Photoshop. Try it out yourself and see what you think!
Smoothing Skin Manually In Photoshop
It’s also possible to smooth skin manually in Photoshop, but this is a long and complex process that uses some uncommon Photoshop tricks like high-pass filters and blending modes – and I’m not convinced that it does a better job than Neural Filters.
The results often look extremely artificial to me, and that’s after spending quite a long time doing multi-stage manual adjustments.
A Final Word
Hopefully, you’ll agree that the Skin Smoothing neural filter offers a promising way to get quality results very quickly with a minimum of retouching time.
The filter will probably go through some refinement before it’s finally treated as finished, but there’s also no doubt that it’s an exciting time to be a Photoshop image editor!
Happy retouching!
About Thomas Boldt