
Using the Eraser tool or the Clone Stamp tool in Photoshop, you can remove some of an image’s content. You can select from a range of brush sizes and shapes as well as change the opacity and flow of the brush with the Eraser tool.
For example, I often use the Clone Stamp tool to copy a portion of an image, then the Eraser tool to remove the undesirable copy.
My name is Aly, I have been using Adobe Photoshop for over five years, and I am Adobe Photoshop certified. Today I will be showing you how to remove part of an image in Photoshop.
Table of Contents
Key Takeaway
- Fine-tuning is something you need to be aware of, the zoom tool will be your best friend.
3 Ways to Remove Part of an Image in Photoshop
As I mentioned earlier, you can use the Clone Stamp to remove part of an image. Alternatively, you can also Content-Aware Fill or the Path Tool for this process. Follow the steps below to learn how to remove any undesirable objects in an image.
Method #1: Content-Aware Fill
Using the Content-Aware Fill tool in Photoshop is one of the best and simplest ways to remove anything from your photographs.
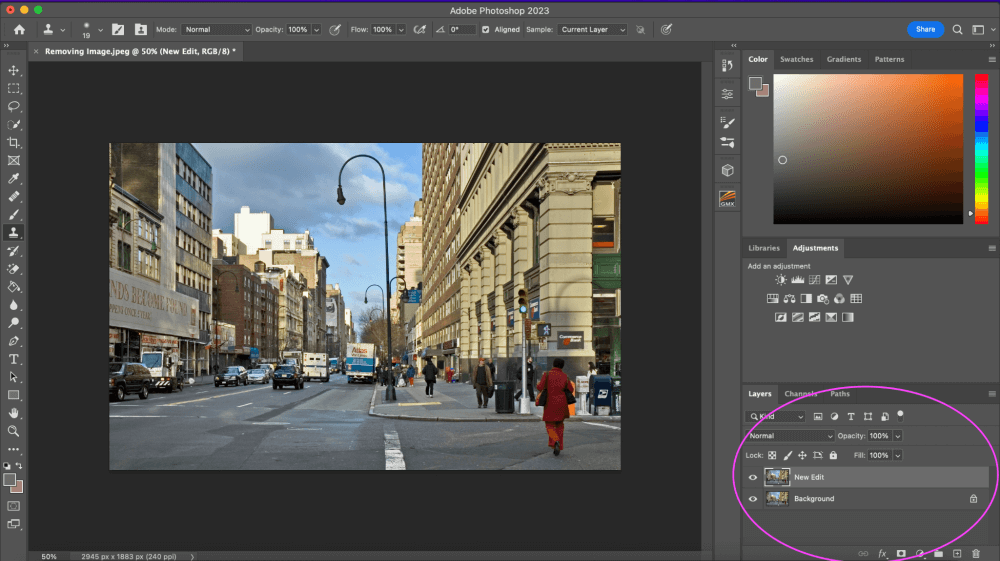
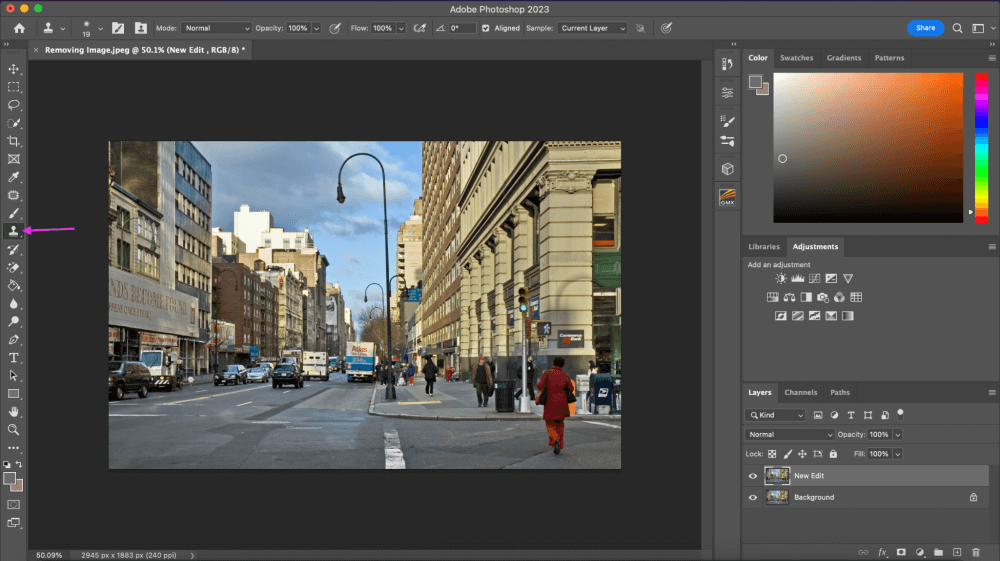
Step 1: First off we want to duplicate the background so go ahead and click Command + J on the keyboard to duplicate the background layer. Then double-click the new layer and rename it “New Edit”.
Step 2: Now, select the Lasso Tool From the left side menu. And freehand the selection that you do not want to be in the photo. Make sure to try and get as close to the object you are trying to remove as possible, without taking out much of the background.
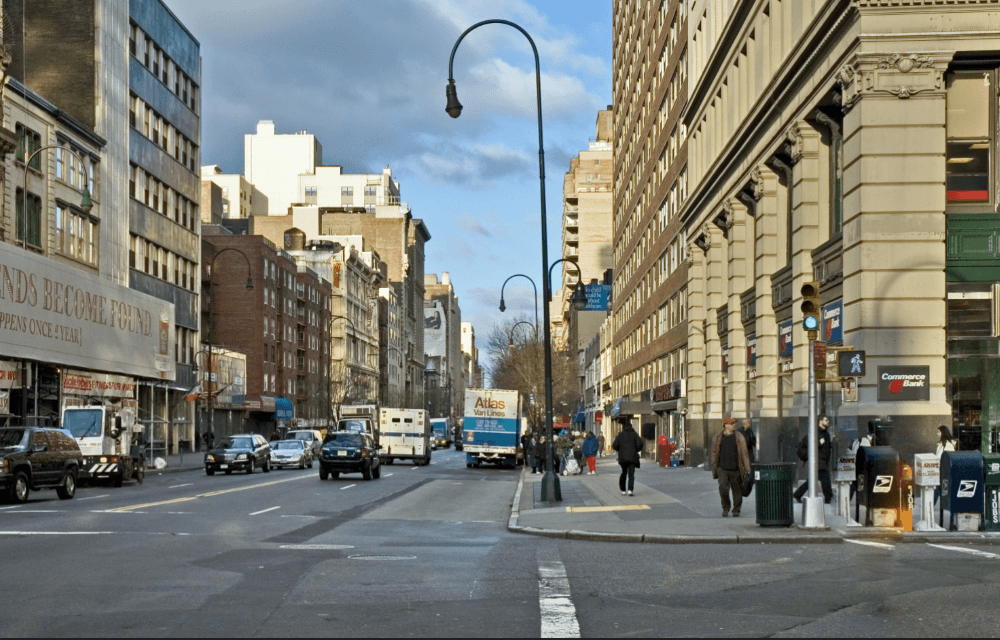
As you can see, I am going to be removing the woman in red clothing from my image.
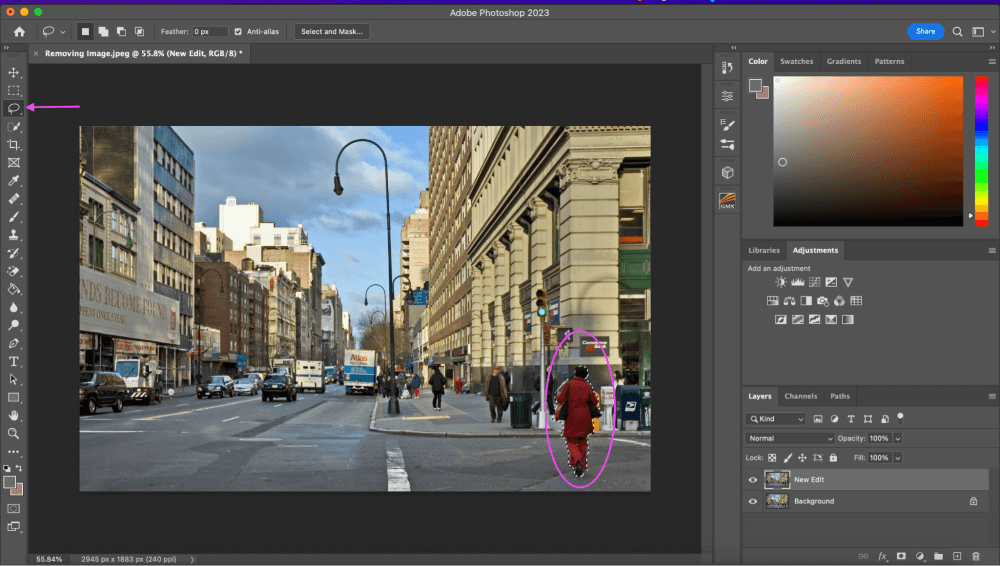
If you hold Shift, you can add to the selection, if you need to subtract from the selection, say you made a mistake you can click Option and drag to remove.
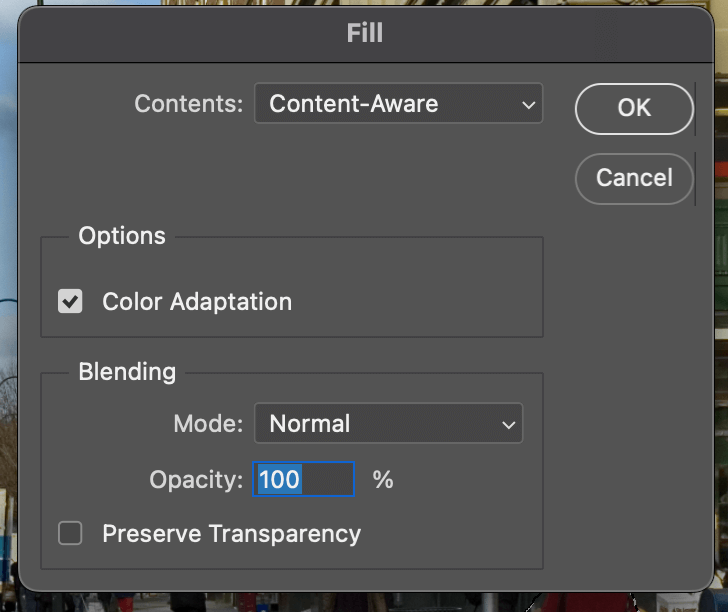
Step 3: Now with your selection active (little ants crawling around the selection) you can go to the overhead menu Edit > Fill and change the Contents to Content Aware. Check the Color Adaptation option and click OK.
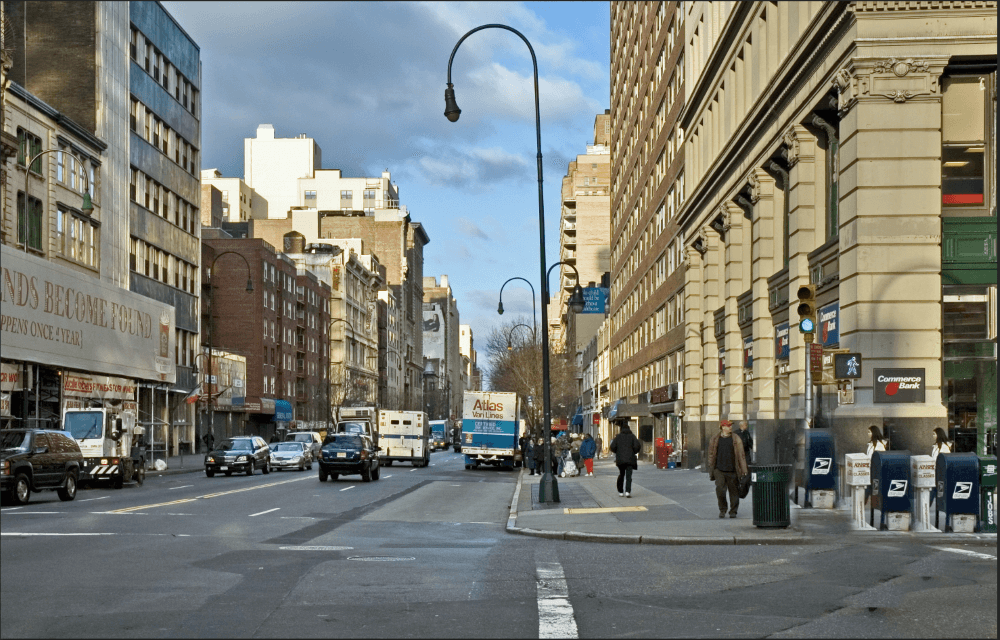
Step 4: Now press Command + D to deselect your subject. You will now see that the object you were trying to get rid of is now gone. Photoshop does a pretty good job overall to fill in what it thinks the background should look like.
Unfortunately, Photoshop is not always correct when removing images though. Your empty space where the object used to be might look weird or blurry. Don’t stress too much as I have more methods to eliminate an object.
Method #2: Patch Tool
Step 1: Make sure your background layer is duplicated as we did in the method above. By doing this we are making sure to not permanently destroy the original image.
Step 2: Click on the Patch Tool from the toolbar as shown in my image below. Make sure that Normal and Source on the top toolbar are selected.
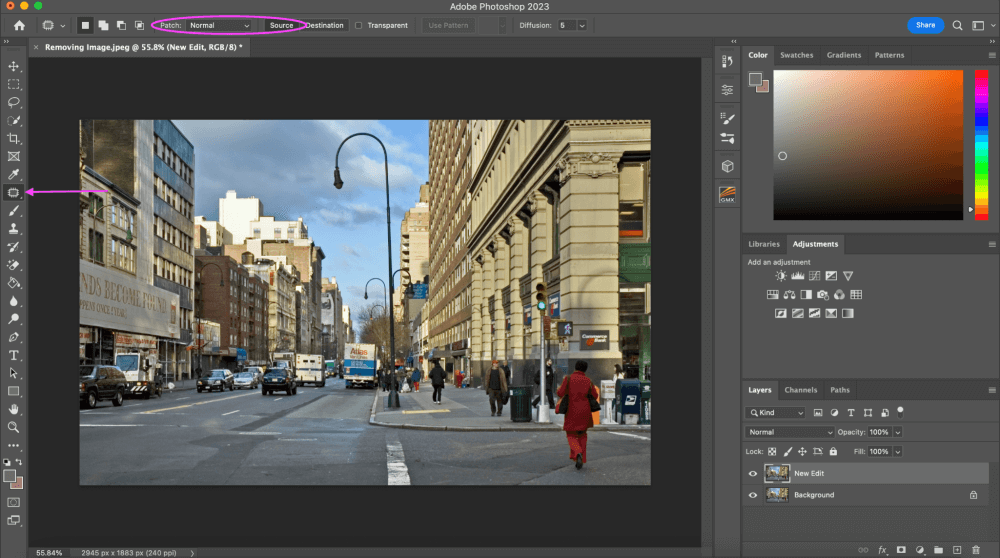
Step 3: Now, click and drag around the selection you want to get rid of. With the selection active, I am going to zoom out and find an area to sample from. This means finding an area that is similar or the same as the background behind the object you are getting rid of.
Then, click and drag over to that side, as you will be able to see the preview of that selection as you’re doing so and match as best as you can. Once you are finished click Command + D to Deselect.
As you can see, my image isn’t perfect. But it is because my picture is complicated. There is a lot going on in a small space. These methods are good for simple images that are not so complex. But I am satisfied with what it did take away.
Method #3: Clone Stamp Tool
Step 1: Select the Clone Stamp Tool from the toolbar. Make sure the background layer is still duplicated like the above methods.
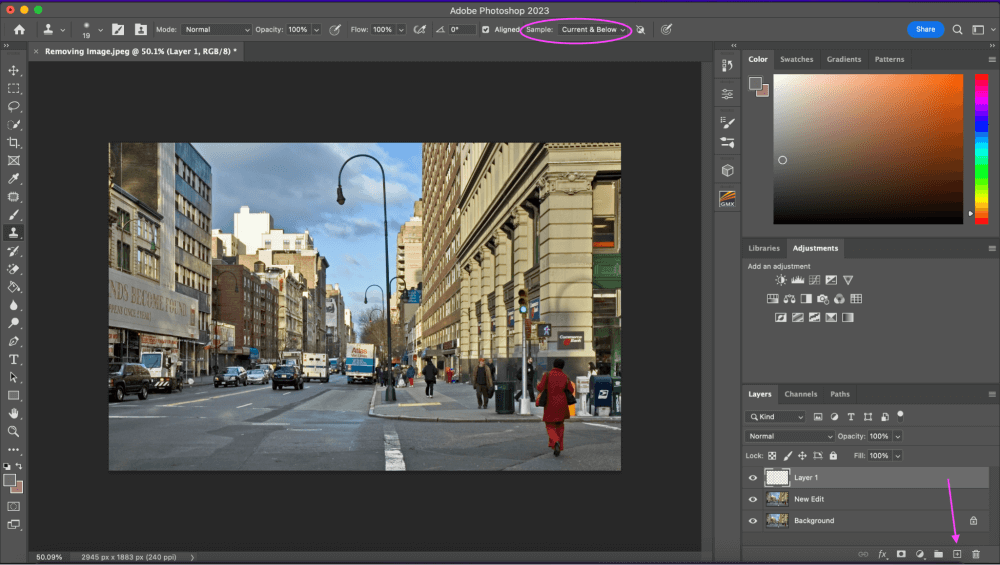
Step 2: Click on New Layer so we can work non-destructively. We need to make sure Current & Below is selected.
Step 3: Now you can just select areas to copy from. So find an area to copy from, click it and then paint it over the object you wish to remove. You can see that it did remove the woman, but the background is still a little off.
I would have to go in very carefully and find objects that could fill in what I need to. This might happen to you as well but you will need to take time to slowly and carefully paint over the background.
Final Thoughts
These methods all work great for specific images. I would suggest trying all methods on your image to see which one works best. I hope that one of these methods worked for your photo.
Any questions about Removing Part of an Image in Photoshop? Leave a comment and let me know.
About Aly Walters