
Taking the perfect shot in today’s world requires both catching the ideal moment and post-processing it to perfection. The removal of glare from a subject’s glasses is one of these post-processing edits that are most frequently used; it is a small adjustment that only a few minutes to make but is challenging to avoid when filming.
I have over five years of Adobe Photoshop experience and am Adobe Photoshop certified. In this article, I’ll teach you how to remove glasses glare in Adobe Photoshop.
Table of Contents
Key Takeaways
- Mess around with the multiple methods to remove the glare from the glasses, one method may not work the greatest for your image.
- Removing the glare can be tricky. You will have to zoom in on your image while working to get the cleanest result.
Method 1: Using the Lasso Tool
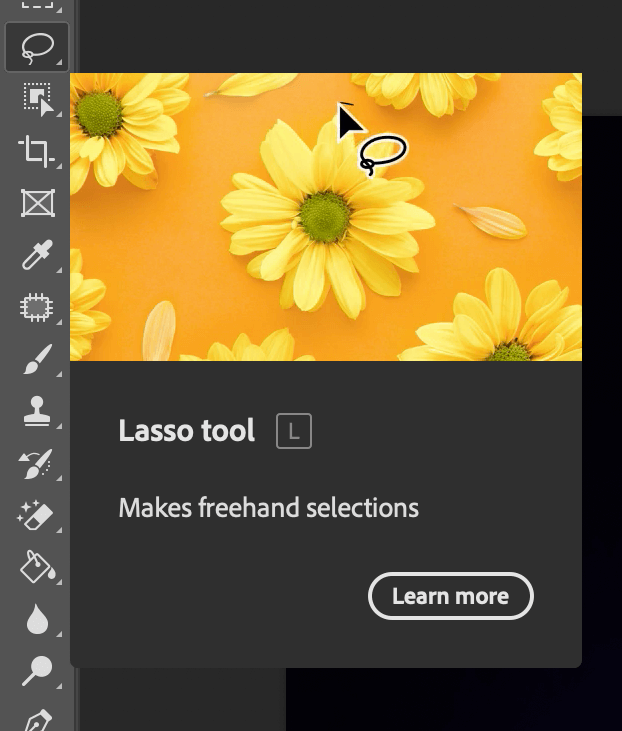
The lasso tool in Photoshop makes it quite simple to remove glass glare from images. You may easily draw a circle around a location you want to eliminate using the Lasso tool.
Step 1: To use the Lasso Tool, choose it from the toolbar or by pressing the L key.
Step 2: With the lasso tool activated, you will want to zoom in as best you can on your image to get the cleanest result. You can zoom in by pressing Command + + (Mac) or Control + + (Windows).
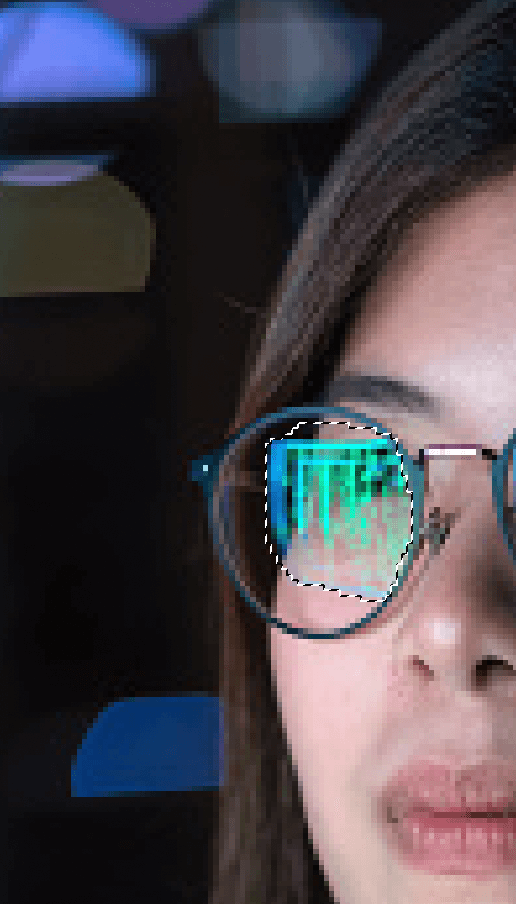
Now carefully trace the glare to the best of your abilities, and make sure to get the entire glare in the tracing. You will only be able to trace one side at a time. Once you have traced the glare, it should look something like the image below.
Step 3: Right-click on your image and select Fill You will see an option box appear on your image, you will want to go under Contents in the drop-down menu and select Content-Aware.
Leave everything else the way is it and click OK You will now see that Photoshop has replaced the glare with what it thinks to be underneath.
If this looks resolved, go ahead and repeat this process for the other side of the glasses. In the image I’m using, unfortunately, Photoshop is having a hard time processing the image, so this method will not work for me. This is why it’s important to learn multiple methods to fix an image, since Photoshop cannot read minds, I will have to try another method.
Method 2: Using the Clone Stamp Tool
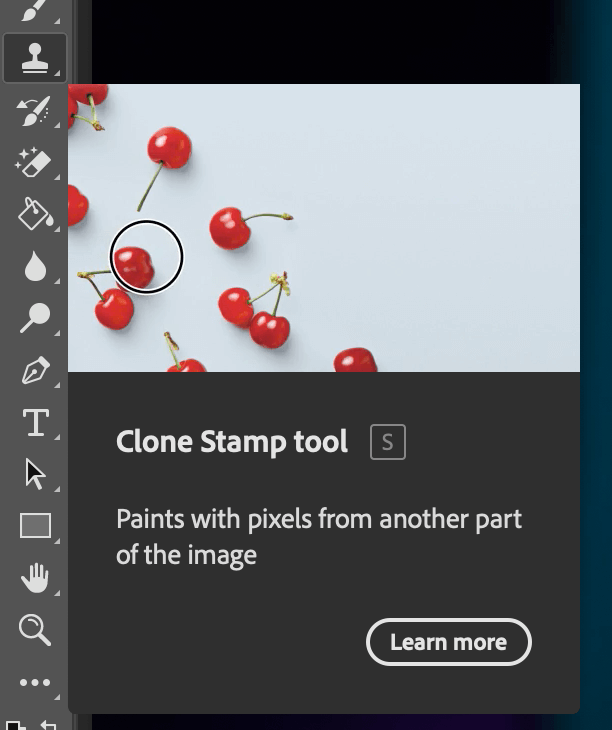
Because you can “paint” over the glare using “source points,” the Clone Stamp Tool can be ideal when it comes to eliminating glass glare. Other areas in the picture are source points (in this case, those without glare).
Step 1: To zoom in on a bright spot or area, select the Zoom Tool (on the keyboard, click Z) and press Alt/Option. It is simpler to see what you are doing when you zoom in.
Step 2: Press the S key to select the Clone Stamp tool. Or select it from the left side menu.
Step 3: On your keyboard, hold down the Alt/Option key. As a result, the cursor symbol changes to show that you can select a location without glare. Release the Alt/Option key after clicking a specific area.
The Clone Stamp pointer circle will now show the location you selected. You’ll be able to see what you’re going to paint more clearly as a result. If not, choose Clone Source from the top menu by clicking Window.
Step 4: Check Show Overlay in the resulting window. Now you will want to drag and hold around the glare, usually, this will fix small image glares, but again, Photoshop isn’t perfect and this may not work for all images.
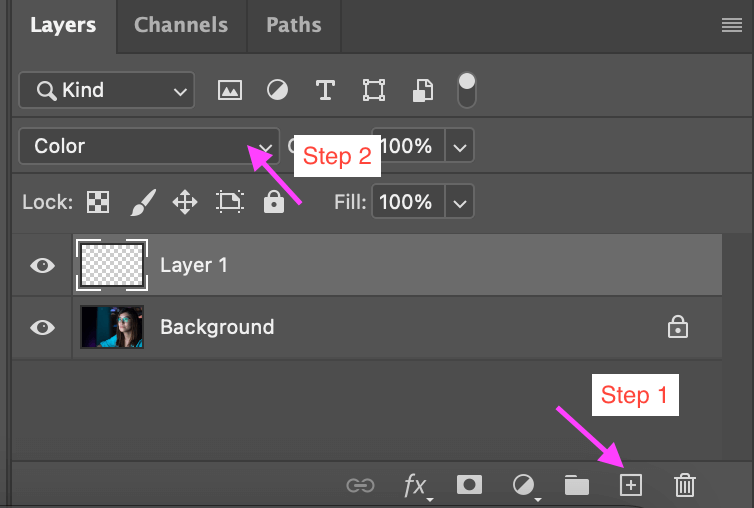
Remember that the background layer contains the original image as well. Add a new or duplicate layer and modify that if you don’t want to edit it directly. As you work, the background layer won’t be affected.
Method 3: Use the Brush Tool
Step 1: Create a new layer and choose Color as the layer blending mode. The Color option is highlighted in the expanded list of layer blending modes.
Step 2: Set the Brush Tool to normal and choose it (or press B on the keyboard). 50% Opacity should be used then, the cursor icon will become a dropper if you hold down the Alt/Option key.
Stop pressing the Alt/Option key and use the dropper to select an area next to the glare/reflection. The glass’s glare can be removed by brushing over it.

Bonus Tip
- Try each method to see which one works the best on your image specifically.
Final Thoughts
Any type of glare in a photo is not fun, but hopefully, I could give you a few good ways to make it easier to edit out. Having multiple methods of memory will help you in the long run of editing images.
Any questions about removing glare from glasses in Photoshop? Leave a comment and let me know.
About Aly Walters