I love drawing in Photoshop because with a variety of brushes, I can create any effects, any type of drawing that I want. And there’s no better brush than the square brush when it comes to making pixel art.
Many designers (including myself) like to use square brushes to create pixel art because pixel art is made of tiny squares.
Actually, Photoshop already has more than 20 preset square brushes, but sometimes they’re just not enough to satisfy your need. So you’ll need to make your own, plus it’s always cool to have your customized tools 😉
Making a square brush is not hard at all. In this tutorial, you’ll learn how to quickly load the preset square brushes and create your own square brush.
Let’s dive in!
Table of Contents
How to Load Square Brushes in Photoshop
Note: Screenshots are taken from Adobe Photoshop CC Mac version. Windows and other versions might look different.
Photoshop has its preset square brushes that you can simply load and use following the steps below.
Step 1: Select the Brush Tool from the toolbar and right-click on the canvas.
Step 2: Click on the settings icon and you’ll see a drop-down menu with the option Square Brushes.

If you’re using the Photoshop CC version like me, you probably won’t see the square brushes option when you click on the drop-down menu.
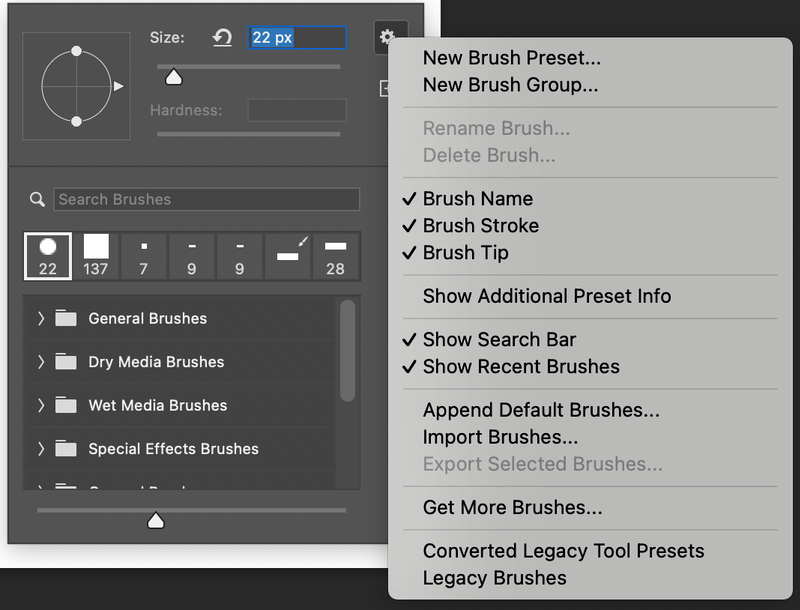
Don’t freak out. You can quickly find the square brushes by restoring the Legacy Brushes.
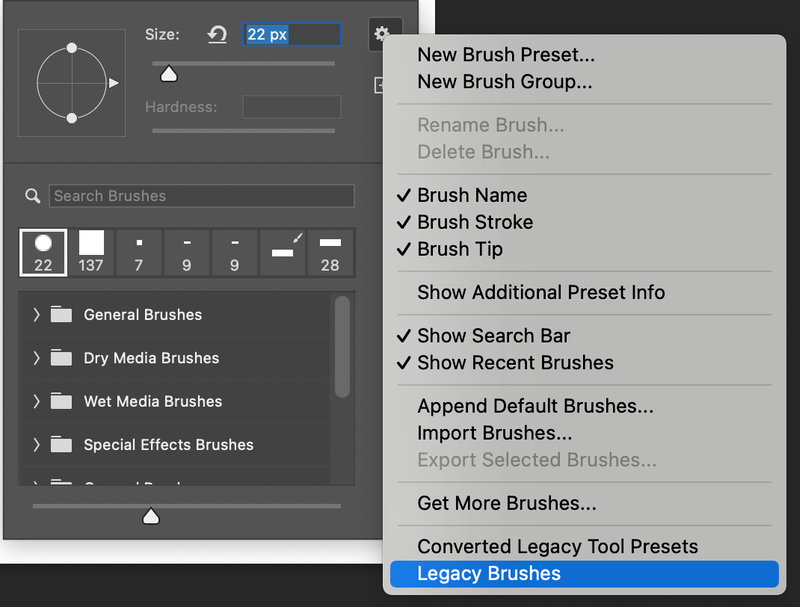
Step 3: Select Legacy Brushes. And you will see this window pop up, just click OK.
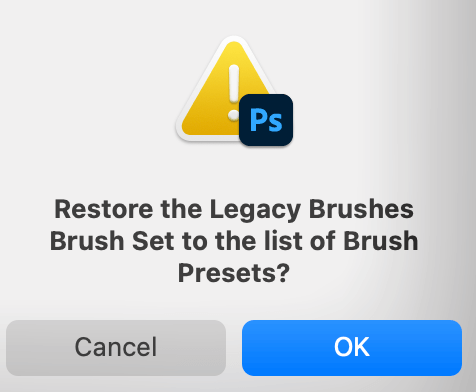
Once you click OK, the Legacy Brushes folder will appear on your Brushes panel.
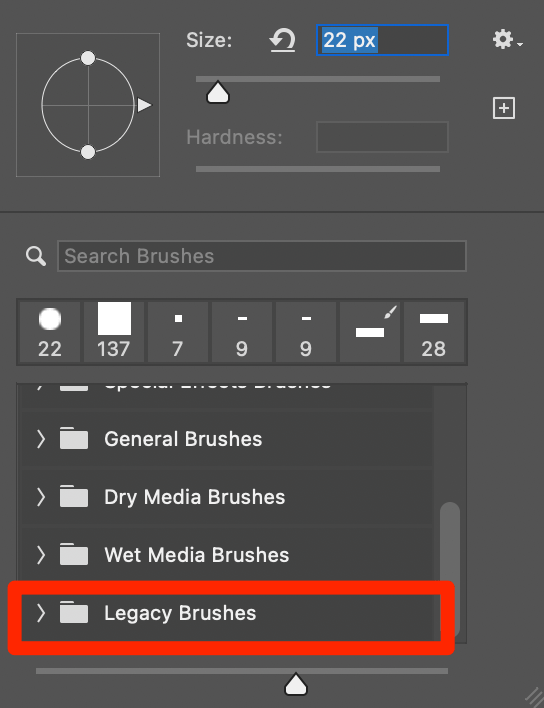
Step 4: Click on the Legacy Brushes folder and find Square Brushes.

There you go!
How to Make a Square Brush in Photoshop
Not happy with the preset square brushes? You can also make your own brush using the Rectangular Marquee Tool in five steps.
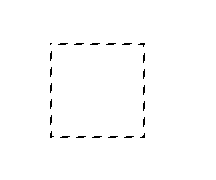
Step 1: Select the Rectangular Marquee Tool from the toolbar or use the M key to activate it.

Step 2: Hold the Shift key, click and drag on your canvas to make a square, any size you want.
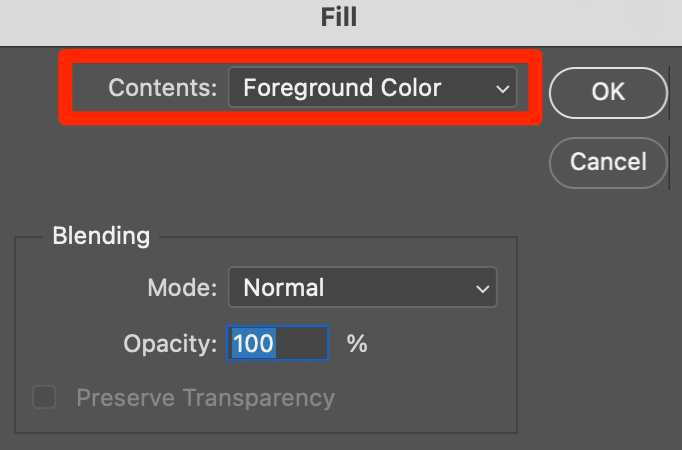
Step 3: Hit the Delete and Shift keys at the same time to fill the square black.

Depending on your Photoshop version, if you see this Fill window pop up, select Foreground Color and click OK.
Step 4: Go to the top menu Edit > Define Brush Preset.
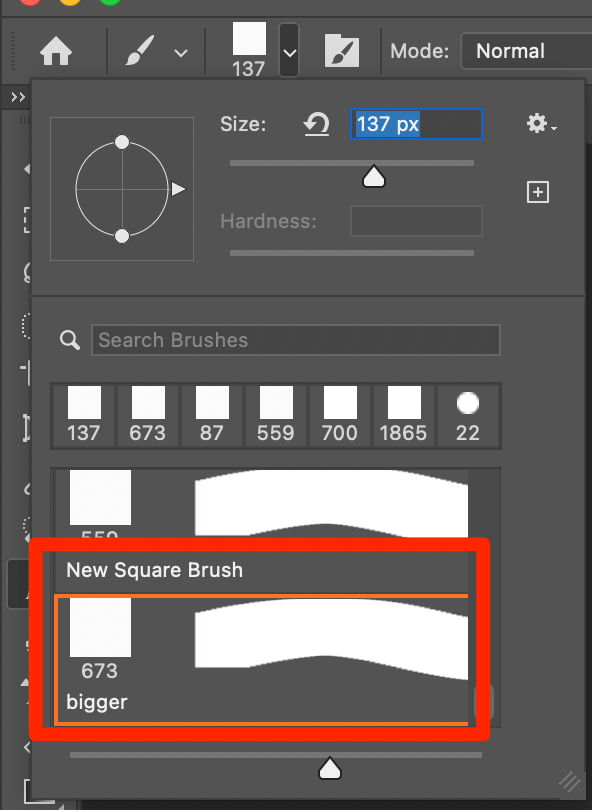
Step 5: Name your brush and click OK.
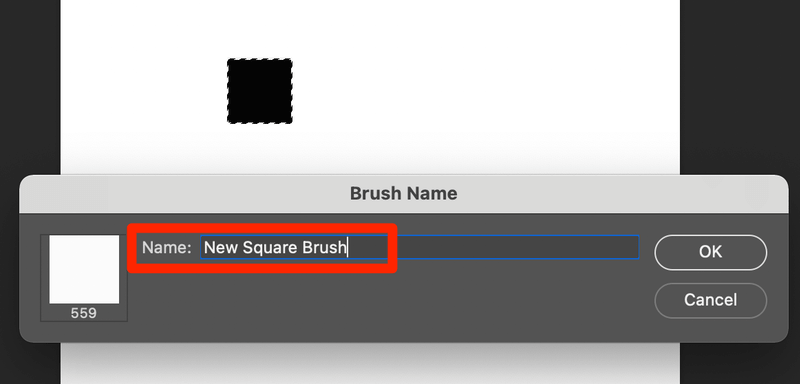
Your new brush will appear in the Brushes panel.
Remember to deselect the square you created (Command/Ctrl + D).
Congrats! Now you can use your new customized square brush to create anything you like.

FAQs
More questions related to Photoshop brushes? You’ll find quick answers to the questions below.
Where do you get Photoshop brushes?
You can get Photoshop brushes from many websites like Envato, Brusheezy, etc but not all are free. Or you can download the free ones from Adobe and quickly add them to Photoshop.
How do I change the shape of my brush in Photoshop?
There are many brushes you can choose from. Click on the brush folders in Photoshop and select the one you need to use to draw with or change the style of existing strokes.
With the Brush Tool selected, you can change the shape from the top menu or the Brushes panel.
How do I add brushes to Photoshop CC?
You can add brushes to Photoshop by opening the .abr file using Photoshop.
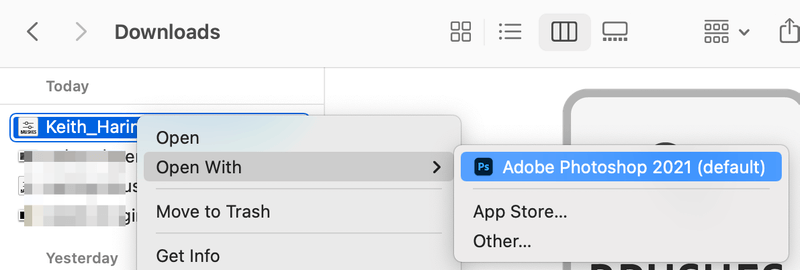
And the brush or brush set will automatically show up in your Brushes panel.
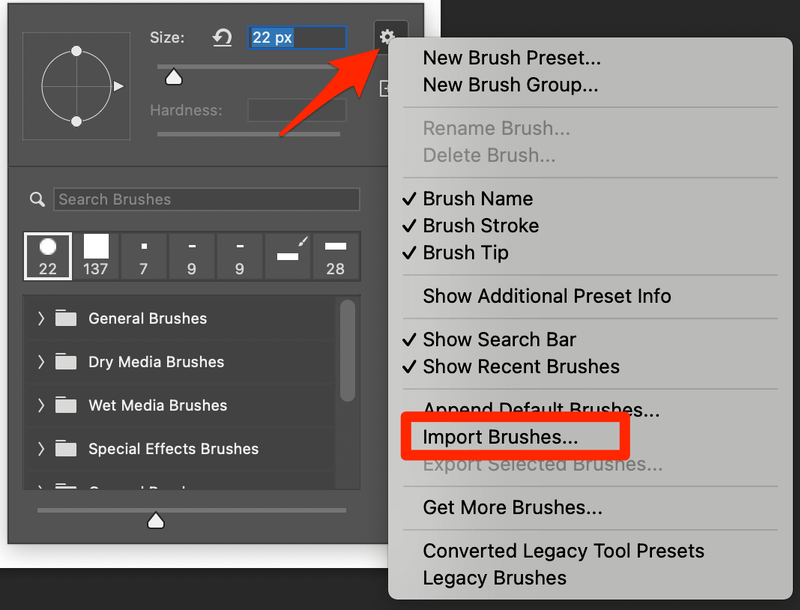
You can also import brushes to Photoshop. Just click on the folded menu on the Brushes panel, select Import Brushes, and find the .abr brush file on your computer and click Open.
Conclusion
You can easily loud to create a square brush in Photoshop. If the Square Brushes option doesn’t appear for you when you click on the folded menu, you can find it from Legacy Brushes. Or you can quickly create your customized square brush using the Rectangular Marquee Tool.
Have fun brushing!
About June
T
Thank you SO much! Most helpful 🙂
Mcleod Daniex
Help,It does not work,I click on the panel and It didn’t show the square brushes,It only showed all the stuff until Replace Brushes,Thats it.
Latheef
Thanks, it really helped me
Byron
Thank you.
Gwen
Very useful and revealed the info without lots of flannel upfront 🙂
GaleHawthorneX
After the DP brushes i have’nt got any of the other ones , WHY!!??! So i can’t get the square ones!
June
Which version of Photoshop do you have?
Edward
I do not have any other options under ”preset manager”.I have no square brush please help.
June
Hi Edward. Within the preset manager make sure the Brushes are selected from the drop down and following that line from the drop down box you will find a small ‘play’ icon. Click this and you should then get ‘square brushes’ as an option. Newer versions of Photoshop now have a ‘cog’ icon instead of a ‘play’ icon.
mqadasi
Thank you very much
Joe Bille
Thanks June!
June
You’re welcome Joe! 🙂
Boris Johnson
Bruh, why no Windows version?
June
Hi Boris,
Actually the methods work exactly the same on Windows except the interface can look different.
MiSHA
Niece