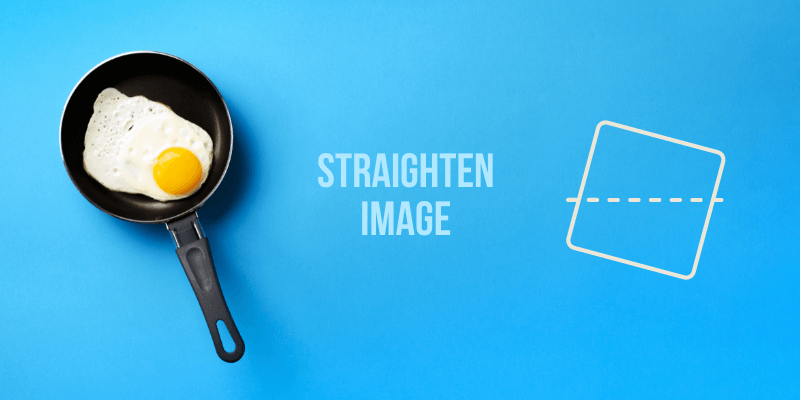
That looks…odd. A crooked image can sometimes be useful as a creative statement. Most of the time, however, it just makes the image feel weird to the viewer.
Hey there! I’m Cara and when I am photographing images, I always try to make sure that my horizon is straight. Even so, sometimes a few images end up off-kilter.
Luckily, there are easy ways to straighten crooked images in Photoshop. Come with me and I’ll show you how!
Note: the screenshots below are taken from the Windows version of Adobe Photoshop, if you’re using the Mac version, the navigations may look slightly different.
Table of Contents
Method 1: Straighten with the Straighten Tool
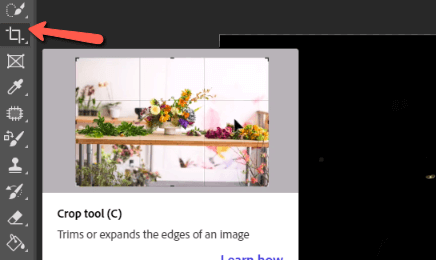
Older versions of Photoshop didn’t have this trick, but now a handy straighten tool is built right into the crop tool. To use it, select the Crop Tool from the toolbar on the left or hit C on the keyboard.
To use the straighten tool, click Straighten up in the options bar at the top of the screen.

Now draw a reference line by following a straight line in the image. It can be either vertical or horizontal.
Much of the time, the horizon line makes a good reference. You can also use doors, windows, tables, and other straight lines in the image. If there are no good reference points, you can just eyeball it.

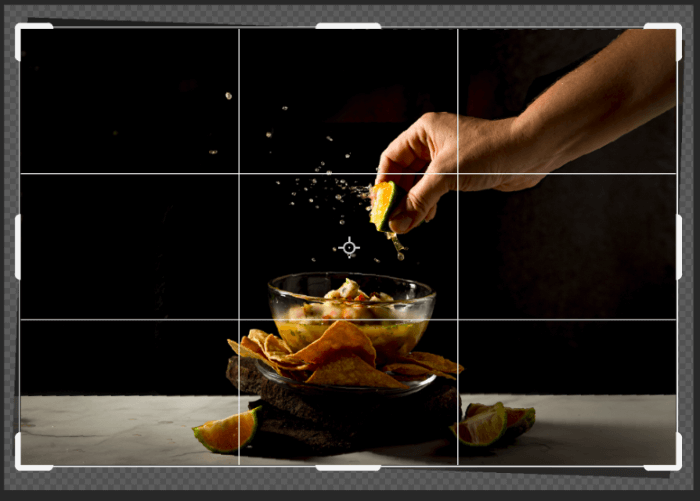
Here I’ve drawn a line along the horizon in this image. Photoshop is telling me it will make a 2-degree rotation. When I let go of the mouse after dropping the second point, the image will jump to its new position.
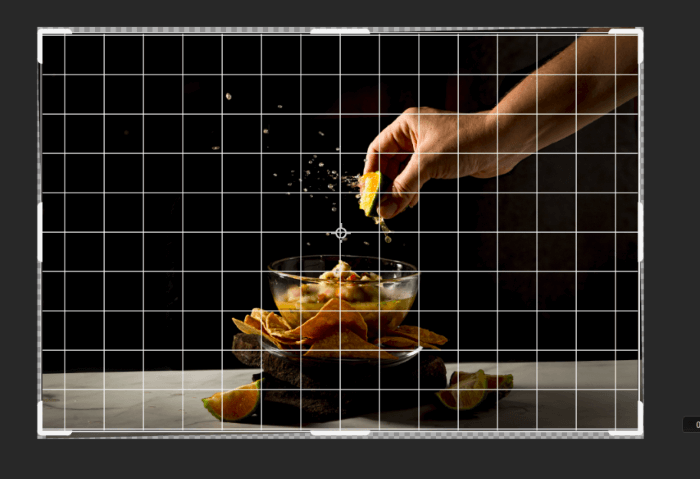
Boom! It takes 2 seconds and you’re done!
Method 2: Straighten with the Crop Tool
If you don’t want to draw the reference line, you can also just use the handles on the crop tool to straighten the image. Hover just outside of the crop marquee border and you’ll see the cursor change to a double-ended arrow with a 90-degree bend.
Click and drag the mouse to slowly rotate the image by .1 degree until it looks straight.
Keep in mind with either of these options that you’ll be cropping the image. If you will no longer need the cropped pixels, check the Delete Cropped Pixels box up in the options bar at the top before confirming the crop.

If you want to still have access to them, leave the box unchecked. They will disappear from sight but not be deleted.
Method 3: Straighten with the Ruler Tool
You can also use the Ruler Tool to straighten images. This tool is hidden under the default Eyedropper tool in the toolbox. Once selected, the ruler tool will replace the eyedropper tool in the toolbar and you can access it by hitting I on the keyboard.
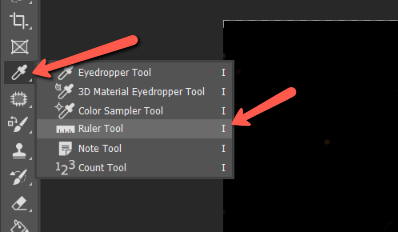
Just as with the straighten tool within the crop tool, draw a reference line in the image.
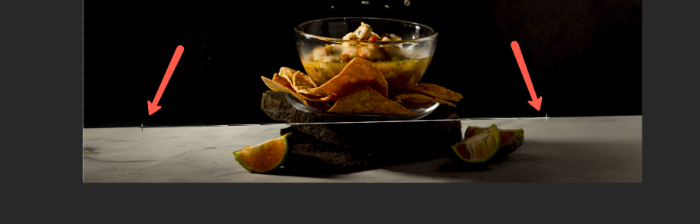
Then click Straighten Layer at the top.

This method can be used to straighten an entire image that is one layer as I just did. Or you can select individual layers within an image and draw your reference line.
When you hit Straighten Layer, only the selected layer(s) will straighten. Select multiple layers by holding down Ctrl or Command while clicking on the layers you want to affect.
Pretty cool!
Interested to learn more tricks of using Photoshop? Check out our other tutorials such as how to move a selection in Photoshop.
About Cara Koch