
Sometimes it’s just fun to get a little funky. Rotating text in Photoshop gives us a fun way to add interest to our designs.
Hey there, I’m Cara! Learning how to rotate text in photoshop is super useful to me as a photographer and digital designer. Will it be useful for you too? Come along and let me show you how easy it is to rotate your text exactly how you want it in Photoshop!
The screenshots below are taken from the Windows version of Adobe Photoshop, if you’re using the Mac version, the navigations may look slightly different.
Table of Contents
Method 1: Free Transform Tool
There are a couple of different ways that you can rotate text in Photoshop. I’ll show you each method and you can pick which one works best for you.
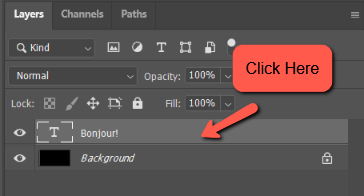
First, let’s open a document and add some text by choosing the Type Tool from the toolbar on the left. Once you’ve written your text, accept it by clicking the checkmark in the Options bar. Click in a blank spot on the text layer to highlight the layer.
Now hit Ctrl + T or Command + T on the keyboard to activate the Transform tool. You can also access it through the Edit menu by choosing Free Transform.
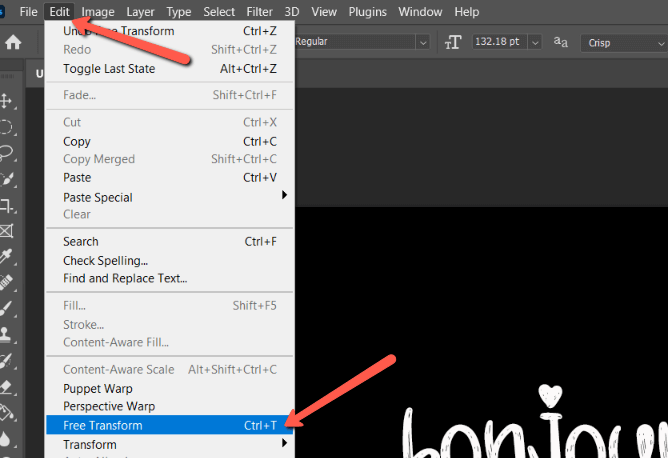
If the shortcut isn’t working and Free Transform is greyed out, try clicking on the layer or clicking the checkmark in the Options bar. The program is probably still stuck in the text tool.
When the Transform tool activates, you’ll see a blue box appear around the text. Hover near the boxes on the corners and your cursor will turn into a double-sided arrow with a 90° bend. Click and drag to rotate the text.
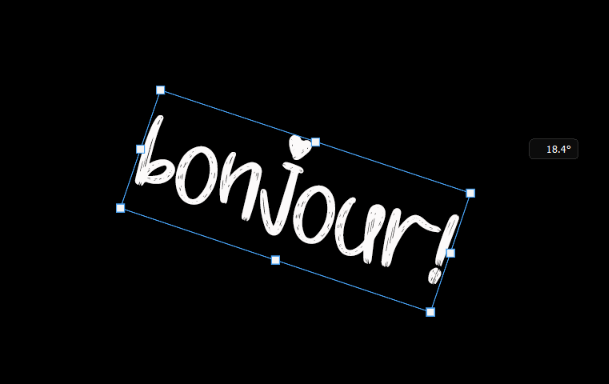
By default, the text will rotate in 0.1° increments. To rotate faster or jump to a certain angle, hold the Shift key while rotating. The text will then rotate in 15° increments.
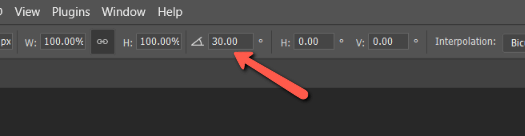
You can also write in a specific angle in the angle box in the Options bar and the text will jump right to it.
Once you’re happy with the angle, hit Enter or Return on the keyboard or click the checkmark in the Options bar.
Quick Rotate to 90°
If you know you want to rotate your text to 90°, it doesn’t make sense to slowly drag and rotate the text manually. Instead, you can rotate the text the entire 90° in just two clicks.
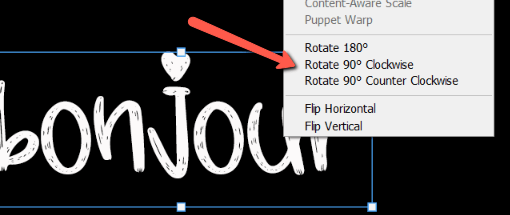
With the Transform tool active, simply right-click on the text and select Rotate 90° Clockwise or Counterclockwise. You can also rotate a full 180° if you prefer.

Method 2: Move Tool
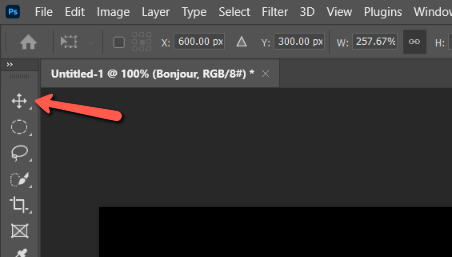
Instead of using the Transform tool, you can choose the Move Tool from the toolbar on the left. Alternatively, hit V on the keyboard.
You’ll get the same blue box as with the Transform tool and the tool options are the same.
Rotating Individual Letters
Now, this one’s interesting. What if you want to rotate only one of the letters? This can create a really cool effect and isn’t as hard to do as you might think!
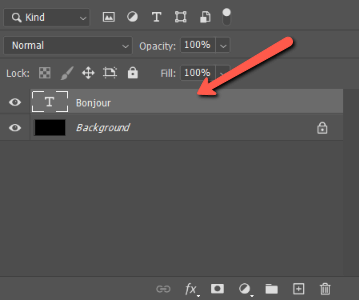
Simply select the text layer in the Layers panel.
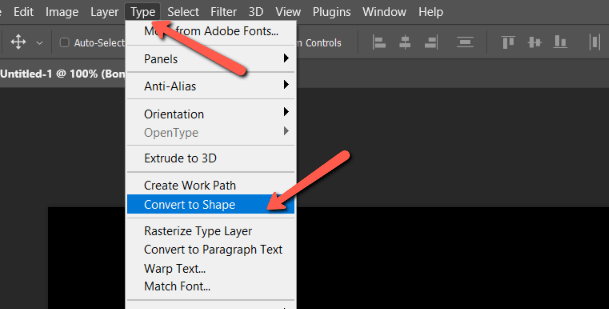
Then go to Type in the menu bar and choose Convert to Shape.
Shapes come with shape paths, which is what we’ll use to rotate a letter. Select the Path Selection Tool from the toolbar or hit the A on the keyboard.
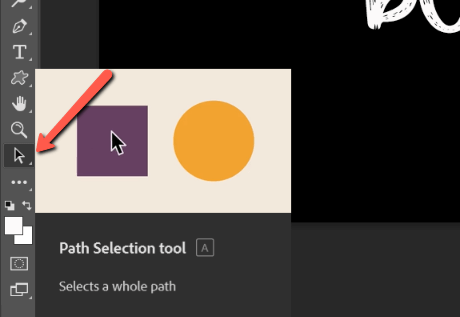
Click on the letter you want to rotate to select it.

Now hit Ctrl + T or Command + T to activate the Transform Tool and a box will appear around the individual letter.

Use the Transform tool to rotate/flip the single letter.

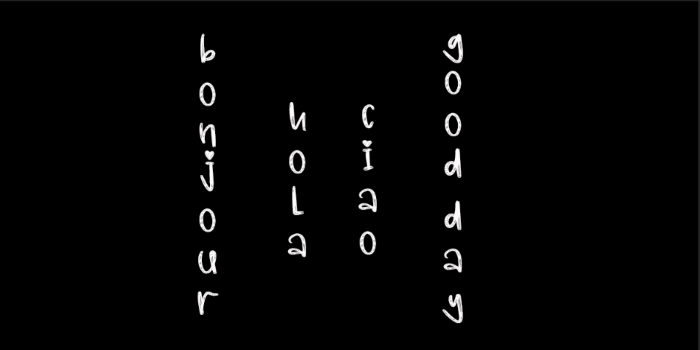
Writing Text Vertically
What if you want the text to run vertically, but the individual letters to be oriented horizontally? Do you have to individually rotate each letter?
Nope! You can use the vertical text tool instead.
If you already have your text written as we do, look for the Toggle Text Orientation up in the Options bar.
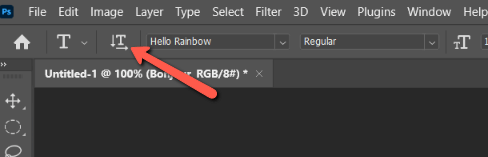
Click this button and the word will go vertical while keeping the individual letters horizontal. You may have to activate the Transform tool to resize.
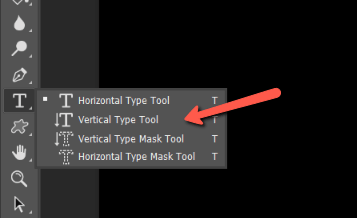
If you haven’t written your text yet, you can start off with the Vertical Type Tool to orient the word vertically from the beginning.
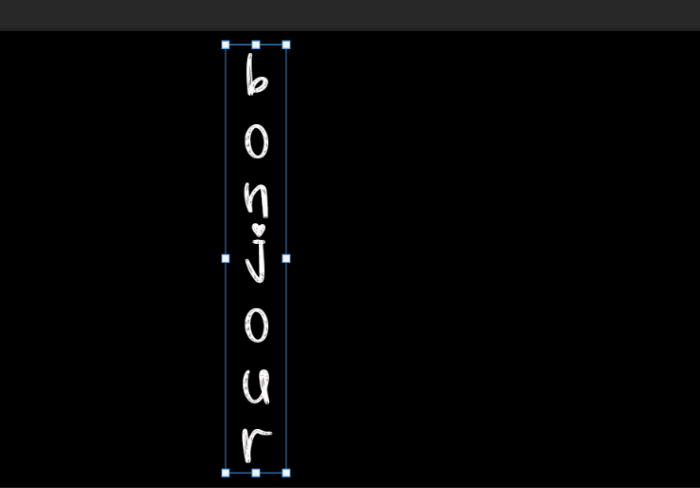
It’s hard to read a word on its side, but when the letters are written horizontally, suddenly it becomes super easy. That makes this vertical-type technique quite useful.
Did you enjoy this tutorial? Check out more great tricks like how to make 3D text here!
About Cara Koch