Wait, I really don’t want that in my photo. How many times have you thought this when reviewing images from a photoshoot?
Hey there! I’m Cara and I can tell you that this has happened to me many times. Even professional photographers are sometimes stuck with stuff in our images that we don’t want.
The great news is that it’s quite easy to erase something in Photoshop. The program offers powerful tools that make this a piece of cake. And yes, that was plural, let me show you three different methods to remove objects in Photoshop.
Note: all the screenshots below are taken from Photoshop CC for Windows. Other versions will look slightly different.
Table of Contents
Method 1: Content-Aware Fill Tool
The Content-Aware Fill Tool is quite nifty. If you’ve never used it before, it almost seems like magic. The idea is simple, draw a selection around any portion of your image and Photoshop does its best to replace your selection with pixels that match the surrounding area.
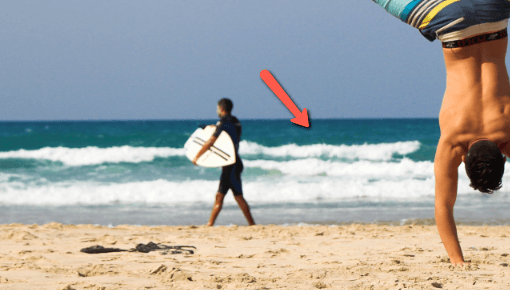
In this image, watch as we remove the entire subject in the foreground using this technique.
Step 1: Make a Selection
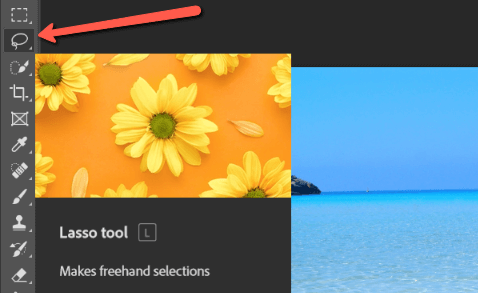
Make a selection around the object you want to remove. You can do this freehand with the Lasso tool and draw a loose selection around the object.

Or use the Object Selection tool for a quicker selection when possible.
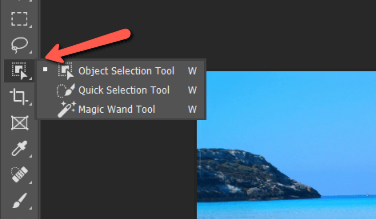
With this tool, you can click on or draw a box around the object and the program will create a selection.

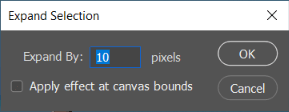
To use the content-aware fill tool, however, you need a tiny bit of space around the selection. Go to Select, Modify, then choose Expand.
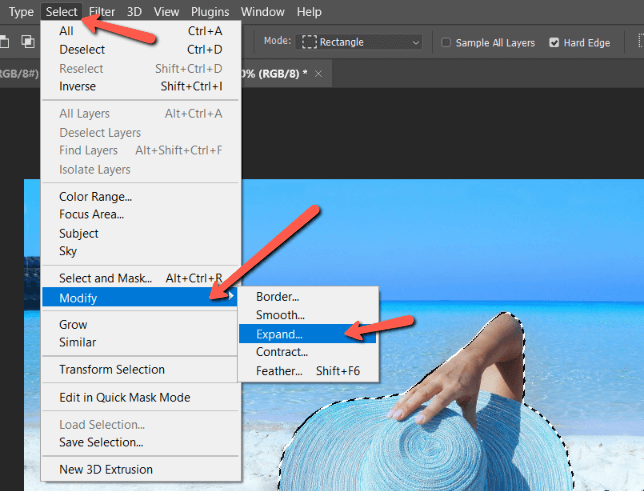
Choose the number of pixels you’d like to expand it by.
You should end up with a selection that looks like this.

Step 2: Content-Aware Fill
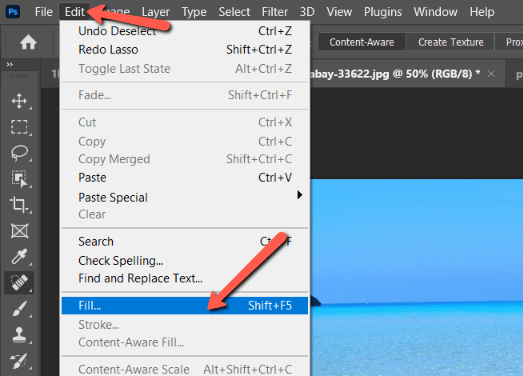
Whichever method you use to get your selection, this next step is the same. Go to Edit in the menu bar and choose Fill. Or press Shift + Backspace or Shift + Return to open the fill tool.
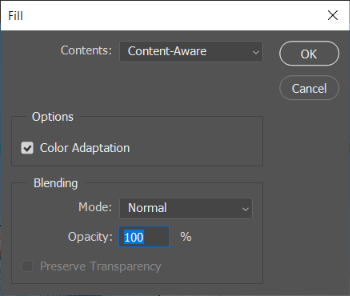
Set the Contents box to Content-Aware and click OK.
Photoshop will think for a moment, then offer you the result. If it’s not super clean, you can try going back to the selection and expanding it to a few more pixels to give the program more to work with.

Method 2: Clone Stamp Tool
The stamp tool gives you more control over how Photoshop replaces the pixels. It is more painstaking than the content-aware tool but the tradeoff is greater precision. You have control over what part of the image Photoshop clones to stamp out the object.
I go into great detail about the stamp tool in this post so here I’ll offer just a quick explanation.
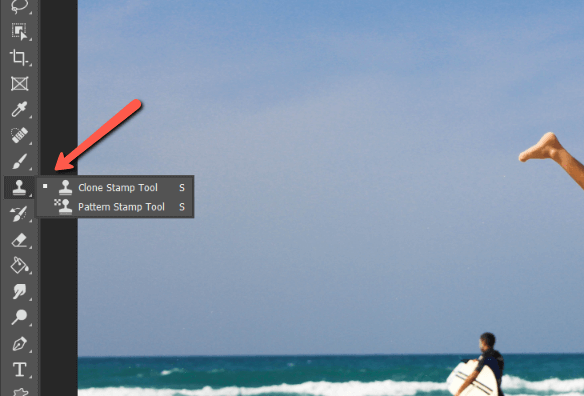
Choose the Stamp Tool from the toolbar on the left. Hit Ctrl + J or Command + J to duplicate the image and place another layer on top. The Clone Stamp Tool won’t work on the background layer.
Hold down the Alt or Option key, then click on the area of the image you would like to use as a source for the copied pixels. In this image, I want to remove the surfer and replace him with an ocean, a little beach, and a little sky.
Let’s try starting with that piece of ocean to the right of the surfer.
The tool will show you a preview in the brush to help line things up, such as the horizon line in this image. Then you simply paint over the part you wish to remove.
You may have to pull information from other areas in the image to touch up little spots. But that’s the beauty of this tool, you can precisely control what you clone over which part of your image.
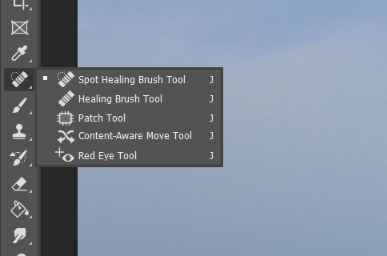
Method 3: Spot Healing Tool
The Spot Healing Brush Tool basically allows you to quickly direct Photoshop’s content-aware feature. Choose the tool from the toolbar on the left.
Then, choose an adequately sized brush and paint over the object you wish to remove.
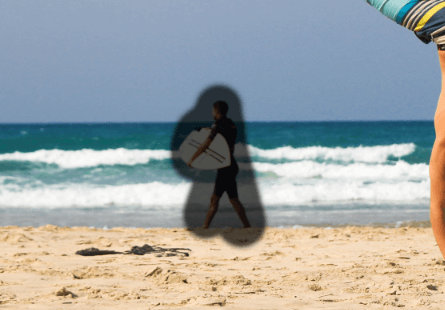
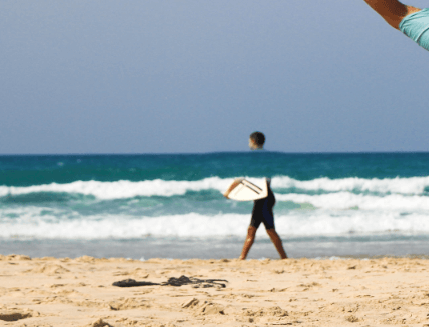
Photoshop will think for a second and your object will disappear!

Who knew it could be so easy to erase objects from images? Photoshop won’t always do a perfect job, particularly if there isn’t enough clean space for the program to draw from. However, using a combination of these tools, you can pretty much remove anything from any photograph!
Give it a try and let us know how it goes in the comments. And if you want to learn more cool things in Photoshop, check out our other tutorials starting with how to add textures to images in Photoshop.
About Cara Koch