You must be thinking, drawing a straight line with pen and paper is already almost impossible, drawing digitally must be even worse. Wrong there. Actually, you can draw a perfectly straight line in Photoshop.
There’s so much you can do with lines in Photoshop, creating lines using different tools can make different effects. I always style lines to decorate text content and believe me, you can turn a straight line into many things, like stylish brush strokes, dotted/dashed lines, etc.
In this tutorial, you’ll learn four quick and easy ways to draw a straight line in Photoshop and how you can style it.
Keep reading.
Table of Contents
4 Quick Methods to Draw a Straight Line in Photoshop
There are many ways to draw lines in Photoshop, and I’ve listed four commonly used methods below along with some tips on how to style them.
Note: Screenshots are taken from the Adobe Photoshop CC Mac version. Windows or other versions might look slightly different.
Method 1: Line Tool
Step 1: Click on the rectangle tool at the toolbar, and you’ll see the Line Tool in the submenu of the shape tools.

Step 2: Click on the canvas and drag to draw a straight line.
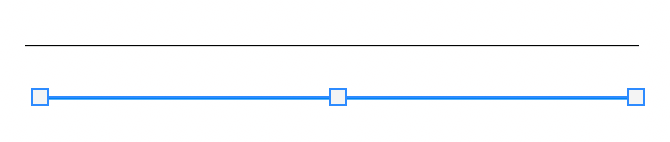
Step 3: Hit the Return key and you’ll see the line, if not it’ll be shown as a path.
If you want to draw a horizontal straight line, hold down the Shift key, click on the canvas, and drag to the right. Same idea for drawing a vertical straight line, hold down the Shift key, click and drag downwards.
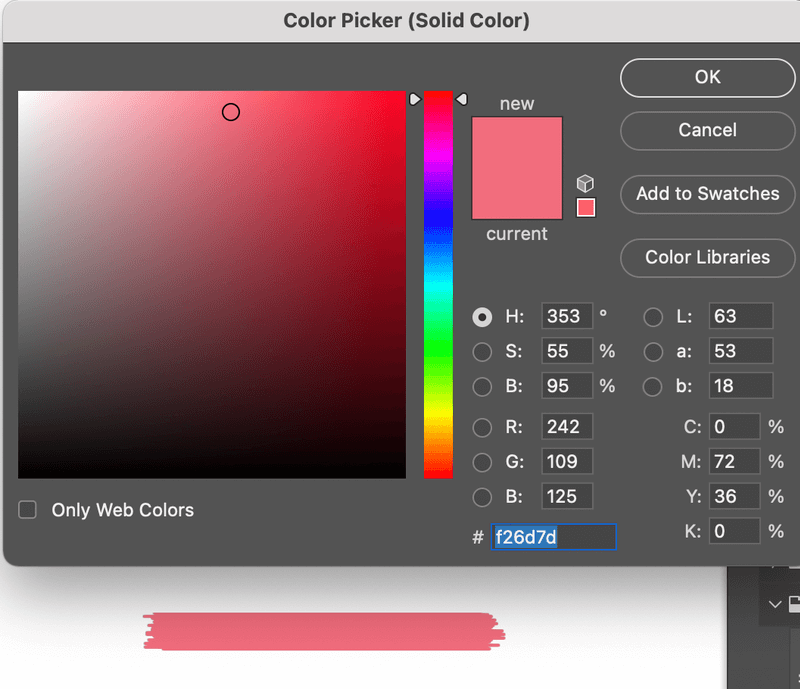
Tips: You can change the line color and stroke (size) at the top toolbar and quickly create dotted and dashed lines in Photoshop.

Click more options to customize the dotted or dashed lines.
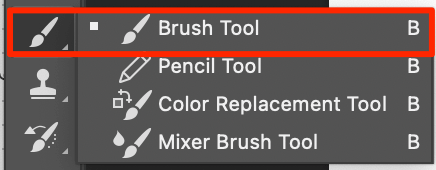
Method 2: Brush Tool
Step 1: Select the Brush Tool in the toolbar (keyboard shortcut B).
Step 2: Select a brush style from the Brushes panel. If you don’t have the Brushes panel set up yet, you can open it from the top menu Window > Brushes.
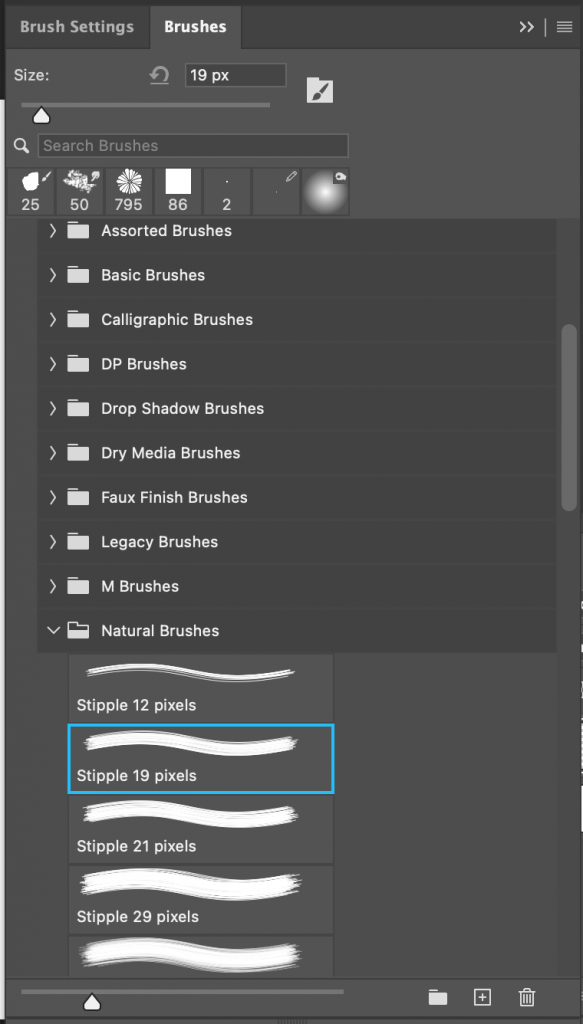
Step 3: Set the brush size.
Step 4: Hold down the Shift key, click, and drag to draw a straight brush line.

Tips: If you want to change color, you’ll have to select the line you drew with the Brush Tool, go to the Layers panel, and add a Color Fill or Color Overlay.
The size of your brush will determine the thickness of your line. If you want a solid line, take the hardness up to 100%. If you prefer a soft, fuzzy line, you can bring the hardness down to create the desired effect.
Method 3: Pen Tool
Step 1: Select the Pen Tool from the toolbar or use the keyboard shortcut P to activate it.

Step 2: Click on the canvas to add an anchor point and start a path.
Step 3: Click again to add another anchor point. Photoshop automatically creates a line between the two anchor points. If you want a horizontal line, hold down the Shift key as you click.

Step 4: Hit the Return key to end the path so that you don’t keep adding anchor points.
Tips: The line you created is a Shape, not a Path. If you want to change the color, you should change the stroke color.
Similar to the line tool you can make dotted or dashed lines.

A handy thing to note with the pen tool is that as you keep dropping points, you can keep drawing straight lines that are connected. This can be helpful for tracing straight-edged shapes and other tasks.
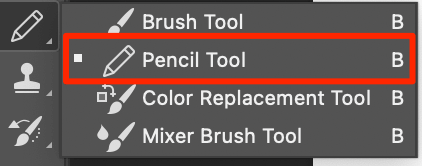
Method 4: Pencil Tool
Step 1: Select the Pencil Tool in the toolbar.
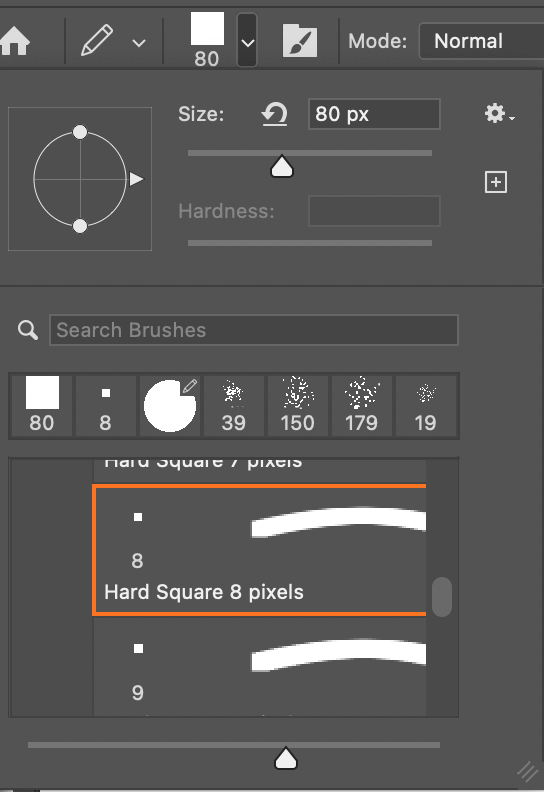
Step 2: Set the size of your pencil, and choose a color. I’ve chosen a square brush.
Step 3: Hold the Shift key, click on the canvas, and drag to draw a straight line.

Tips: Similar to the brush tool, you can use the pencil tool to create decorative lines. Simply adjust the pencil sizes and draw lines and dots.

Conclusion
The Shift key is the key. You can draw a straight line in Photoshop using any of the tools above with the help of the Shift key.
The Line Tool is created for drawing lines. The Brush Tool allows you to make fancy strokes and the pen tool is perfect when you want to combine straight lines with curve lines on the same design. The Pencil Tool, honestly, I barely use it to draw lines, but if you happen to be using it and just want to draw a line, why not?
About June
sarah
Please help! I’ve been using the brush tool and shift to make straight lines, and suddenly it won’t work. I can’t figure out why!
June
I’ve been trying to replicate the problem and haven’t been able to! So I’m not sure why it isn’t working for you. If anyone else knows why this wouldn’t be working please post the answer.
danielle
Ok, so I’ve been having this same problem with the shift key and brush tool not making straight lines. And one way I think might help is to continue to hold down shift as you drag your brush across the canvas to wherever you want the straight line to end. If you lift your cursor or the shift key, the line won’t be straight. Hope this helps!
Lea Phillips
I had the same problem, drawing straight lines with the brush tool using the click and shift method and it stops working. I saved the file, closed it then re opened, now I can draw lines again, no idea why this works but it does.
Lea Phillips
I had the same problem, using the brush tool to draw straight lines using the click and shift method and it suddenly stops working. The only answer I found was to close the file and re-open it, no idea why this works but it does.