Modern art is…interesting to say the least. It seems that almost anything goes and sometimes a famous painting is little more than a few paint splatters on a canvas. Or maybe that’s all any painting is anyway?
Hey there, I’m Cara! On this website, we talk digital art so let’s put deep philosophical thoughts aside. There’s a lot you can do on the computer to mimic more traditional art styles. Like painting…but without the mess. And that’s what we’re going to look at today.
Come along as I show you how to make paint splatters in Photoshop!
Note: I use the Windows version of Photoshop. If you are using a Mac, the workspace will look slightly different from the screenshots displayed here.
Table of Contents
Step 1: Prepare Your Canvas
This is always the first step, right? Every good artist prepares their canvas in anticipation of the beauty that will soon flow from their fingertips.
Okay, well there isn’t much you have to do here. Open your base image in Photoshop and maybe do some finger stretches before we get started.
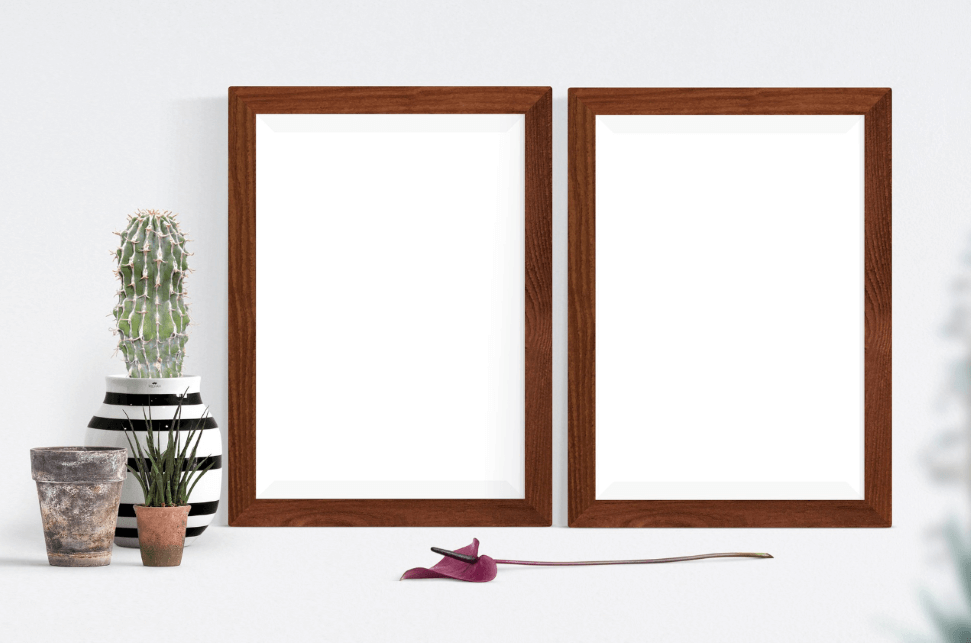
I’ll use this image from Pixabay.com. We’ll want to limit the paint splatters to just the canvases, so here’s a bonus tip on how to do that.
Limit Paint Splatters to a Specific Area
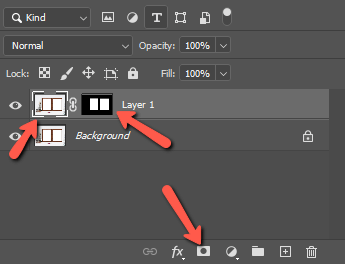
Duplicate your background layer by pressing Ctrl + J or Command + J. Now we need to make a selection.
Since the canvases are rectangular, select the Rectangular Marquee Tool from the top of the toolbar on the left.
I have two canvases, so I’ll use the Add to Canvas mode, which is the second of the four boxes in the Options bar. This allows me to make two selections and work with them together.

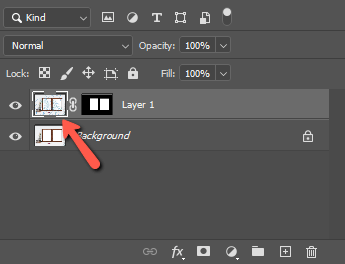
Click and drag to draw a selection around each canvas. Then press the Layer Mask button at the bottom of the Layers panel. A mask will appear with the selections in white and the surrounding area in black.
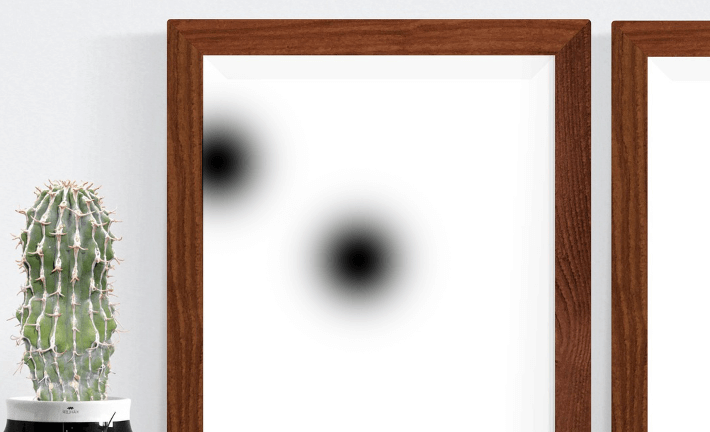
To test your selection, you can grab a random brush by pressing the B key to activate the Brush Tool. Remember to click back on the thumbnail of the layer before you start painting or it will seem that nothing is happening. Notice how the effect stops at the edge of my selection?
Step 2: Prepare Your Brush
Now you could sit here and make splotches with your round brush, varying the size, flow, and opacity as you go. But that is maddeningly time-consuming. So let’s use a brush that will give us a paint-splatter look with just a few clicks here and there.
Choose the brush tool from the toolbar on the left or press B on the keyboard.
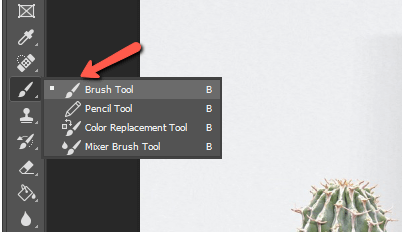
Click on the Brush Preview in the Options bar to open your brush options.
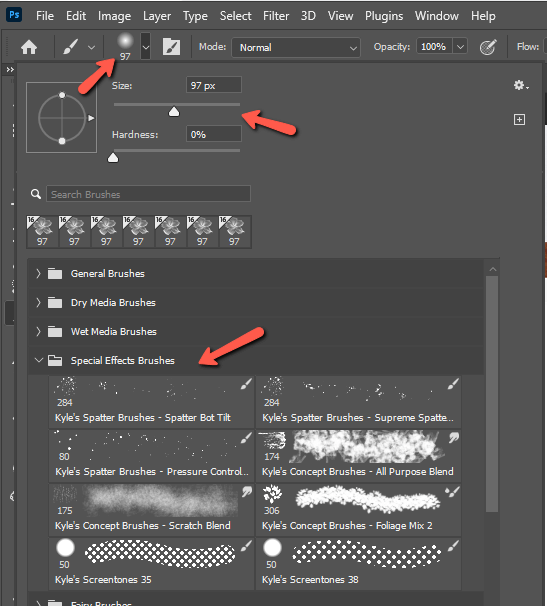
Opening the Special Effects Brushes folder, I see that I’ve got a few good options here, depending on the splatter pattern I want. There are also some options in the Legacy Brushes folder.
(The Legacy Brushes folder may or may not be there depending on your Photoshop setup. If you don’t see a folder called Legacy Brushes check out how to activate them in this tutorial).
Inside the Legacy Brushes folder, open the Default Brushes.
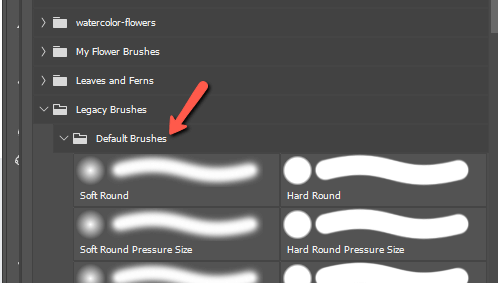
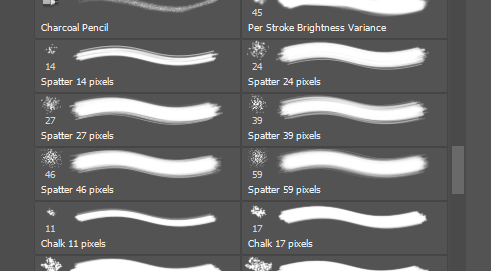
Then scroll down to find the spatter options.
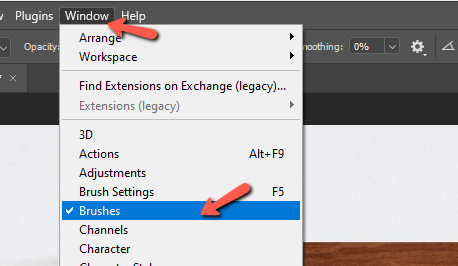
Another option is to look for more brushes among those Adobe has available for download. Go to the brushes panel, placement will vary depending on your Photoshop layout. If you can’t find it, go to Window and click Brushes so the checkmark appears. The panel will also appear.
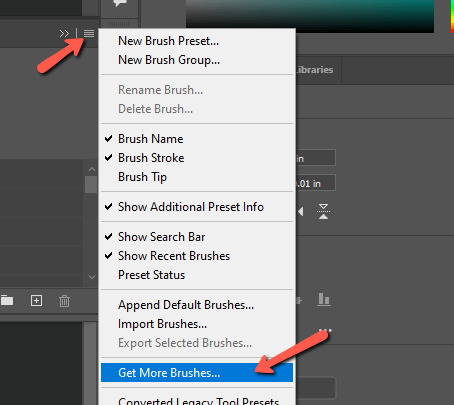
Click the three little lines in the top right corner. Choose Get More Brushes… from the menu.
This will take you to a page on the Adobe site where you can download brush collections for free. Scroll through to find collections that look interesting to you.
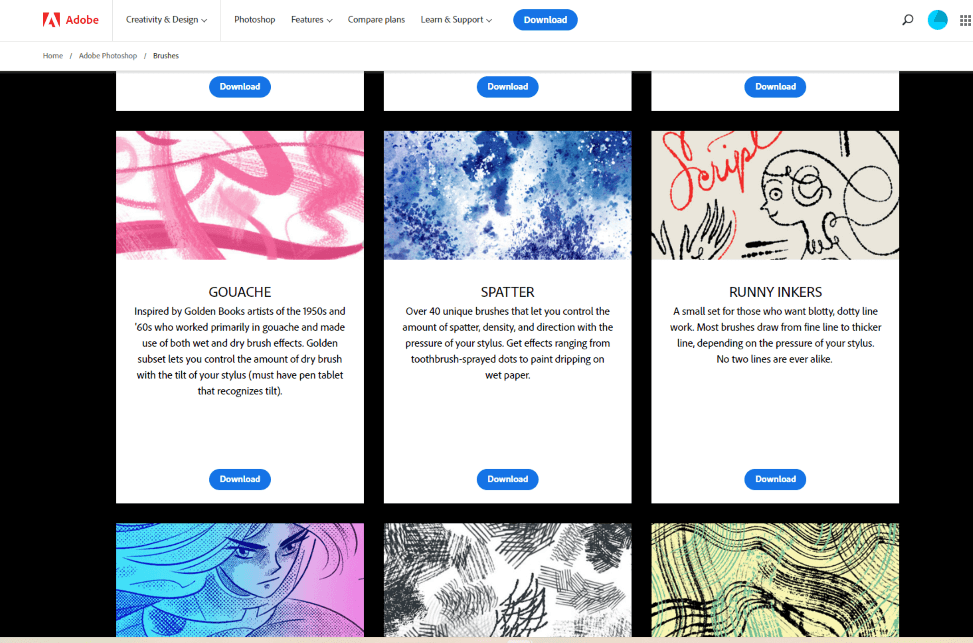
There’s even a spatter one!
You can also find free or paid Photoshop brushes online. We even have some free brushes here at PhotoshopBuzz!
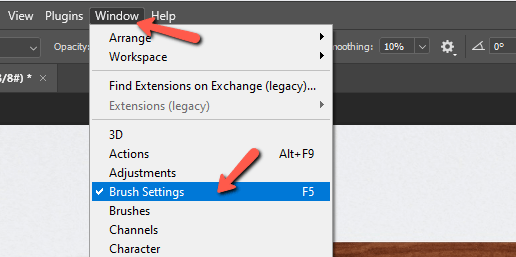
Finally, you can use any of these brushes as a starting point to create your own brush. Simply open the Brush Settings panel to change things up. If you don’t have the icon on your workspace, go to Window and make sure there is a checkmark next to Brush Settings.
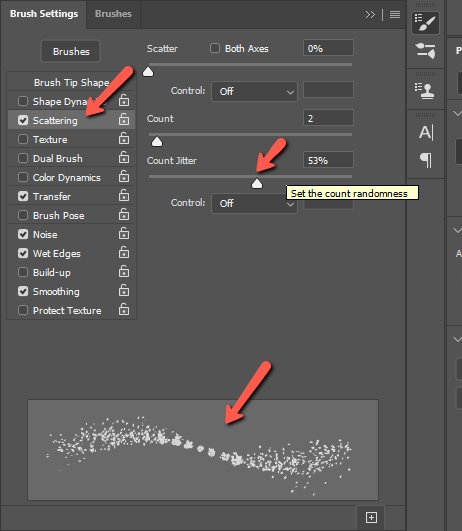
In the Brush Settings panel, you can make all sorts of changes to the brush tip. Scattering is particularly helpful for the splatter technique.
As you move the sliders around, you’ll see a preview of how the brush will look at the bottom of the panel. Play with this until you get the look you want. Learn more about making your own Photoshop brushes here.
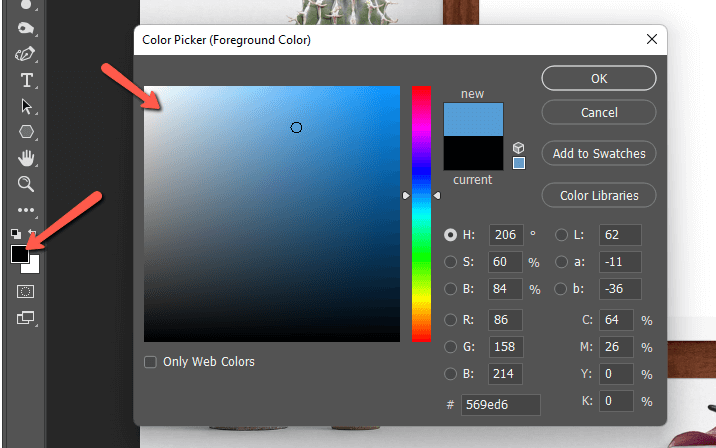
With your brush tip shape ready, it’s time to choose a color. Click on the foreground color swatch near the bottom of the toolbar on the left. Then choose whatever color you like from the color picker.
Step 3: Paint!
Now it’s time to roll up your sleeves and get digitally dirty!
Make sure that you’ve selected the thumbnail of the layer on top of the background layer.
Then you can start splattering to your heart’s content!
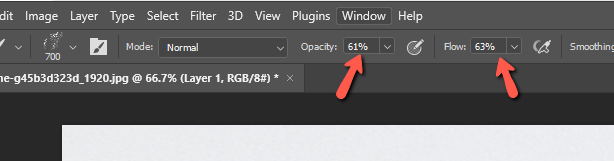
Though your splatter brush should have some built-in variance, remember you can and should change up your brush settings. Adjust the Size, Flow, and Opacity in the Options bar as you work.
To help your splatters look more realistic, it’s a good idea NOT to work at 100% Flow and Opacity. This helps the splatters “sink into” whatever medium you’re “painting” on.
On the keyboard, you can use the Bracket Keys [ ] to change the brush size (left for smaller, right for bigger). Use the Arrow keys to rotate the brush head. It will only move 1 degree at a time but you can speed it up to 15 degrees at once by holding the Shift key while striking the arrow keys.
Check out this tutorial to learn more about how the brush works.
Lastly, you’ll want to change up the colors as you work, depending on the look you’re going for, of course.
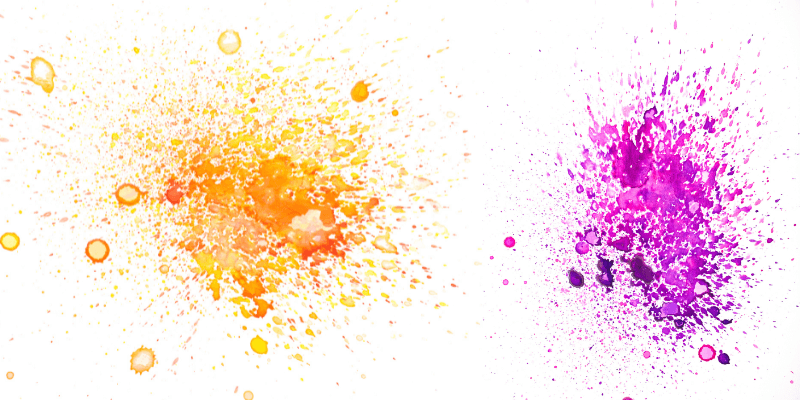
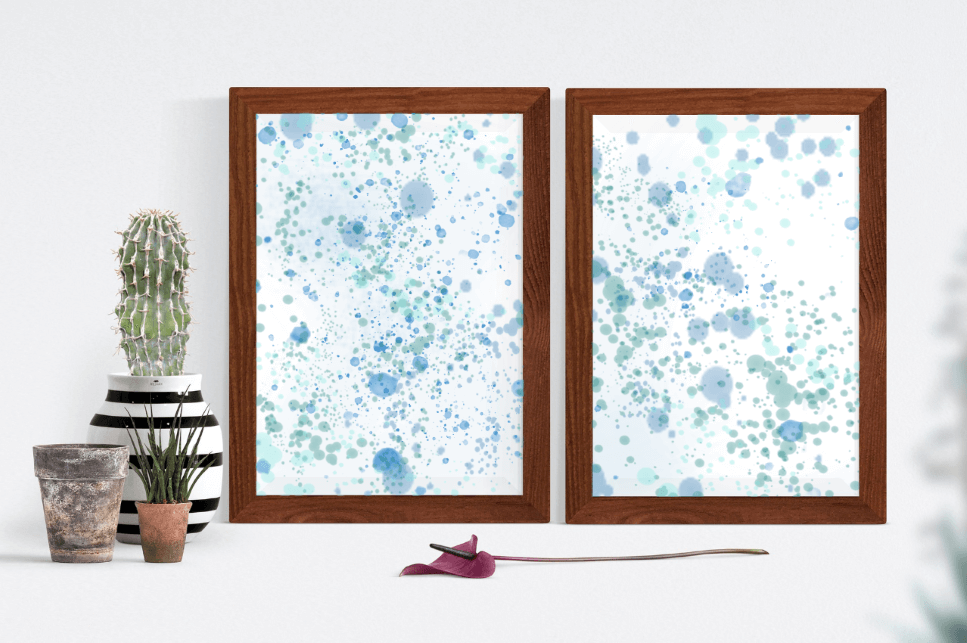
But eventually, you should end up with something splattery like this!
Have fun, Maestro! There’s a lot you can do with this! While we’re on this painting kick, you might be wondering if you can turn images into “paintings” with Photoshop.
Yep, you absolutely can! Get started with learning how to turn an image into watercolor here!
About Cara Koch