Has this ever happened to you? You’re working on a project for a client but they sent you their logo with a background. Argh!
Hey there! I’m Cara and I understand the frustration when clients don’t send you what you need. I also understand the frustration of trying to explain the mistake to them and getting the right information. If there’s a chance to avoid the back-and-forth, I’ll take it.
In the case of logos with a background, Photoshop offers several easy methods for removing backgrounds. Which one you’ll use depends on the particular logo you’re working with. Let’s take a closer look!
Note that the tutorial and screenshots below are from the Windows version of Photoshop CC. If you are on a Mac, they can be different.
Table of Contents
Why Does the Logo Need to Be Transparent?
Having a background behind the logo isn’t always a problem. For example, a logo’s white background won’t show up if you’re placing it on a white page.
But what if you want to put the logo on an image? You’ll end up with an obvious background behind it, like this.
You’d rather have something like this.
Let’s look at how to make it happen!
Method 1: Color Range
As with many tasks in Photoshop, there is more than one way to do things. Different techniques will work better depending on the situation. Let’s look at a few techniques so you have options.
First up is the Color Range tool. Go to Select in the menu bar and choose Color Range.
In the dropdown menu at the top, tell Photoshop you want to work with Sampled Colors. Then click on the white background. You’ll notice that your cursor is an eyedropper and you’re selecting the background color.
At the bottom of the box, you can select Grayscale for the Selection Preview to turn your logo black and white. Everything that is white is selected, everything that is black is not.
My logo has some gray elements because there are semi-transparent parts. This is not the best selection method for this logo because some of the transparent parts will not get selected.
But for the example’s sake, let’s continue. Adjust the fuzziness slider to ensure that every part of the background color is excluded from the selection. Remember, a higher number means Photoshop will select a wider range of similar colors to the sampled one.
When you’re happy with the selection, hit OK.
You’ll end up with a selection around the logo. To remove the background, press the Mask button at the bottom of the Layers panel. It looks like a rectangle with a circle in the center.
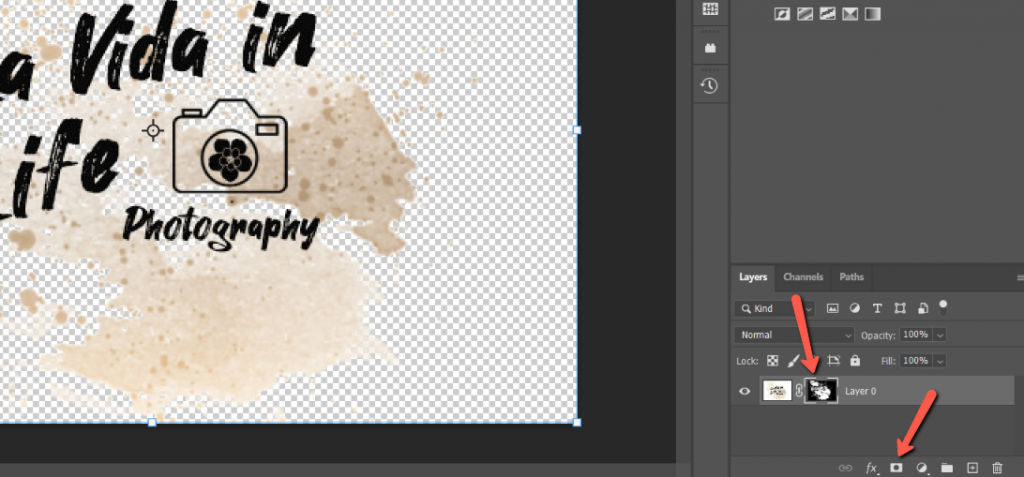
The background will turn transparent. This isn’t the end because there is still a problem you’ll need to fix.
A thin line of white fringing is left around the outside of the logo when you hit the mask button. But since this problem appears with all the methods, let’s address it at the end of the article.
Method 2: Magic Wand Tool
For now, let’s move to the next selection method. The Magic Wand tool works similarly to the Color Range tool, but the results can sometimes be different.
Select the Magic Wand tool from the toolbar on the left. It is often hidden behind the Quick Selection tool. Just right-click to open the options and select the Magic Wand.
Up in the Options bar, let’s set a couple of things before we use the tool. Since we want to select a plain white background, bring down the tolerance. We don’t need to select a color range, just one shade.
My logo has some transparent parts inside the design so I unchecked the Contiguous box. This allows Photoshop to select every pixel of the sampled color regardless of whether it is touching the area where you clicked.
See how Photoshop selected the white parts inside the logo even though they are isolated from the main white part outside the logo where I clicked?
In this case, the background is selected rather than the logo, so we need to invert it. Notice how there are marching ants around the edge of the background?
Press Ctrl + Shift + I or Cmd + Shift + I to invert the selection. You can also go to Select and choose Inverse.
You’ll see the marching ants around the edge have disappeared.
Hit the mask button at the bottom of the Layers panel to remove the background.
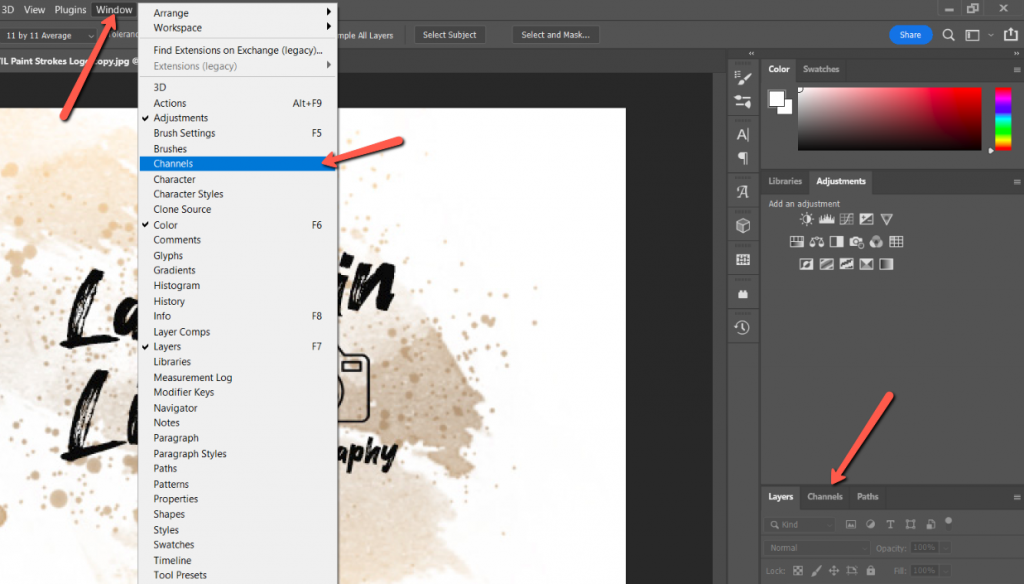
Method 3: Channels
Open the channels panel, which usually appears as a tab in the Layers panel area. If it’s not there, go to Windows and click Channels to bring it up.
Click through and look at each channel individually to determine which one offers the most contrast. For this logo, it’s the blue channel.
Click on the blue channel and drag down to the plus sign in a square to make a copy.
With the copy layer highlighted, press Ctrl + L or Command + L to open the Levels panel. Drag the sliders until your logo is black and the background is white.
Because of the semi-transparent parts of my logo, I had to go pretty extreme, but most of the time you just need to tweak them a little. Click OK when ready.
Hold down the Ctrl or Command key while clicking on the copy channel thumbnail. This will create a selection.
Again, the selection is around the background so press Ctrl + Shift + I or Command + Shift + I to invert it. Switch back to the Layers panel and press the mask button to make the selection.
Dealing with Fringing
As we mentioned earlier, there is still a problem that appears when you hit that mask button. Before you pat yourself on the back and continue on your merry way, you need to deal with the fringing.
Most of the time when you cut something out of a white background there will be a little white line running around the outside edge. You can’t see it against the light checkerboard background which indicates transparency, but it’s usually there.
To check for fringing, place a dark-colored background behind your logo so you can see. Click the half-filled circle icon and choose a Solid Color adjustment layer.
Pick a dark color from the color picker and hit OK.
Grab the color fill layer and drag it down below the logo layer to put it behind the logo.
Now, look closely at the logo. See the white fringing around the edges?
To get rid of it, you need to contract the selection. This needs to happen before you hit the mask button when cutting out the selection. Go to Select hover over Modify and choose Contract.
You can choose by how many pixels you want to contract the selection. My logo isn’t very big so I’m going to stick with 1 pixel. Click OK.
Now hit the mask button and inspect your image to ensure that the white fringing doesn’t appear.
Save as a PNG
Now the final step.
Have you ever had trouble saving an image with a transparent background? It looks great in Photoshop but when you save the file, it opens with a white background. That might even be what happened to your client when they sent you their logo file.
What is going on?
You can’t save an image with a transparent background as a JPEG. The file type doesn’t support transparent backgrounds and will always fill in transparency with white.
Instead, you have to use the PNG file type. To save as a PNG go to File, hover over Export, and choose Quick Export as PNG.
Browse to where you would like to save it, choose a file name, and click Save. Now your image should appear correctly with a transparent background.
That was a lot of information. I hope it was helpful!
Interested to learn more about when to use which file type – JPEG, PNG, or GIF? Check out our explanation here!
About Cara Koch