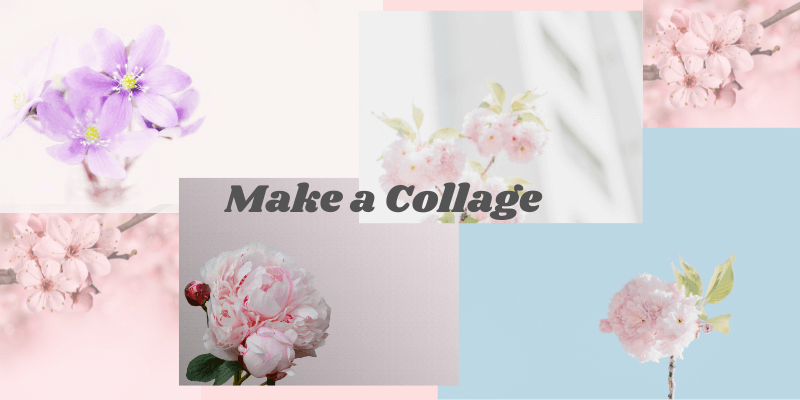
Collages are a fun way to show off a collection of photos. They are perfect for showcasing vacation snaps, images from a themed or professional photoshoot, or photos advertising an event.
Hi! I’m Cara and as a professional photographer, I love collages because they give me an opportunity to depict the story of a session in a way that a single image never can.
Photoshop also makes it quite easy to put a collage together. Let me show you how!
Note that the tutorials and screenshots below are based on Photoshop CC Windows, they might look slightly different if you are using the Mac or other versions.
Table of Contents
Step 1: Create a New Document
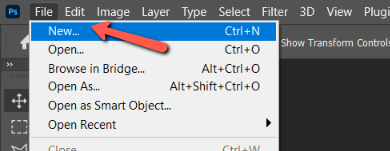
With Photoshop open, press Ctrl + N or Command + N to create a new document. Alternatively, you can go to File in the menu bar and choose New.
Think carefully about the size document you need. If you want to post your collage on Instagram, you’ll want a square document. If you’re planning to print your collage, you may want a fairly large document with high resolution.
If you’re unsure about the size, it’s better to err on the side of too big. You can always cut or scale it down later.
For this demonstration, I’m going to choose the preset for an 11 X 17-inch document for print. You can find it under the Print tab or you can choose your own values on the right.
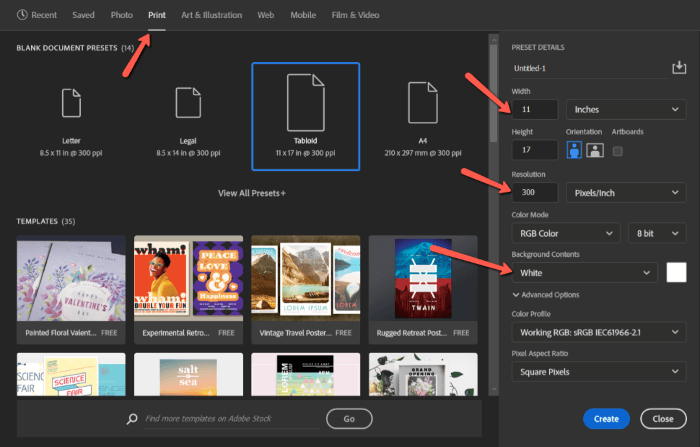
You can also choose the background color at this point. We’ll go with white for now. Click Create when you’re happy with your selections.
Step 2: Bring in the Images
The number of images will have a huge impact on how the final product turns out. I recommend using no less than three images. Two images are kind of boring and one isn’t a collage, haha!
However, you don’t want to bring in too many either. If your collage is large, you can get away with using more, but for this size collage I recommend maxing out at eight images.
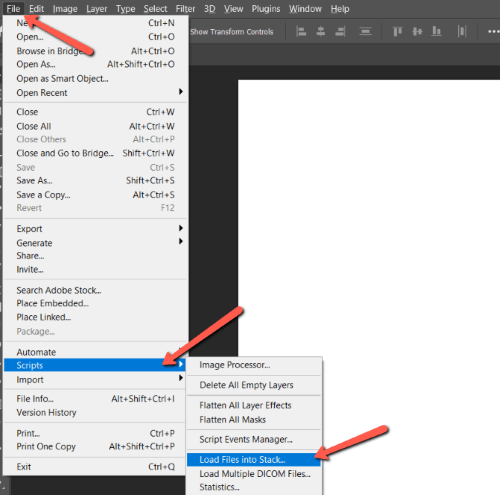
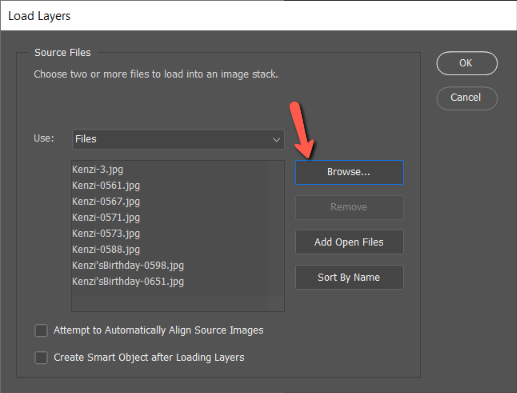
To bring in the images, you can load them individually or you can use this handy trick to load them all at once. Go to File in the menu bar and hover over Scripts. Choose Load Files into Stack.
Click Browse, and navigate to the images you want to use. Select them and they will appear in the box on the left. Once you’ve got them, press OK.
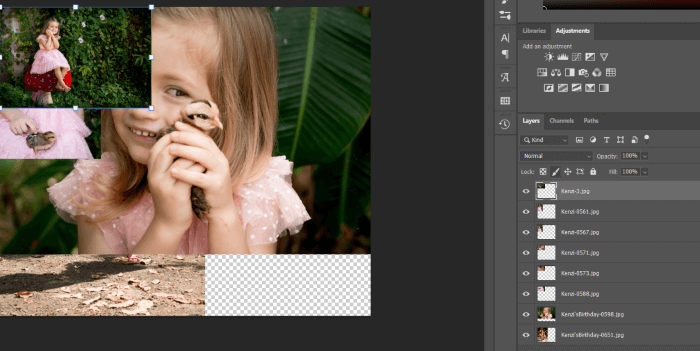
The images will then load as new layers one on top of the other in a new document.
Step 3: Turn Them All to Smart Objects
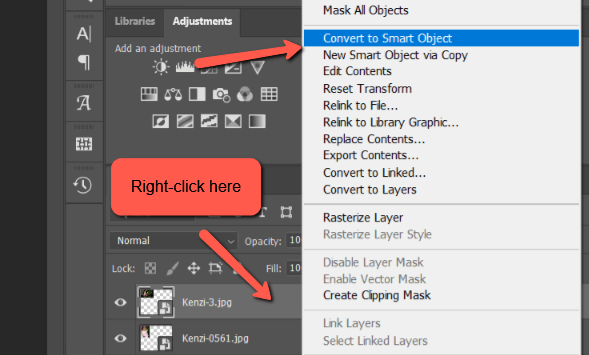
One of the benefits of using smart objects is that you can scale images without losing quality. Since we’ll need to resize these images to place them, let’s go ahead and turn them all into smart objects first.
Right-click on each layer and choose Convert to Smart Object for each image.
Step 4: Add Images to Your Document
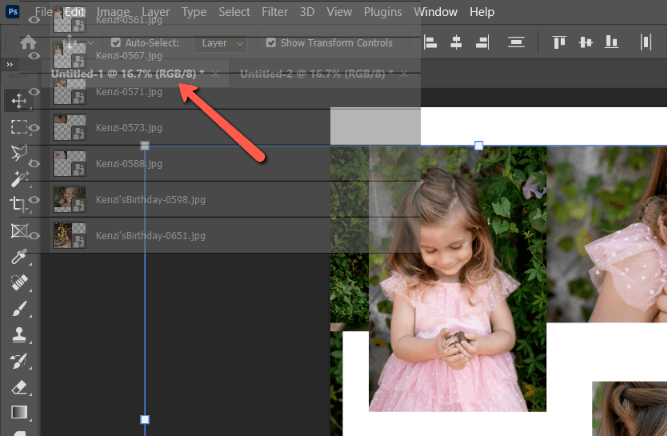
You may have noticed that the images did not load onto your document. That’s okay. Once you’ve turned them all into smart objects, simply select all the layers and move them to your document.
Do this by clicking the first layer, holding Shift, and clicking the last layer. This will highlight all the layers.
Click and drag and you’ll see a ghost version of the layers track with your mouse. Drop them on the tab where your document is waiting.
Step 5: Resize and Reposition
Now it’s time to arrange the images. Click directly on the image in the document or pick the layer in the layers panel.
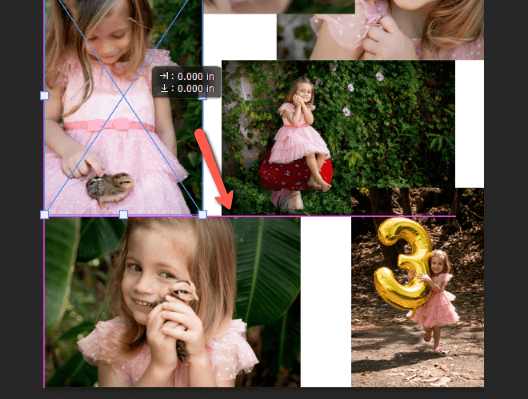
A blue box will appear around the selected image. Grab the corners and drag to resize. Click on the image and drag to move the whole image.
Keep an eye out for the purple alignment lines. These will help you line up the images with the sides, top, and centerline of the canvas as well as the other images.
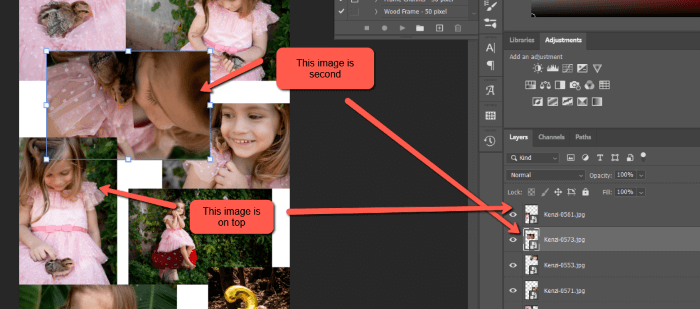
If you want to overlap some of the images, remember that layers at the top of the layers panel will appear on top of the image.
For example, the selected image (which has the blue box around it) is second in line. It is above all the other images in the stack and overlaps on three images.
The image overlapping the bottom left corner of the highlighted image is the one on top of the stack. Click and drag up the layers to bring images forward or down to send them back.
Hit Enter or Return when you’re happy with the placement of each image to accept the changes.
Step 6: Dress It Up
You can be done with a simple collage at this point. If you want to dress it up there are a few things you can do. For example, I don’t like the stark white background for this collage.
Change the Background Color
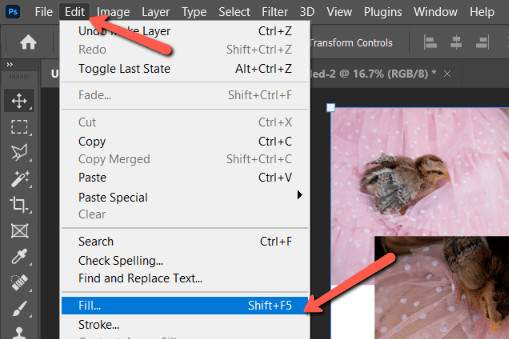
To change it, select the background layer and press Shift + Backspace or (Shift + Delete on Mac) to open the Fill box. You can also go to Edit and select Fill.
Choose Color in the Contents box to get the color picker to open up.
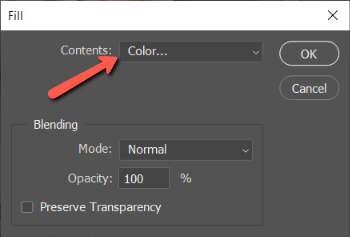
You can choose a color or use the eyedropper to pick a color from one of the images.
If you use the Eyedropper, make sure that All Layers are selected in the Sample box in the Options bar. Otherwise, the color picker will only be sampling the background layer and it will look like nothing is happening.
Then click on a color in one of your photos that you’d like to match. Click OK.

Add a Border Around the Images
You can also add a border around the images if you like with a layer effect. Select a layer then click the fx icon at the bottom of the Layers panel.
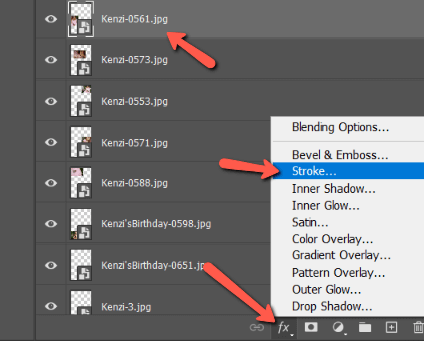
Choose Stroke from the menu. In the Layer Style panel, you can adjust the size and set the position of the border on the Outside, Inside, or Center (equally inside and outside).
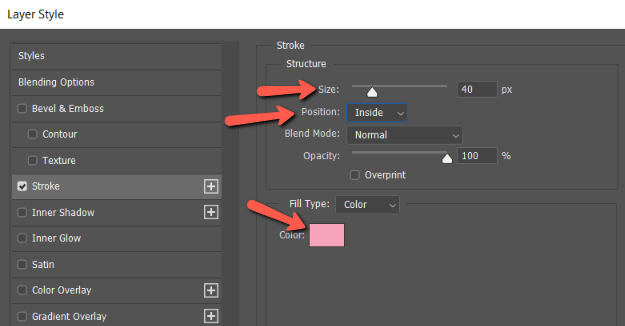
Double-click in the color swatch to pick the border color. Click OK when finished.
Back in the layers panel, right-click on the bordered layer and choose Copy Layer Style.
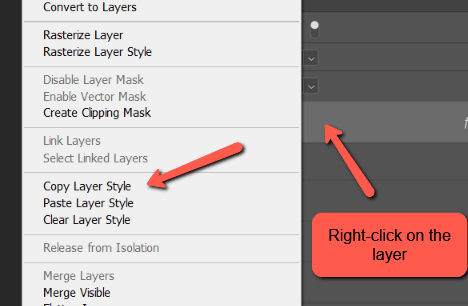
Select all the other layers, right-click, and choose Paste Layer Style to apply the same border to all the other images.
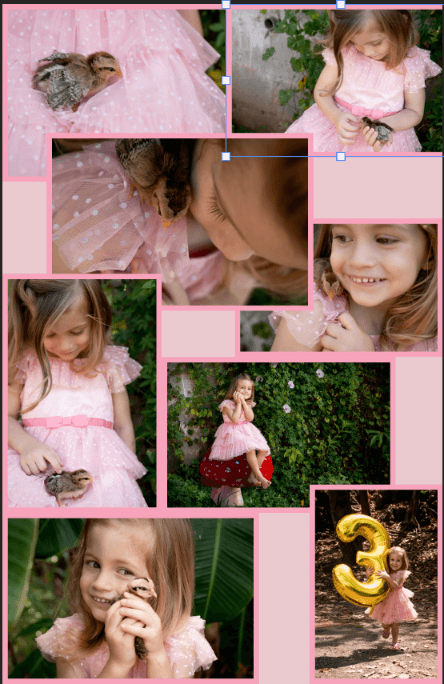
There it is! What a fantastic way to showcase this little sweetie’s birthday pictures. Have fun setting up your own collages!
If you’re looking for more Photoshop techniques, don’t hesitate to check out our tutorial on how to overlay images here!
About Cara Koch