
Most of the time you add things to your project when you work in Photoshop. Of course, sometimes your project will also require deleting parts of the image or design.
Hello! I’m Cara and as a professional photographer, I spend my fair share of time in Photoshop making magic happen. Deleting a selected area in Photoshop is quite simple. Let me show you how!
Keep in mind that the screenshots below are taken from the Windows version of Photoshop CC. If you are on a Mac or use another version, they can look slightly different.
Table of Contents
Step 1: Make a Selection
Before you can delete a selection, you need to make one. Photoshop gives you a variety of selection tools including the Lasso tool, Quick Selection tool, Magic Wand tool, and more!
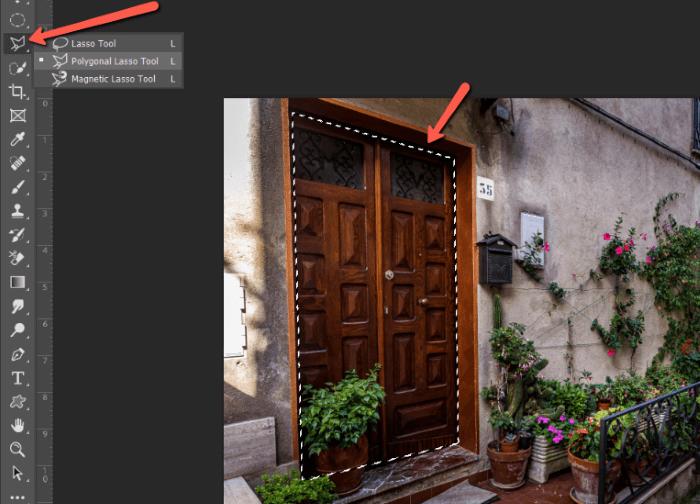
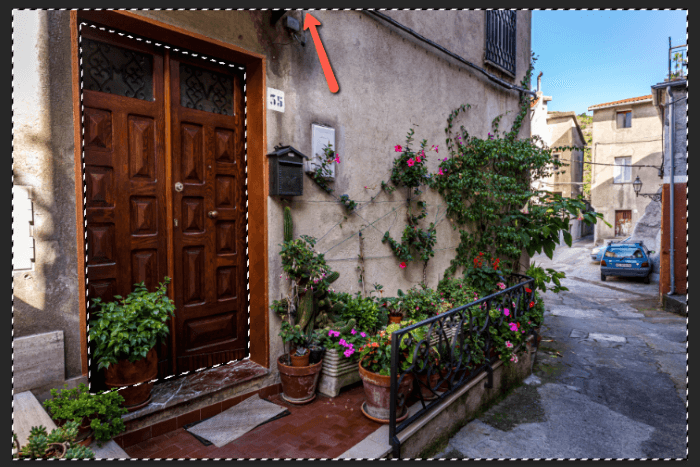
Which one you use will depend on the selection you are trying to make. For this example, I’ll grab the Polygonal Lasso Tool to make a quick selection around the door in this image I took in Papasidero, Italy.
Step 2: Delete the Selection
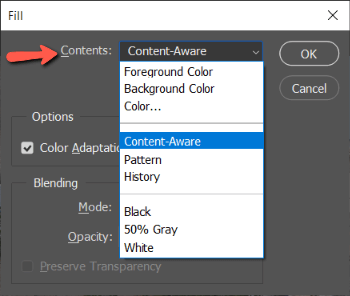
With your selection active, simply press the Backspace or Delete button on your keyboard. When you’re working on the background layer (as I am here) a box will appear where you can choose what to replace the selection with.
You can choose the background or foreground color or whatever color you want from the color picker. Content-Aware will try to fill the deleted space with pixels that match the surrounding area. Notice transparency is not an option.
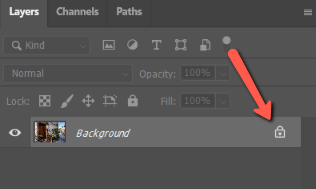
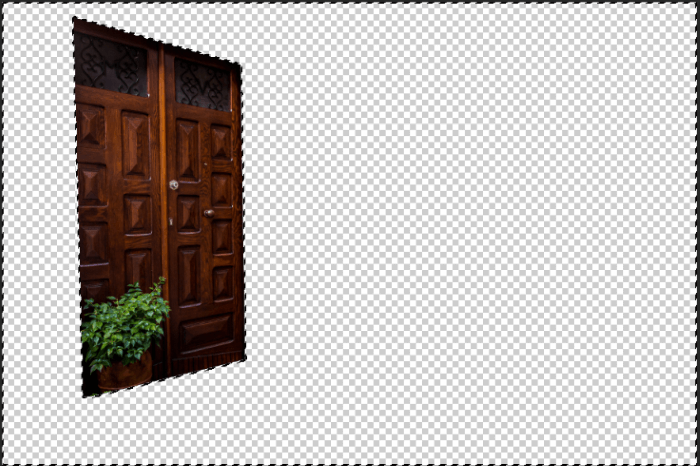
If you want to delete the pixels and make the selection transparent, you can’t be working on a background layer. To change the background layer to a regular layer, press the padlock-looking icon on the right of the layer.
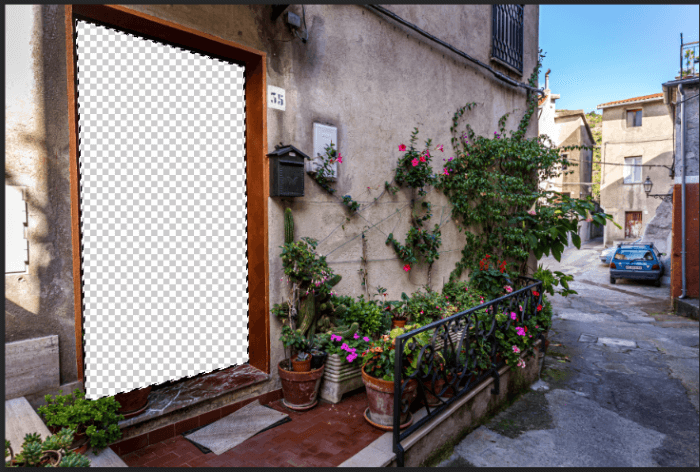
When you press the Backspace or Delete key on a regular layer, the selection immediately becomes transparent.
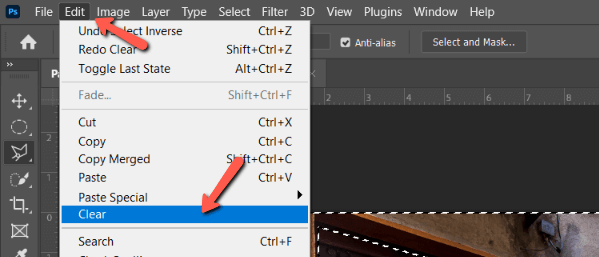
Alternatively, you can go to Edit in the menu and choose Clear to erase the selection.
If you select this option on a background layer, the selection will automatically be filled with the background color. If you unlock the background layer or are working with a regular area, the selection becomes transparent.
Delete Everything But the Selection
What if you want to go the other way? What if you want to make a selection and then delete everything around it?
This is also super simple. You make a selection and invert it so that everything but your original selection is now selected.
Let me show you. Let’s go back to my selection around the door.

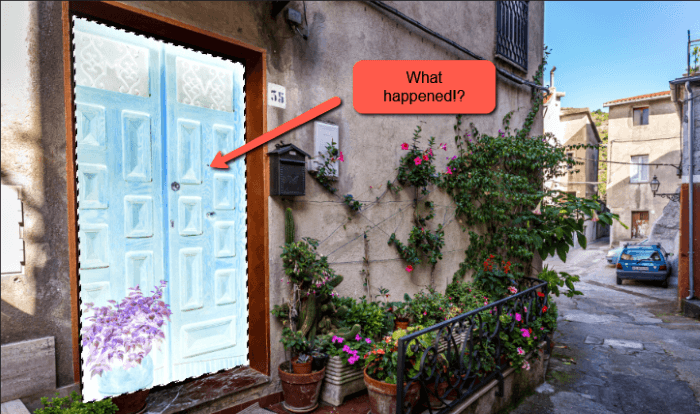
Press, Ctrl + Shift + I or Command + Shift + I to invert the selection. (Don’t forget the Shift key or you’ll end up with this wacky color inversion instead).
When you hit the right shortcut, you’ll see the famous marching ants appear around the edge of the image.
Now when you hit the Backspace or Delete button, everything but your original selection is deleted.
And that’s a wrap! Removing selections in Photoshop is very easy. By far, the hardest part is making the selection in the first place.
Excited to delve more into the magical world of Photoshop? We have tons of tutorials and content like how to rotate a layer here!
About Cara Koch