Do solid colors feel a little boring to you? They certainly can be when creating designs with text in Photoshop. A simple way to add some impact to your design is to create gradient text instead of one boring color.
Hi! I’m Cara and I’m always up for adding some pep to my creations. Using gradient text is super easy, but looks so professional and sleek in the final product.
Come with me and I’ll show you how to create gradient text in Photoshop!
Step 1: Create Text
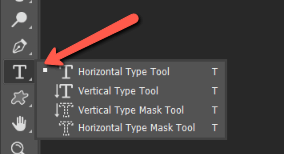
We first need some text. For this example, I just opened a new document and made it solid white. Select the Horizontal Type Tool from the toolbar on the left.
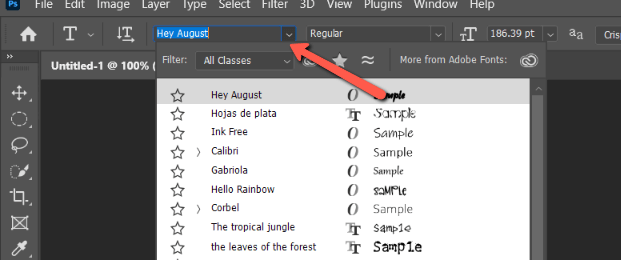
Pick a font from the Options bar at the top. The gradient will show through better on thick fonts so keep that in mind as you browse.
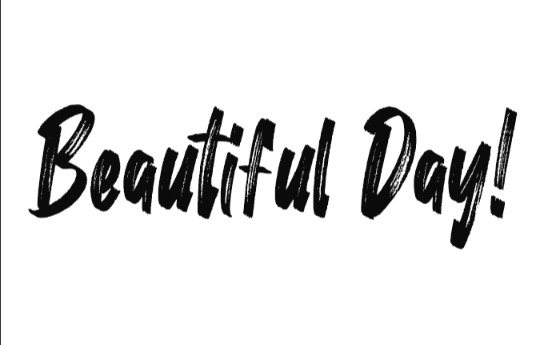
Here’s what we have to work with for this example.
Step 2: Add a Gradient Overlay
Now let’s add some color!
Double-click on the text layer to open the Layer Style panel.
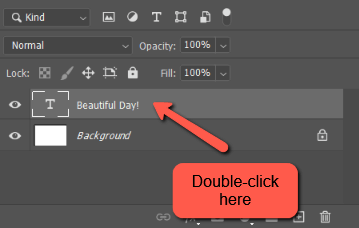
Choose Gradient Overlay.
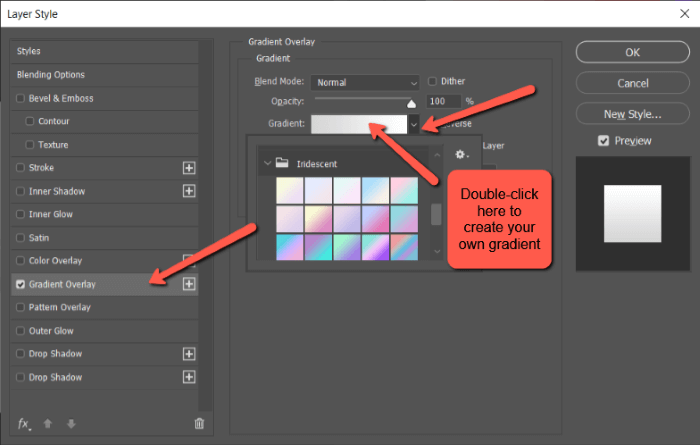
The Gradient box shows the colors of the current gradient. Click the dropdown arrow to the right to get a list of preset gradients offered in Photoshop. You can also create your own gradient presets and save them here.
Choose one of the gradients or create your own by double-clicking in the Gradient box. Choose the color you want on either end of the spectrum. You can also move the tags closer together for a faster color shift.
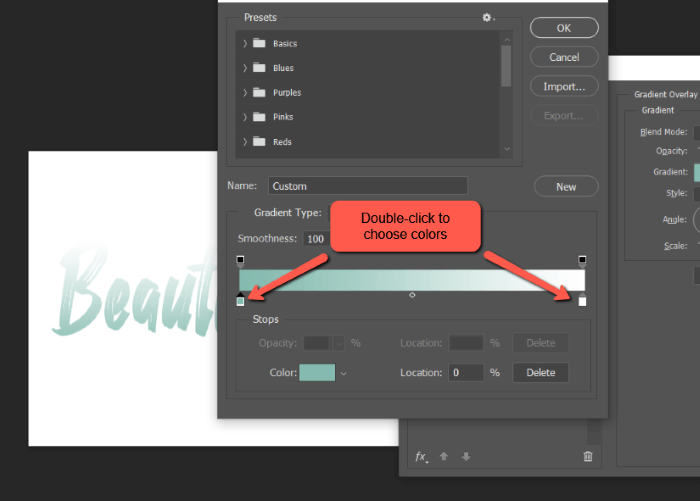
Changes are immediately previewed in the text behind the dialog box. Once you’re happy with your gradient, click OK.
You can also save your gradient as a preset for future use. Give it a name in the Name box and click New.
Step 3: Refine Your Gradient
You’ll end up back on the Layer Styles panel, which gives you plenty of options for customizing your gradient.
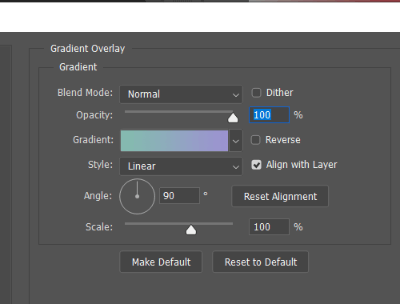
To lighten the effect, you can bring down the opacity of the gradient. Tick the Reverse box to change the direction of the gradient. In this case, instead of going from teal to purple, the gradient would switch and go from purple to teal.
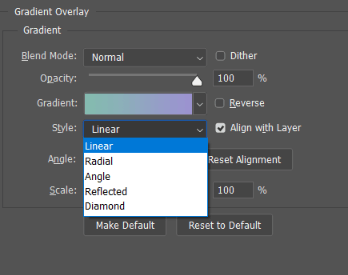
The Style box changes the shape of the gradient. Linear is the default, but there are four other styles you can choose from for different effects.


The Angle changes the direction of the gradient. The colors can change vertically, horizontally, or from any direction in between.
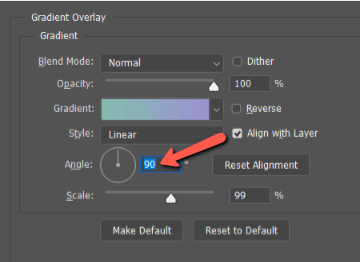
Scale has to do with how quickly the colors change. A lower percentage creates a harder line between the two colors while a higher percentage makes the change softer and more subtle.
Play with the settings until you get an effect you like.

Pretty nifty, right?
In just a few minutes following these simple steps, you can create professional-looking flyers, ads, and whatever else you can dream up!
Have fun with it and be sure to check out our tutorial on how to warp text for more fun effects!
About Cara Koch