Have you ever wanted to star in your own cartoon? Photoshop lets you do that – at least in one image!
Hey there, I’m Cara. As a photographer, I enjoy playing around with Photoshop’s many toys. Turning images into a cartoon is one of those fun tricks and it’s easier than you might think!
Follow along to learn how to turn a portrait into a cartoon using filters in Photoshop.
Note: the screenshots below are taken from the Windows version of Photoshop CC. If you are using the Mac version, they will look slightly different.
Table of Contents
Step 1: Prepare the Image
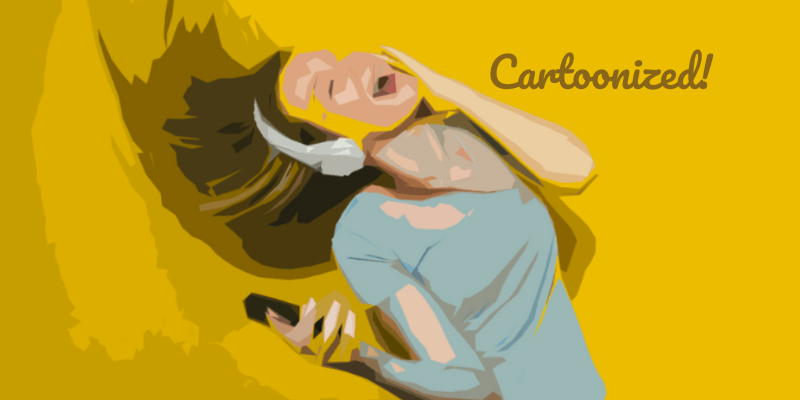
Today we’re going to turn an image that I got from Pexels.com into a cartoon.
I want to apply filters to the image. If I properly prepare the image now it becomes so much easier to make adjustments later.
So, first hit Ctrl + J (Command + J) to duplicate the layer. Then convert to a smart object by right-clicking on the layer and selecting Convert to Smart Object from the menu.
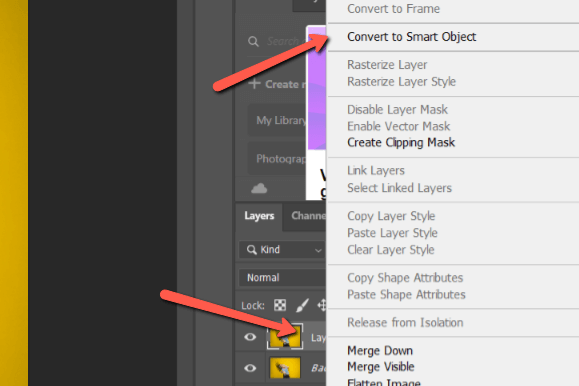
This allows you to make adjustments to the filters later. Plus, you can copy the layer which will be important for saving time with this technique.
Step 2: Apply the Cutout Filter
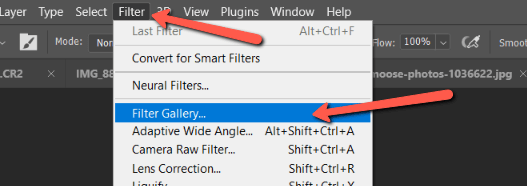
With the duplicated layer selected (I named it Cutout for organization purposes) go up to Filter on the menu bar and select Filter Gallery.
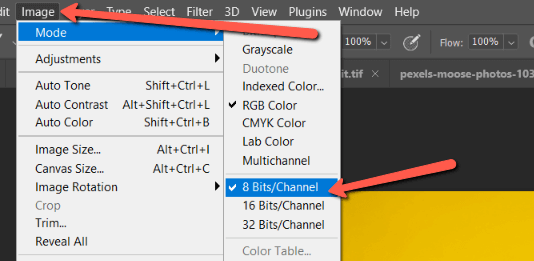
If the filter gallery is grayed out, you may need to change the image to 8-bit. Go to Image, Mode, and choose 8 Bits/Channel. Now selecting the filter gallery should work.
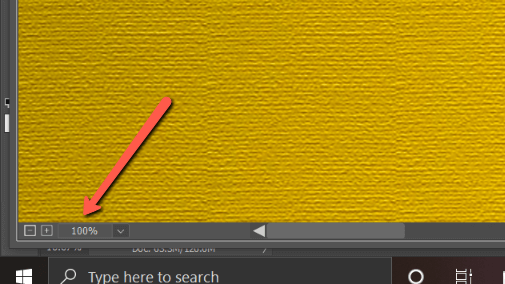
The filter gallery will open another screen with a preview panel. If you can’t see the whole image, change the percentage value down on the bottom left side of the screen. I zoomed mine out to 25% so I could see the whole image at once.
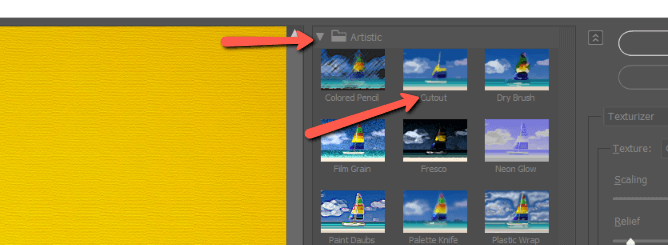
Then, in the Artistic tab, choose the Cutout filter.
Step 3: Adjust the Filter
On the right, you’ll see a few options for adjusting the filter. The Number of Levels increases or decreases the color range.
A higher number for Edge Fidelity will add fine lines that we don’t want for cartoons, so keep the number low.
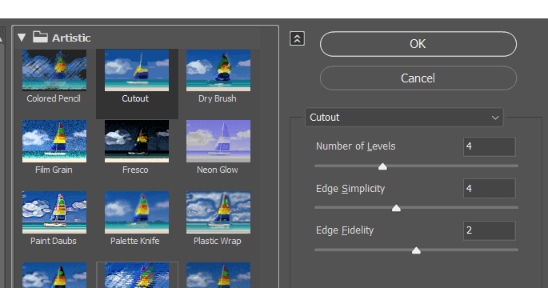
The Edge Simplicity is an important one. It determines the level of detail in the image. A lower level adds more detail, while a higher number adds fewer. For the first pass, we want low details so don’t worry about the face too much. Focus more on the clothing. Here’s my image at 7.

Click OK to accept the filter.
Step 4: Duplicate the Filter
Now we’re going to make another pass and add in more details on the face and hand. Hit Ctrl + J (Command + J) to duplicate the layer. Notice that because we turned it into a smart object, the filter and everything are copied.
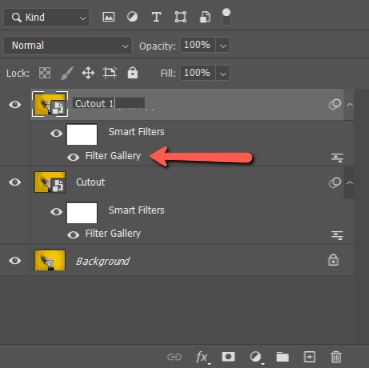
Double click on the copied Filter Gallery to open the control panel. Bring the Edge Simplicity down a touch (to 6 in this example) and click OK.
Step 5: Limit the Changes
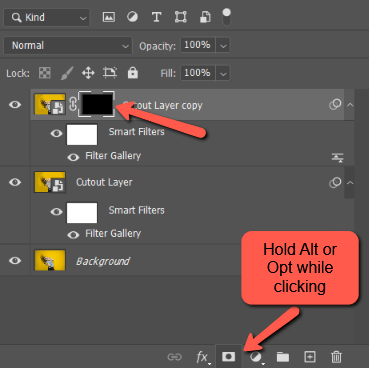
I don’t want to apply the changes to the entire image, just the parts where I want more details. So I’ll create a negative layer mask by holding Alt or Option while clicking on the layer mask icon at the bottom of the Layers panel.
I select the brush tool by hitting B on the keyboard. Then paint over the areas of the image where I want more details (face and hands, for example) with a soft brush and white as my foreground color.
Step 6: Apply One More Layer
To finish it off, we’re going to make one more pass with more details. Select the First layer and hit Ctrl + J (Command + J) to copy it. (Don’t copy the second layer because it already has a mask).
Then, do the same thing. Open the Filter gallery from the layers panel and bring the Edge Simplicity down one more to 5. Click OK.
Make a new negative layer mask and paint over the areas where you want the most detail.
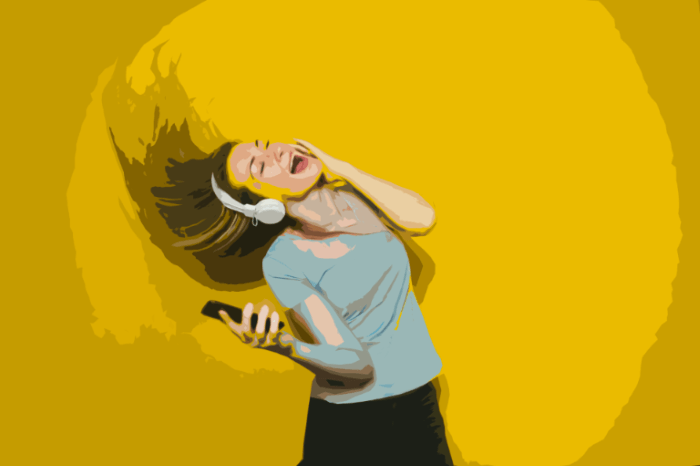
And there’s the cartoon version of this lady rocking out to her favorite song!
Editor’s Note: It’s already pretty easy to cartoonize in Photoshop, but if you want to get results even faster, you can always try other image editors like Colorcinch.
Interested in more fun Photoshop tutorials? Be sure to check out how to make someone’s eyes glow!
About Cara Koch