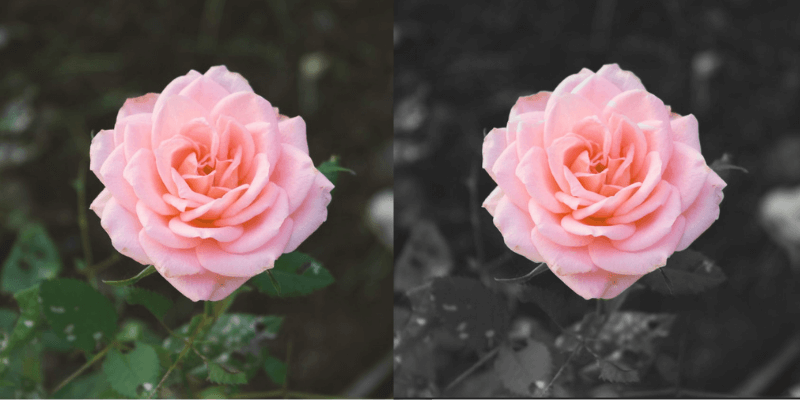
Turning a colorful image black and white in Photoshop is easy, but what if there’s a color you want to keep to catch attention? No worries, it’s pretty easy as well. It only takes two extra steps.
In this tutorial, you are going to learn how to make one color pop out in a black-and-white photo. The method I’m going to show you works really well when there’s only one color that you want to show in a black-and-white image.
Note: All screenshots are taken from Adobe Photoshop CC Mac version. Windows or other versions can look different. For keyboard shortcuts, Windows users change Command to Control.
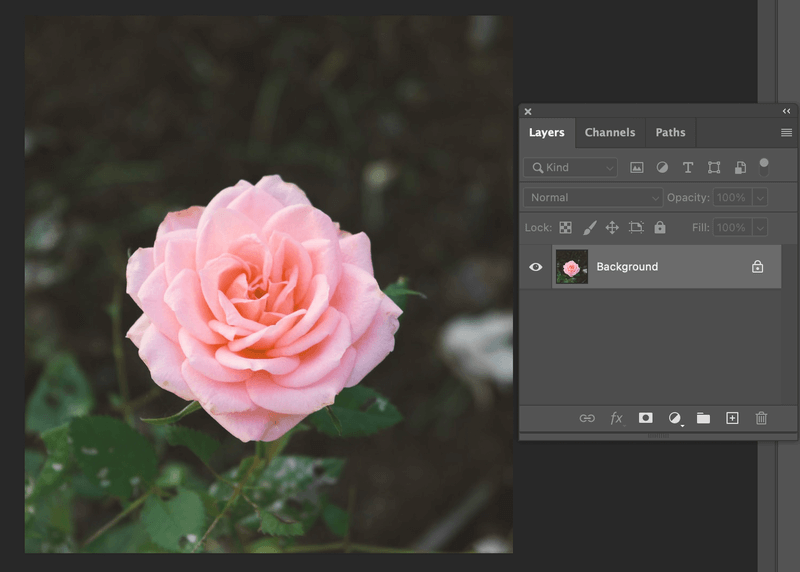
Step 1: Open the image in Photoshop.
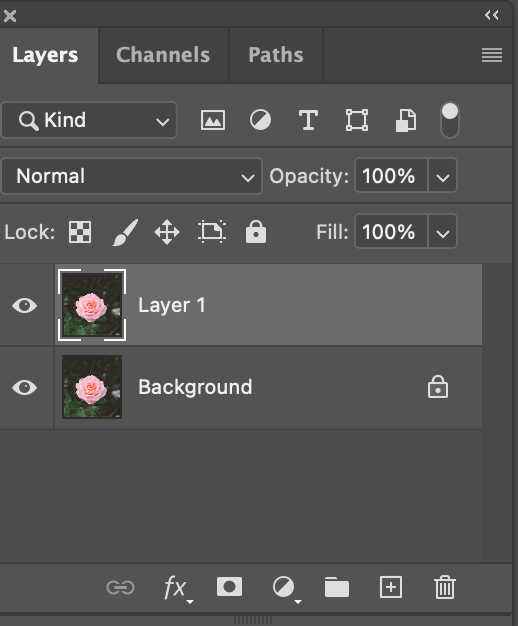
Step 2: Hit Command + J on your keyboard to duplicate the layer.
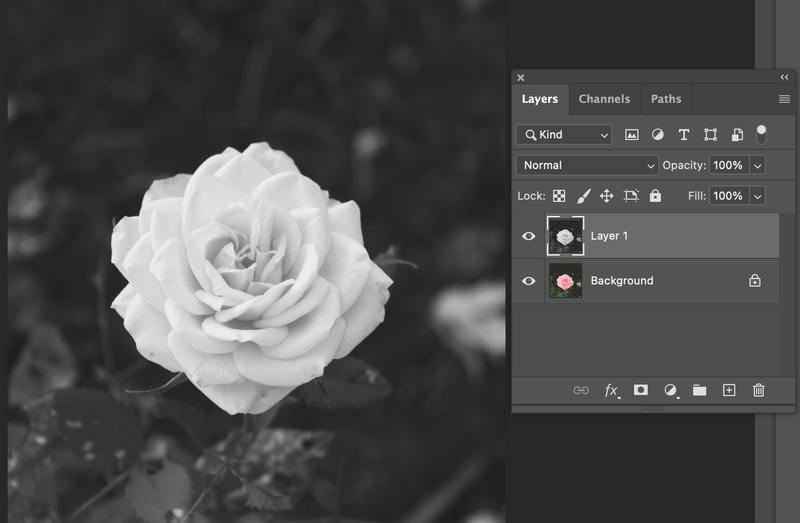
Step 3: Go to the top menu and select Image > Adjustments > Desaturate or use the keyboard shortcut Shift + Command + U to make the image black and white.
Step 4: With the layer selected, go to the top menu and choose Select > Color Range.
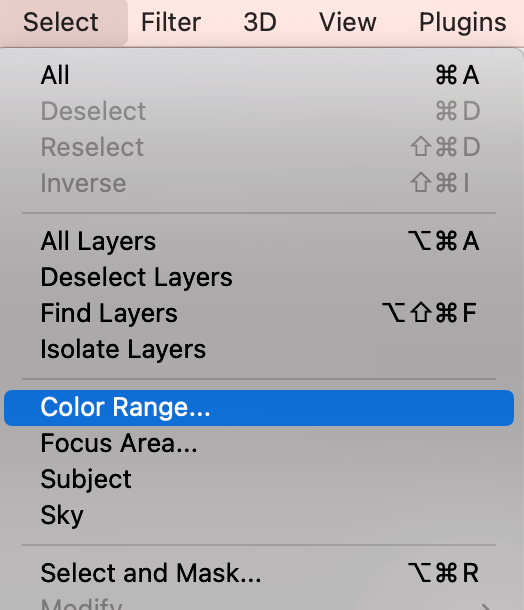
You will see a color range window. When you hover your mouse on the image the pointer will become an eyedropper tool that you can use to select sample colors.
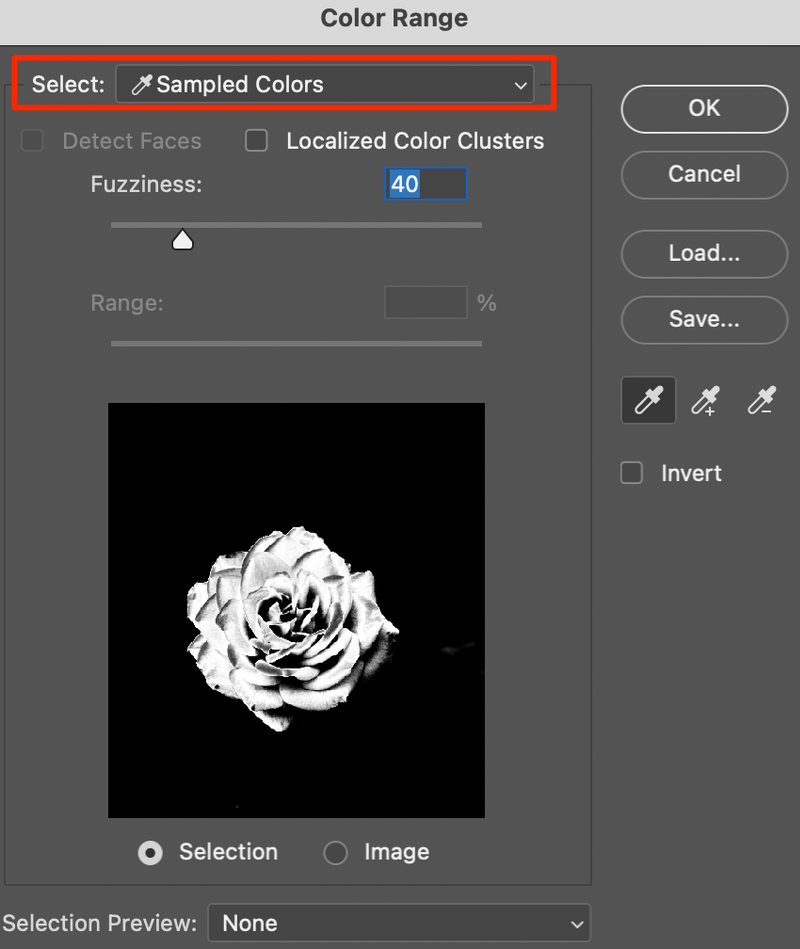
The sample color should be the areas that you want the color to show. In this case, I’ll click on the flower part to select the pink color from the flower. Click OK when you finish sampling the color.
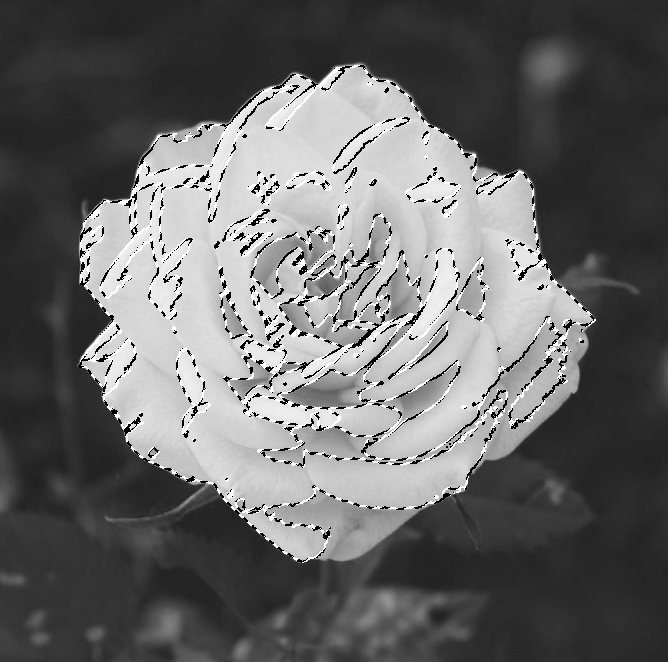
Step 5: Hit the Delete key on your keyboard and you should be able to see the color you selected. You can deselect the object using the shortcut Command + D.
As you can see, there are still some grey areas on the flower part and the pink is not bright enough. Don’t worry. A slight touch-up will solve this problem.
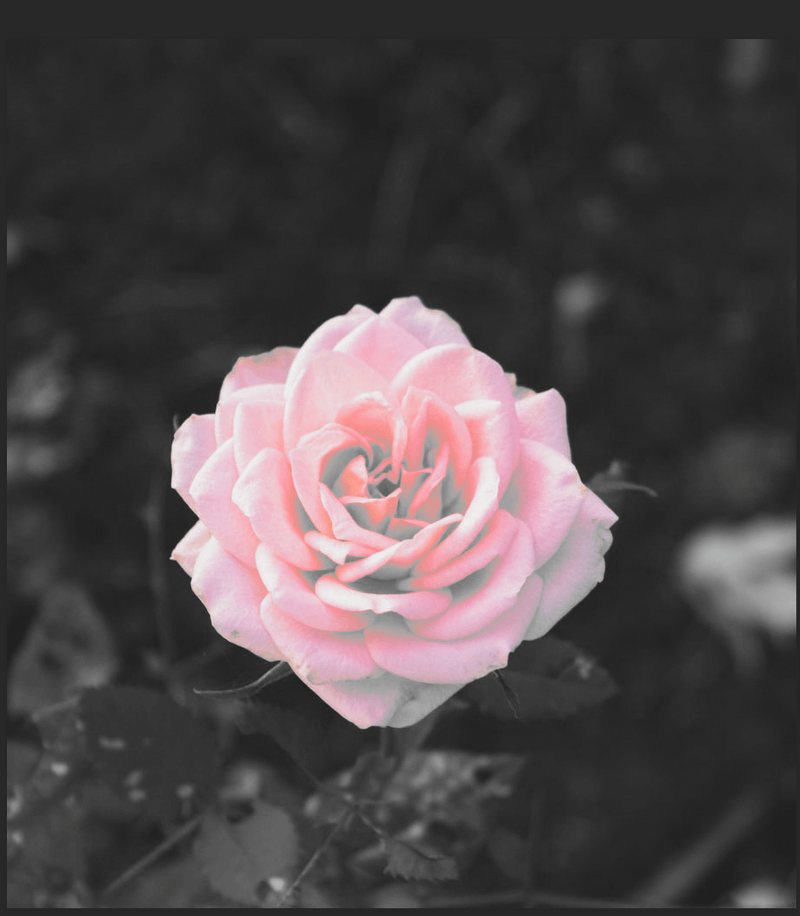
Step 6: Select the Eraser Tool from the toolbar and brush on the flower to remove the grey shades. See? All good.

Conclusion
I told you it’s easy. The key step here is step 4 because it’s important to select good sample colors and it’ll save you time on image touch-up. Click on the sample color area multiple times if needed. Be patient 🙂
About June
Ronnie
It’s a very simple technique to get a dramatic effect. Thanks for the great tutorial!
June
You are welcome, thanks 🙂
Mike
Great tutorial. Very clear. Thanks
June
Glad you found it helpful 🙂
San
Hi, I have PS elements 15, found a way to do the exact same but with the shakes hand it does get a bit tiring. Any advise for element users?
June
Have you tried a Wacom tablet or something similar? I use a mouse, I have just got used to it over the years but if you’re new to Photoshop you might want to see what is easiest for you to use. If you still find it difficult, I would zoom right in whilst editing and it won’t be so noticeable on your final image.