
Have you ever admired a photograph and wondered how the photographer got it so tack sharp? While the gear they’re using certainly plays a part, some photographers are actually expert sharpeners in Photoshop.
Hey there! I’m Cara and I understand that you want your photos to be crisp and clear. Keep this in mind, in their quest for tack sharp images some people take things too far. They destroy their images or at least make it obvious they don’t actually know what they’re doing.
To keep this from happening to you, I’m going to share the secret to perfectly sharpened photos with you here. Or rather, I’m going to share 4 secrets because different photos will work better with different methods so it’s good to learn a few.
Table of Contents
Ready to Sharpen?
Before beginning any of these sharpening techniques, let’s prep the image. Duplicate the image by pressing Ctrl + J or Command + J. This allows you to compare with the original image as well as gives you something to come back to if you mess up.
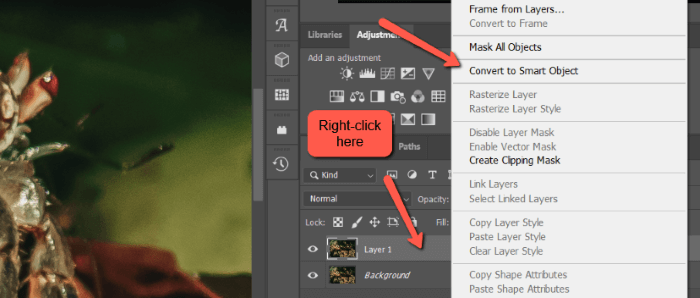
When adding filters, it’s usually a good idea to convert the image to a Smart Object first. This allows to you come back and adjust values later.
To do this, right-click on the copied layer. Choose Convert to Smart Object from the menu that opens.
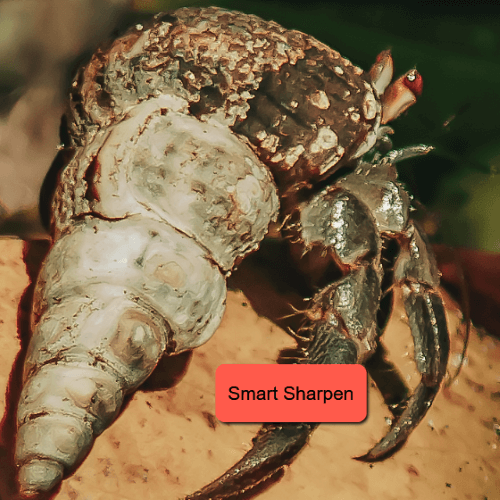
Method 1: Smart Sharpen
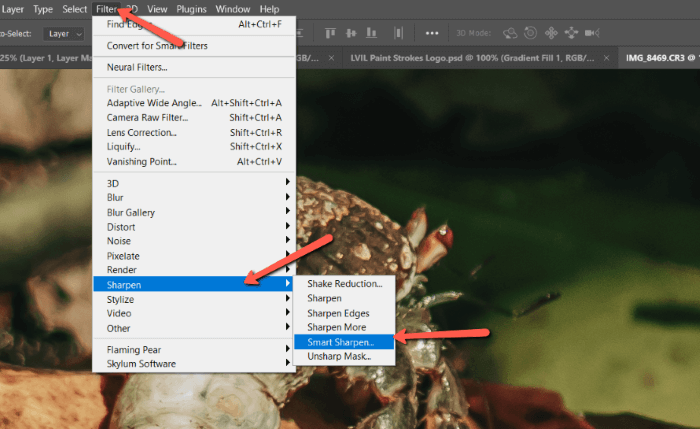
Okay, let’s start sharpening with the Smart Sharpen filter. With your image open in Photoshop, zoom in 100% so you can better see the effects of the filter.
Go to Filter in the menu bar, hover over Sharpen, and choose Smart Sharpen.
In the box that opens, make sure the Preview box is checked so you can see what’s happening. Then start playing with the values. Bring up the Amount to make the effect stronger.
Radius thickens the lines around the edges of the image. Cranking up the radius too high oversharpens and ruins the image quickly. This is where a lot of people get themselves into trouble. Be judicious with that radius.
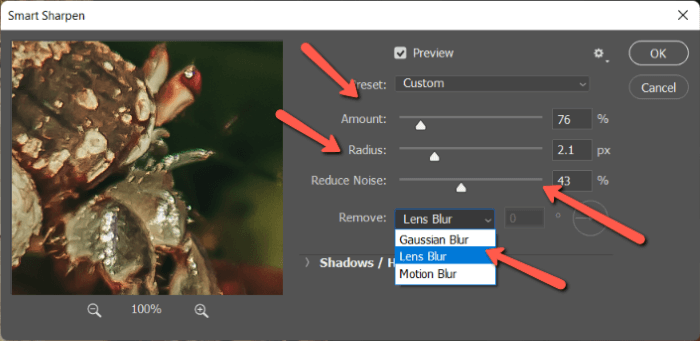
One of the downsides of sharpening is that it can add noise to the image. The Smart Sharpen filter gives us the Reduce Noise slider to help combat it.
Finally, you can choose which type of blur you would like the program to focus on. Lens blur focuses on fine sharpening and reducing halos and motion blur tries to remove motion blur.
These are the basic settings, but if you click the arrow next to the Shadows/Highlights tab you can access some more advanced settings. These allow you to control how the sharpening effect is applied to the highlights and shadows separately.
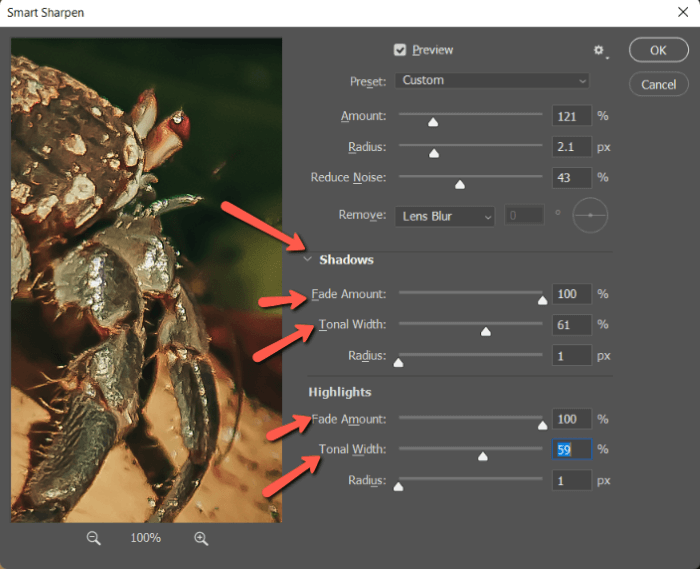
For the most part, you can crank the Fade Amount. Then you adjust how much of the highlights or shadows are affected by the Tonal Width sliders. The Radius doesn’t do much in this case, but you can play with it to see how it affects your image.
Once you’re happy with your settings, click OK.
Don’t forget to inspect your entire image carefully once you’ve finished. The filter can affect different parts of the image in unexpected ways.
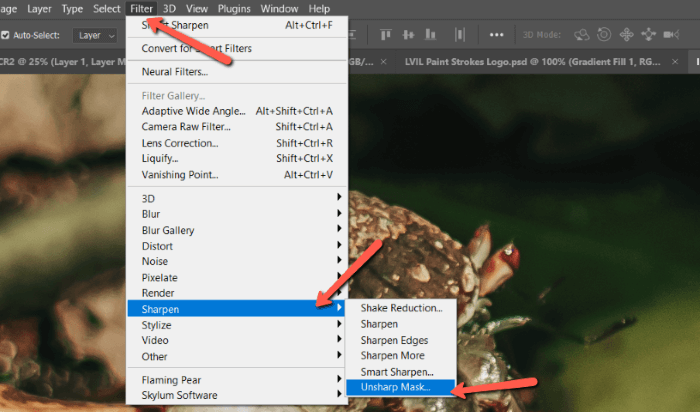
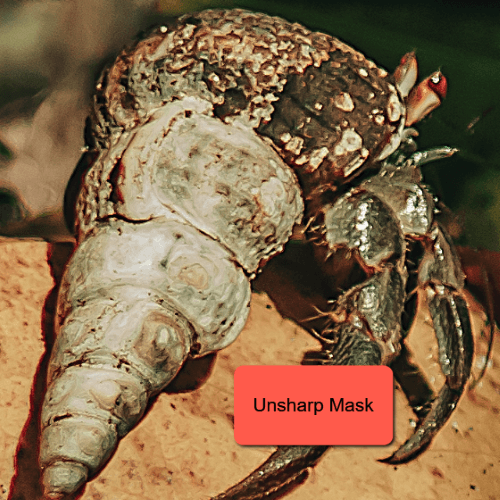
Method 2: Unsharp Mask
The next filter seems oddly named for what we are trying to do. However, it comes from the old darkroom technique of sharpening that involved subtracting a blurry negative mask from the image.
To access it, go to Filter, hover over Sharpen, and choose Unsharp Mask.
In the box that opens, carefully choose your values. The Amount controls how strongly the effect is applied. Again, the Radius controls the thickness of the sharpening effect. Be careful not to go overboard.
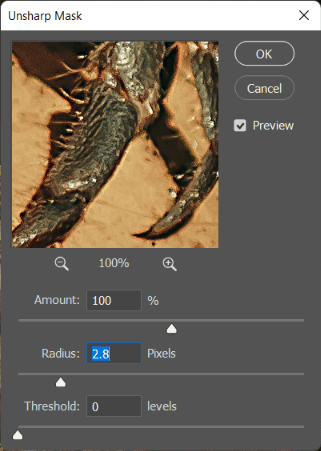
The threshold helps to limit weird effects like color changes or posterization when applying heavy sharpening. Most of the time you won’t need this slider. Press OK when finished.
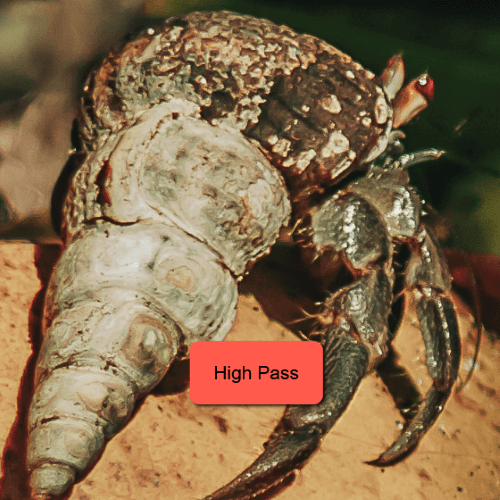
Method 3: Photoshop High Pass Filter
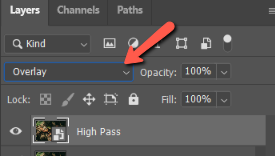
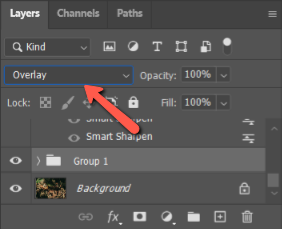
To get started with the high pass filter method, change the blend mode to Overlay near the top of the Layers panel.
Then go to Filter, hover over Other, and choose High Pass.
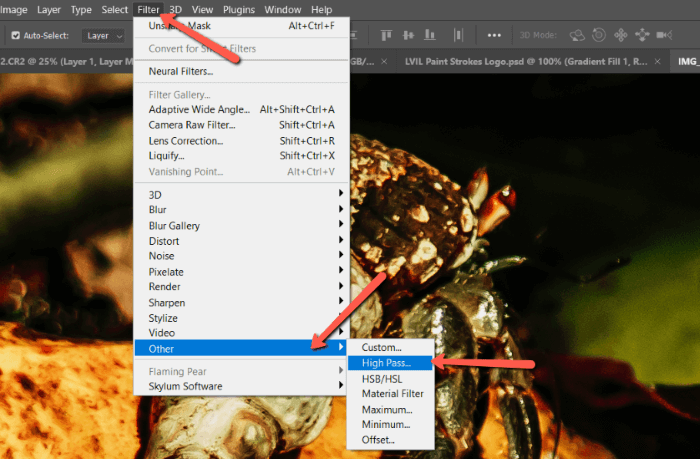
High pass allows you to subtly sharpen just the edges, which is very helpful in some images.
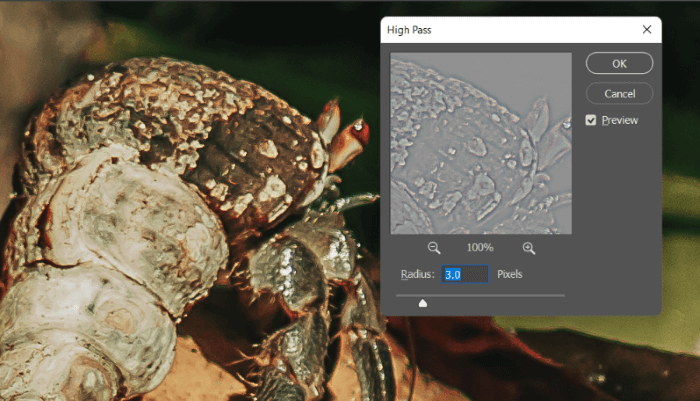
If you push the radius high, the filter will sharpen more areas of the image. However, watch out as parts of the image can start looking unnatural.
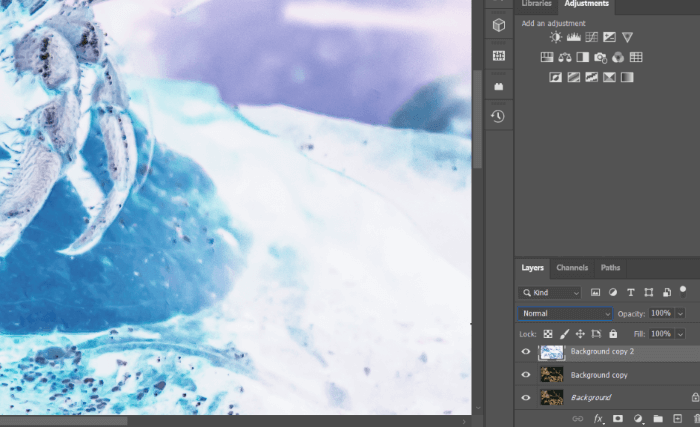
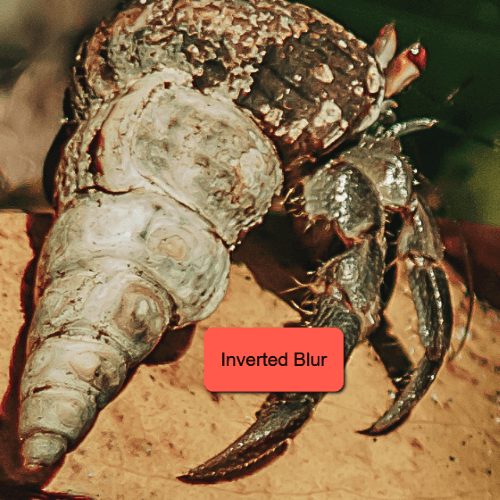
Method 4: Inverted Blur
These first few methods are pretty straightforward and easy to do. However, they won’t always produce amazing results. This trick is a little more involved (but still easy) and can make all the difference in those tough images.
For this method, let’s create two copies of the background layer instead of one as we did for the other methods.
Choose the second copy and invert it by pressing Ctrl + I or Command + I. Whoa, what!? Yes, stay with me.
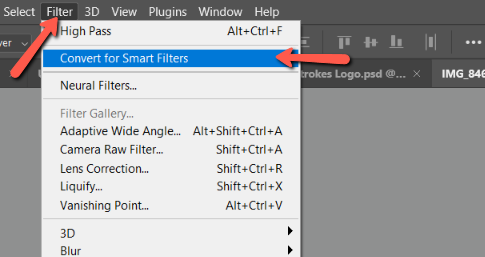
Now, change the blend mode to Vivid Light. We’ll want to be able to change the values so be sure to Convert for Smart Filters in the Filter menu.
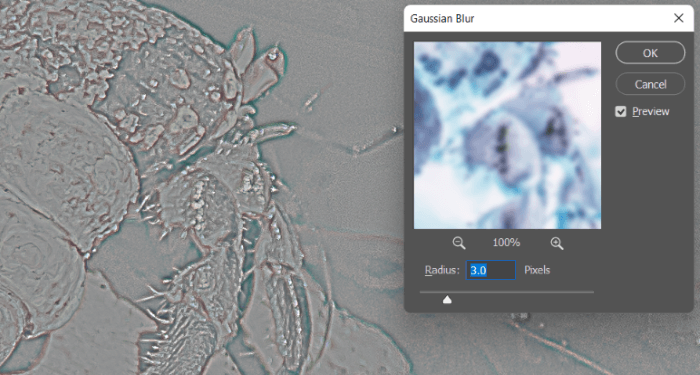
Now let’s add a blur filter. Go to Filter, hover over Blur, and choose Gaussian Blur.

Check this out, because we inverted the image, the more we blur it, the sharper it becomes. Again, don’t take the radius too far or halos will start to appear. Press OK when finished.
Hold the Ctrl or Cmd key while clicking to select both layers and put them into a group with Ctrl + G or Command + G.
Change the blend mode to Overlay and voila! You have a perfectly sharpened image.
Photoshop gives us several options for sharpening for a reason, some methods will work better on certain photos. Here’s a side-by-side comparison of each method in this same photo. Which one do you like best?
These techniques are for creating tack-sharp photos with images that are already in focus. What if you have a blurry photo? Well, while you can’t necessarily put a blurry photo in focus, you can fix it up a bit. Find out how here!
About Cara Koch
Ivan O'Riordan
Cara, just came across your wonderful article on Sharpening. Brilliant! I am relatively new to Lightroom and sharpening is an issue for me. I have Photoshop in my package and will certainly try your methods. My fear is oversharpening and knowing when to stop. I am primarily a sports photographer but try everything. I use the Z9. Many thanks. Ivan
June
You’re welcome, Ivan!
Mohammed Kamara
Thank you very much for this 4 methods of sharpening images in photoshop. I like to see more tips if the future from you.