Has this ever happened to you? You snap a series of photos, but you miss the focus on some of them?
It happened to me a few weeks ago when I took my kids to a wildlife reserve. Unfortunately, I missed focus on a few of the images (give me a break, it happens to everybody!)
Hello, I’m Cara, a professional photographer. I hope it gives you hope that we all miss focus sometimes. And I’ve got another serving of hope for you because now I’m going to show you how to unblur an image in Photoshop.
Check it out!
Table of Contents
Let’s be clear (pun intended) you can’t fully save a blurry photo. The software can only do so much to create the information you didn’t get in the original photo. You won’t be able to sell or use these images commercially in any way.
What you can do, however, is sharpen a blurry photo enough to post it online. That’s what I’m going to do today with this blurry image of a parrot. Let’s see if we can’t clean it up!
Note: the screenshots below are taken from the Windows version of Photoshop CC. If you are using the Mac version, they will look slightly different.
Step 1: Create a Smart Layer
Hit Ctrl + J (Command + J on a Mac) to duplicate the background layer. Convert it to a smart filter by going up to Filter in the menu bar and selecting Convert to Smart Filters.

After completing this step, now we can go back and make changes to the filter as desired.
Step 2: Choose Your Filter
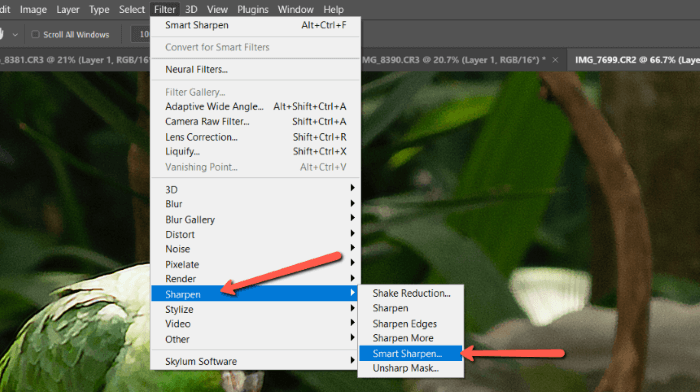
Head up to Filter again on the menu bar. Scroll down to Sharpen. There are a few options for sharpening images that pop out in the dropdown menu. Today I’m going to try Smart Sharpen.
A little box opens with some simple sliders. I recommend taking the amount to 500% and then dialing it back slowly until you get the look you want. The middle slider is the radius. Play around with it to get the results you want.
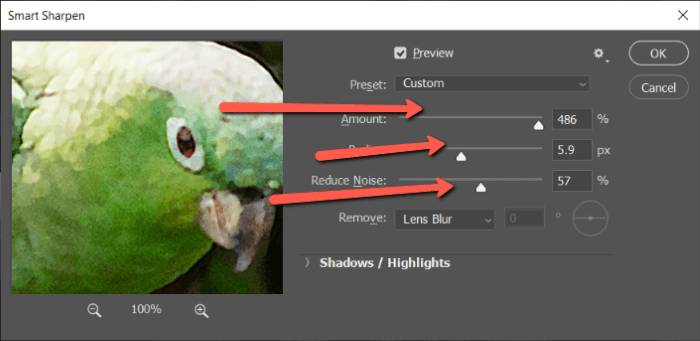
You don’t have to worry about the rest of the photo at this point. Just focus on the bird (his eye in particular) to see the changes that are taking place.
As you slide the radius slider up, you’ll notice the image eventually takes on halos and looks pretty terrible. Back it off a bit if you get to this point.
Once you’re happy with the results, click OK.
Step 3: Spot Apply
Now, we don’t want this edit to apply to the whole image, just the areas I’m trying to sharpen. This is another advantage of converting to a smart filter – it comes with a built-in mask!
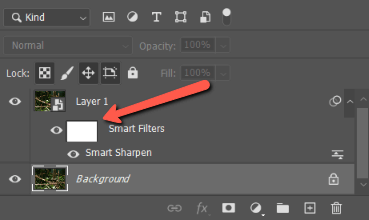
Click that white box to select the filter. Then hit Ctrl + I (Command + I) to invert the mask. The changes from the filter are no longer behind as they are hidden behind the top layer.
Hit B on the keyboard to select the Brush Tool and change it to an appropriate size. Lower the flow to around 10%.

With a round brush and white as the foreground color at the bottom of the toolbox on the left, start to paint over the areas you want to sharpen. In this case, the bird’s eye is the main thing we’re going for, though we’ll also sharpen up his body and feet.
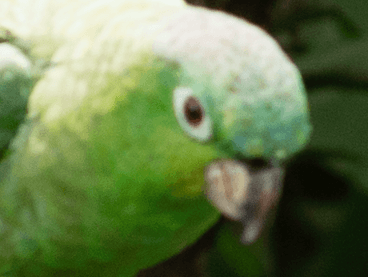
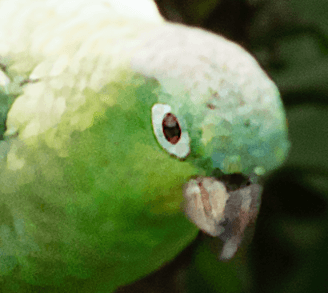
Not too shabby, right? It’s not perfect, but it’s impossible to create a perfectly sharp image after the fact. However, this makes the image more worthy of being posted online.
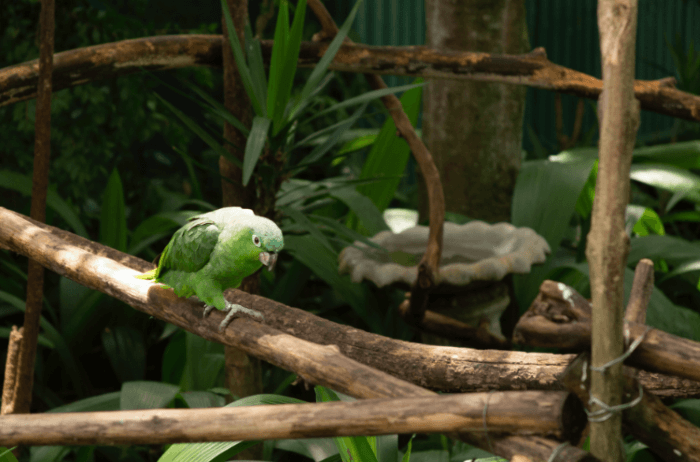
What do you think? Intrigued about learning more Photoshop tricks? Be sure to check out more of our posts!
About Cara Koch