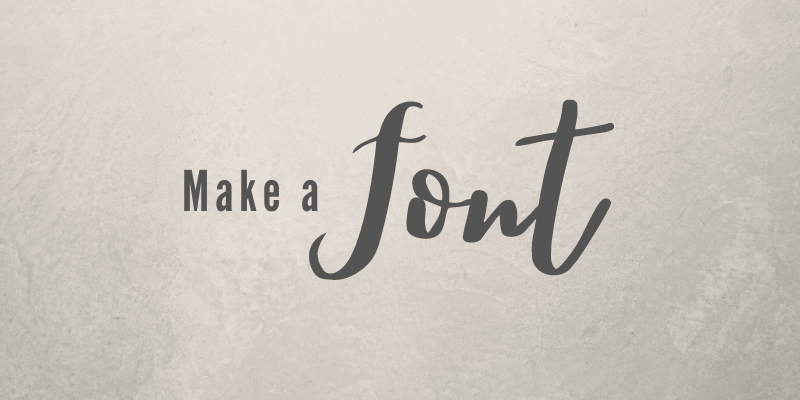
Do you think it’s fun to play with fonts? It’s amazing how simply changing the type of font you use can change the entire vibe of your message.
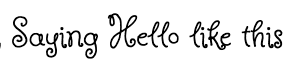
For example, Saying Hello like this is pretty but Saying Hello like this is more impactful!

Hey there, I’m Cara and I enjoy creating fun designs in Photoshop as part of my work in product photography. Creative fonts are the icing on the cake in many images to really convey the story I want to tell.
But sometimes, I can’t find just the right font for what I want to do. But, I can create a font in Photoshop work with a bit of customization. It isn’t as hard as you might think, let me show you how!
Step 1: Write Some Text
You can make fonts by hand by either drawing your font in Photoshop or drawing it on a piece of paper and uploading the design. However, we’re going to go with the assumption that, like me, you can’t draw to save your life.
We want to customize an existing font in Photoshop, instead.
To get started open up a new document. Select the Horizontal Text tool from the toolbar on the left. Click somewhere in the document and add text to your canvas.
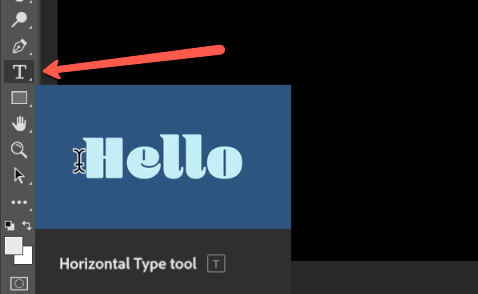
If it seems that nothing happens, the text color may be the same as the background color of your document. Look for the color swatch in the Options bar. Double-click to open the color picker where you can choose a different color.
Step 2: Choose a Variable Type Font
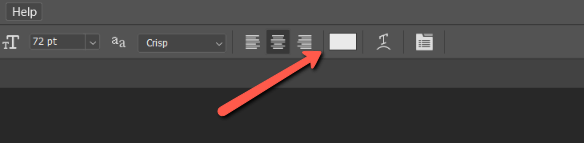
Triple-click on your text to select it all. Go up to the left side of the Options bar to pick a font as a starting point. You want a variable font that you can modify. Simply type the variable into the search box and Photoshop will display the available options.

Each font will display a short sample script and you can also hover over a font for a live preview of your text.
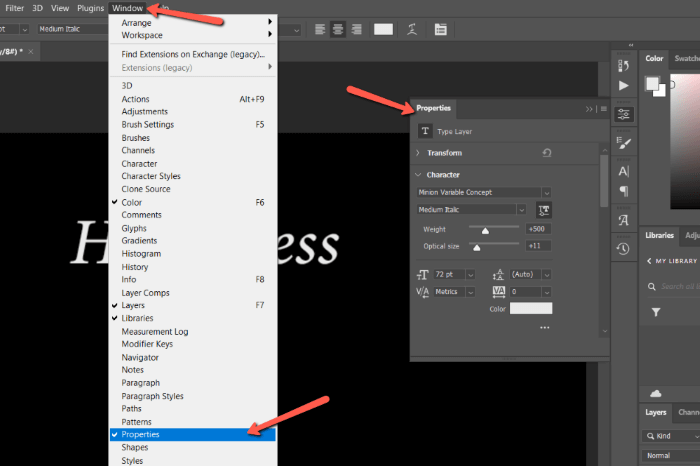
Once you click a font, it will be applied and the Font Properties menu will appear. If you lose this menu, you can find it again by going to Window and clicking on Properties.
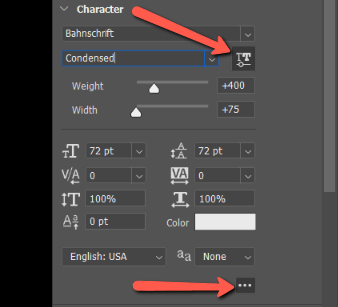
Step 3: Edit the Font
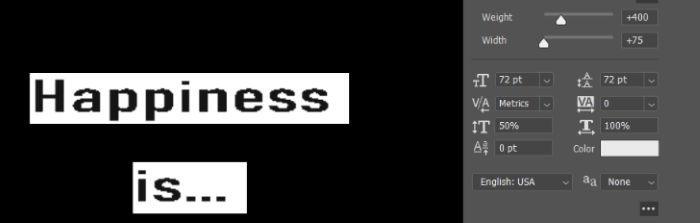
Now you can use the options in this properties panel to adjust the appearance of the font.
Increase the weight slider to increase the thickness of the letters.
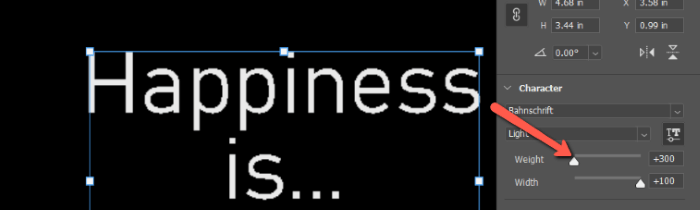
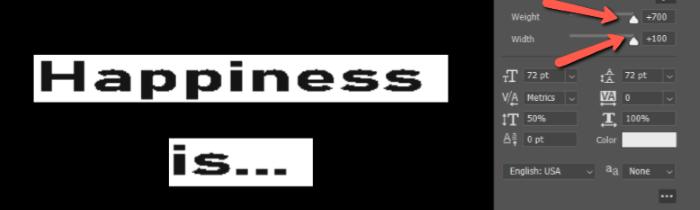
Decrease the width so that the words take up less space without sacrificing space between the letters.
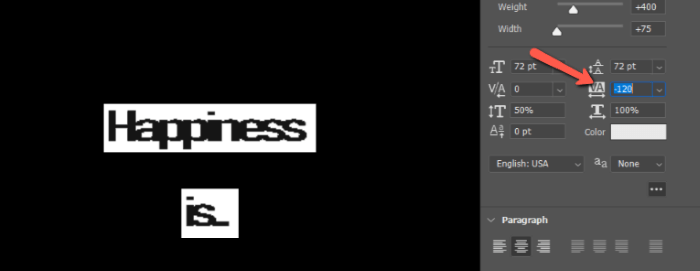
Bring down the box marked with a VA and a double-sided arrow to squish the letters together.
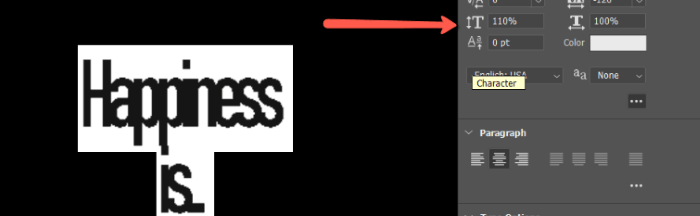
Adjust the height of the letters with the big T and a vertical double-sided arrow.
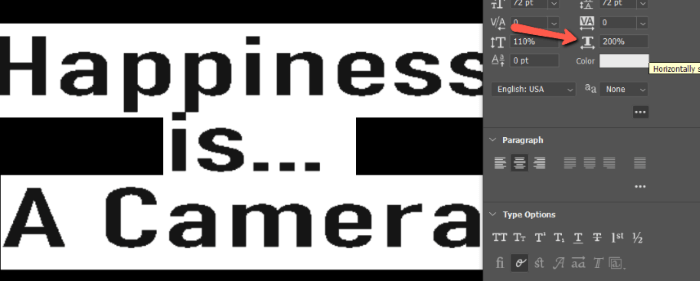
Adjust the spacing between them with the big T and a horizontal double-sided arrow.
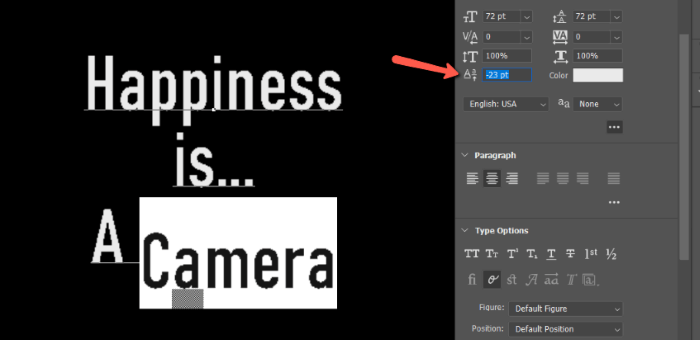
Raise or lower all or a portion of your text with the box marked by a capital A with an arrow pushing up a little a.
Remember all of these effects can be applied to the text as a whole or you can select individual words or letters to affect only the selection.
What if you’re not seeing some of these options? Try clicking either the icon right under the font selection box or the three dots near the bottom.
Have fun customizing your text in Photoshop! You might need to get out of your drawing hand for the really crazy stuff, but at least you can get some basic font customization with just a few clicks.
Check out more fun things to do with text like creating gradient text colors here!
About Cara Koch