
I’ve been working as a graphic designer for over ten years, seen thousands of stock images, and of course, I’ve used them. But at some point, I figured it was time to create my own because you know, being unique and creative is so important for a designer.
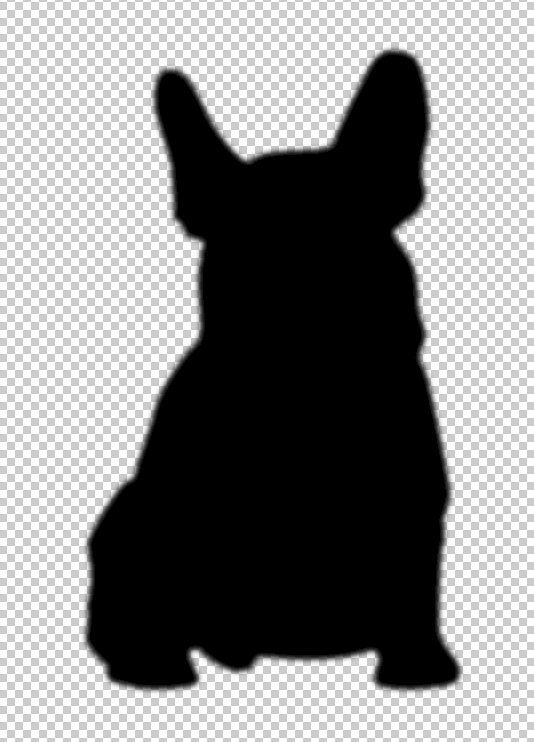
I love to make my own silhouette because the final shape is different from other stock vectors and it can then be used in other projects such as a circling animation or can be turned into a shape or brush in Photoshop.
In this tutorial, you will learn three methods to create your own silhouettes from photos in Photoshop along with some useful tips.
Keep reading!
Table of Contents
3 Ways to Make a Silhouette in Photoshop
Note: Screenshots are taken from Adobe Photoshop CC. Windows or other versions might look slightly different.
To begin with, you need to make sure that the original image you choose has the right elements. Meaning the item within the photo needs to be clear and complete, not cut off by the edge of the photograph.
You need to make sure the object within the photograph is of good shape without too many blurred edges. Objects on a plain background or contrasting background will make the process much easier.
Method 1: Quick Selection Tool
This is the quickest way to remove the background of an image and convert a photo into a silhouette.
Step 1: Choose an image that has the shape you want to make a silhouette as a background.

Step 2: Duplicate the image (background layer) within the layers panel. Select the background layer and hit Command + J (Ctrl + J for Windows) to duplicate.
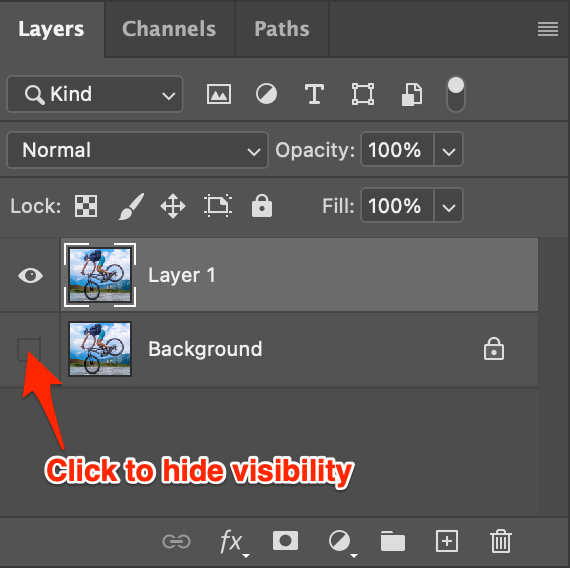
Tips: Hide the background layer by turning off the visibility, so that you will be editing the copy of the image rather than the original in case you make a mistake.
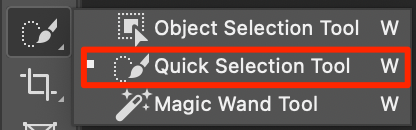
Step 3: Choose the Quick Selection Tool from the toolbar. The quick selection tool may be hidden under the Magic Wand Tool.
Step 4: Click and drag across the background that you want to erase. It might take you some time to select the areas when the object is complicated.

In the toolbar options at the top of the screen, choose the icon with the addition symbol and you will be able to click and drag across multiple areas of the background, adding to the selection.

To re-select or deselect part of the selected area, choose the brush with a minus symbol and draw on the area to remove the selection. Then you can switch back to re-select.
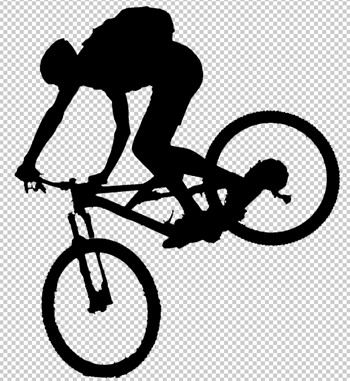
For example, With all the background selected, the front tire has been selected as part of the background.

Now I select the minus symbol and click and drag over the tire area because I want to take it out of the background selection.
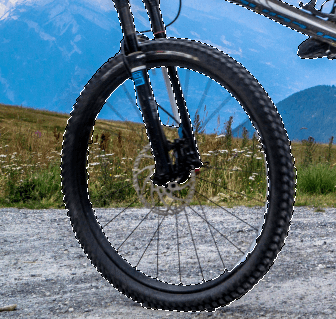
Tips: You can use the Option key (Alt on Windows) to switch between adding and removing selection areas. And use the left and right brackets (left to reduce and right to increase) to adjust the brush size for selection.
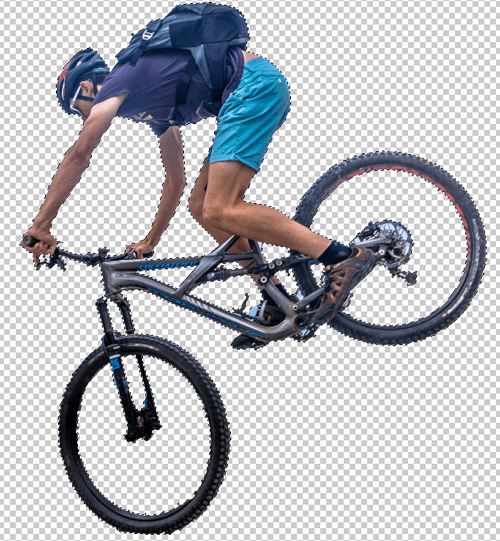
Step 5: Once all of the background is selected and the bike or object that you want to make into a silhouette is intact you can press Delete on the keyboard to delete the selected background.
Step 6: Double click the layer in the layers panel and you will open up the layer styles for that layer.
Step 7: To create a black silhouette, choose the color overlay and the settings below Normal and 100% Black.
Method 2: Pen tool
This method is commonly used for making simple shape silhouettes.
Step 1: Open an image in Photoshop.

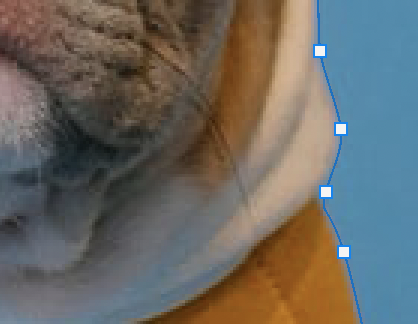
Step 2: Select the Pen Tool (keyboard shortcut P).

Step 3: Use the Pen Tool to trace the area you want to make a silhouette. Don’t forget to close the path.
Step 4: Right-click on the path and select Make Selection.
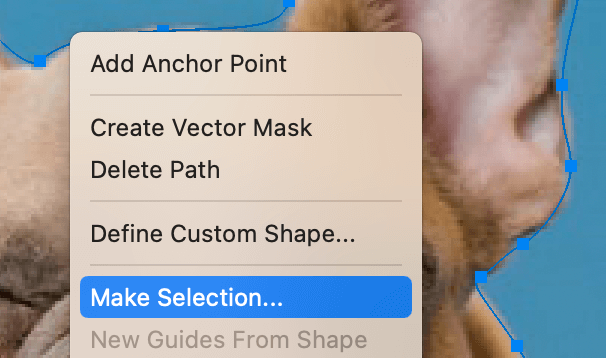
A setting window will pop up, you can add Feather Radius to edges, or leave it as it is and click OK.

Now the path is selected.

Step 5: Hit Command + J (or Ctrl + J if you’re on Windows) to cut out and copy the selected area (pen tool path) to a new layer. You can hide the background image layer to see the result.
Step 6: Double click on the cutout image on the Layers panel and select Color Overlay to add black or another color to the silhouette.
Method 3: Brush Tool
You can use this method to remove the image background and make a silhouette but it’s not as convenient as the two methods above.
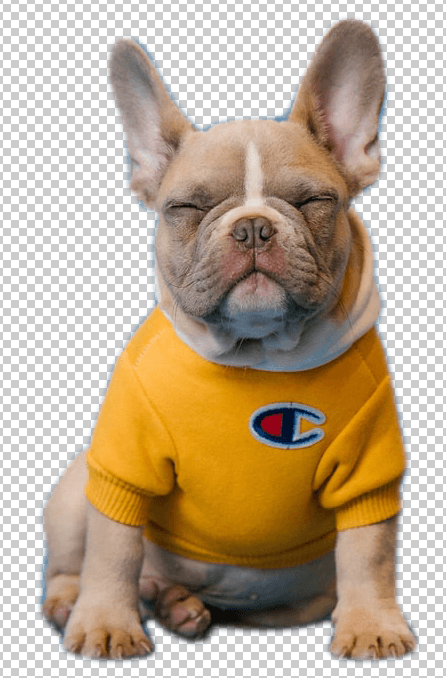
Step 1: Open an image in Photoshop. Let’s use the same lovely dog image.
Step 2: Hit Command + J (or Ctrl + J for Windows) to duplicate the layer.
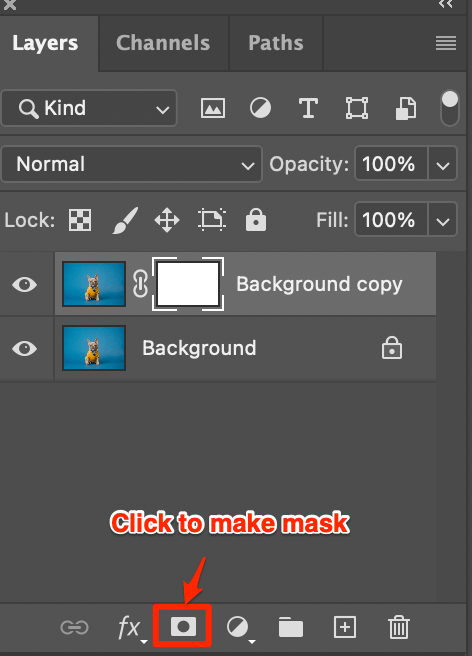
Step 3: Select the image on the Layers panel. Click on the mask icon and make a mask.
Step 4: Select the Brush Tool (keyboard shortcut B).

You can choose a brush from the top menu.

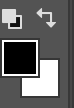
Step 5: Switch the foreground color to black.
Step 6: Draw on the areas where you want to remove the background.
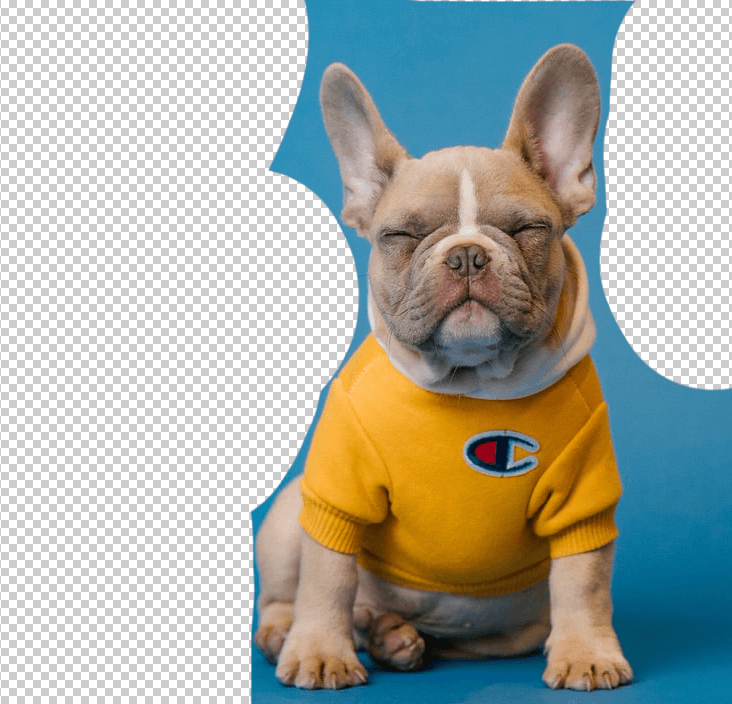
Note: you must draw on the mask layer.

Step 7: Select the layer and add Color Overlay.
Step 8: Choose a color (usually it’s black) for your silhouette.
Conclusion
The quickest way to make a silhouette is by using the Quick Selection Tool method, especially when you’re cutting out something complicated. But sometimes not all background areas can be selected, you might have to use other tools to clean up some “leftover” pixels.
The pen tool and brush tool methods are more used when the objects are less complex. And they guarantee you a clean background (I mean no background at all).
About June
Joana
The Silhouette Photoshop Action is quite useful for creating silhouettes from photos
Imoh osu
Thanks for your tutorial it was quite useful for me ,but i prefer the quick selection tool??
June
Sure, the quick selection tool works great as well.