
By lowering the number of colors in an image, you can make the posterize effect in Photoshop. This effect, which can be helpful for producing some types of digital artwork, can give photos a more graphic or “comic book” appearance.
And even though the effect can appear difficult, you can do it from beginning to end in a matter of minutes in Photoshop once you know the steps!
I have over five years of Adobe Photoshop experience and am Adobe Photoshop certified. I’ll teach you how to posterize an image in Photoshop in this article.
Table of Contents
Key Takeaways
- The Posterize adjustment is easy and fun to use.
- In Photoshop, the Posterize adjustment can be used to evaluate the pixel colors in a specific area of a picture and minimize the number of colors while preserving the original image’s appearance.
- Make sure you are saving your work every so often to ensure you don’t lose your work.
How to Posterize in Photoshop
Follow the steps below to posterize an image in Photoshop.
Step 1: Open your image in Photoshop. You can use any image you like for this effect, but we’re using a sunset photo for our example.
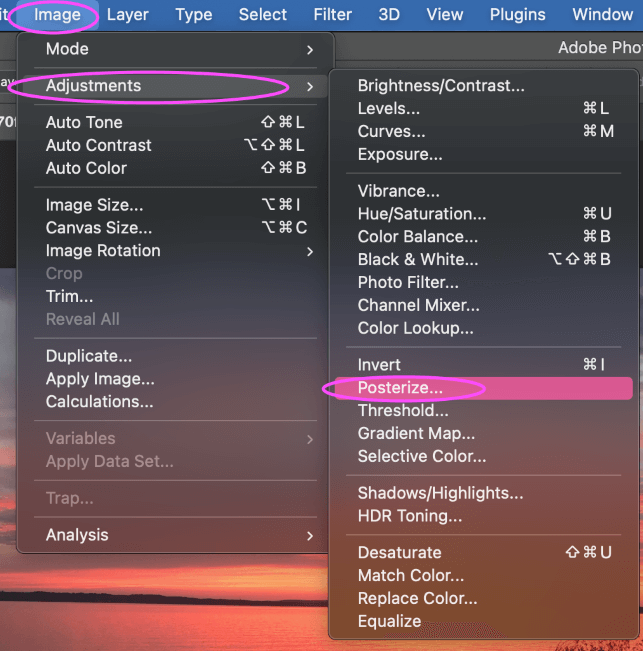
Step 2: Select Posterize under Image > Adjustments. The Posterize dialog box will appear as a result.
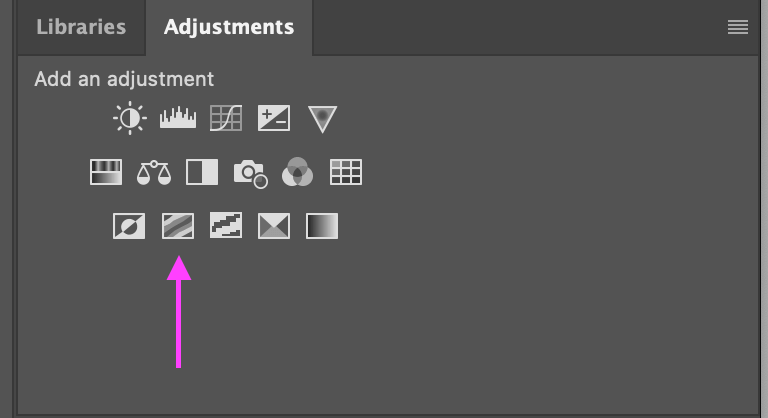
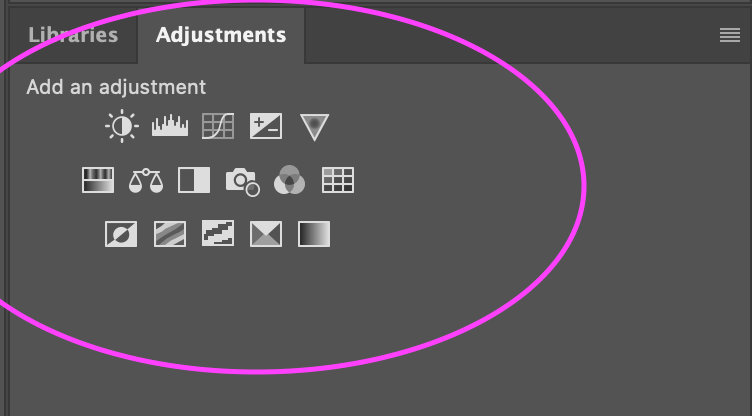
Another way to achieve the posterization effect is to go to the Adjustments tab next to Libraries.
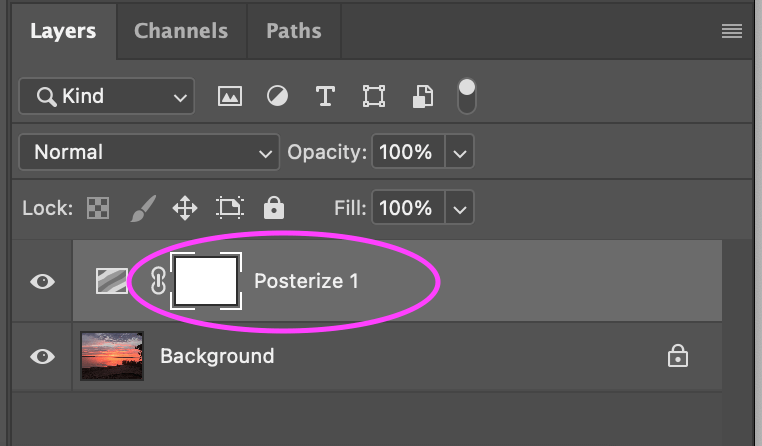
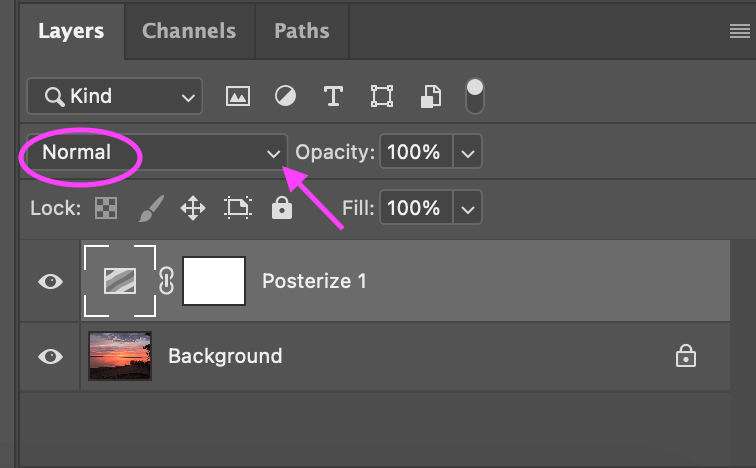
Once you do this, “Posterize 1” will come up in your layers tab and can be edited from there.
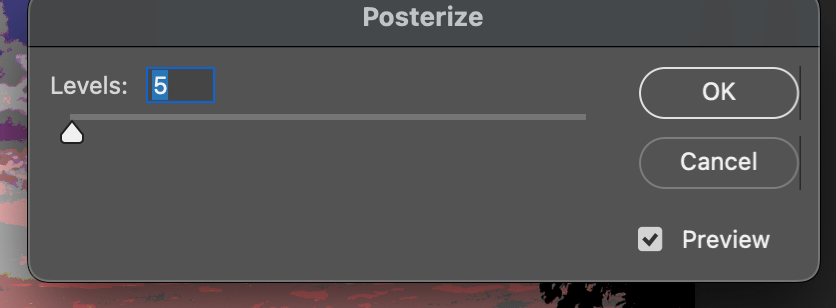
Step 3: You can select how many colors you want to use in your image in the Posterize dialog box. The effect will be more noticeable the fewer colors you utilize.
In my example, I will be using level 5 for my image. Play around with the levels for your image. Every photo will look different depending on the levels you use. For most images, a value of between 4 and 10 works well.
When you are happy with your image level, click OK. Now your image is posterized!
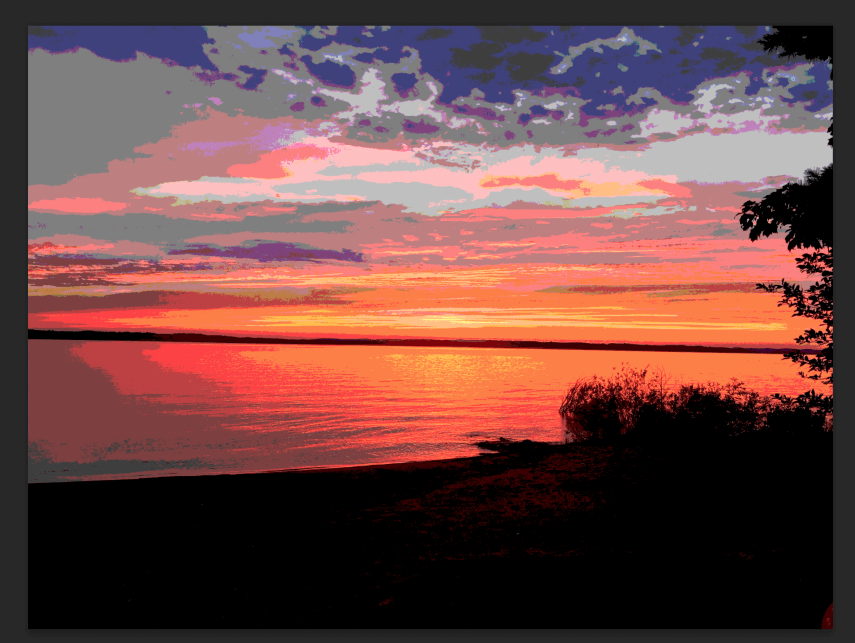
As you can tell, I have some weird coloring going on at the top of the photo. That is a result of the limited color range we are providing in Photoshop. Fixing this is optional, but I will show you how.
If you would like to bring back your image’s original colors, switch the Posterize adjustment layer’s blend mode from Normal to Luminosity to restore the photo’s natural colors.
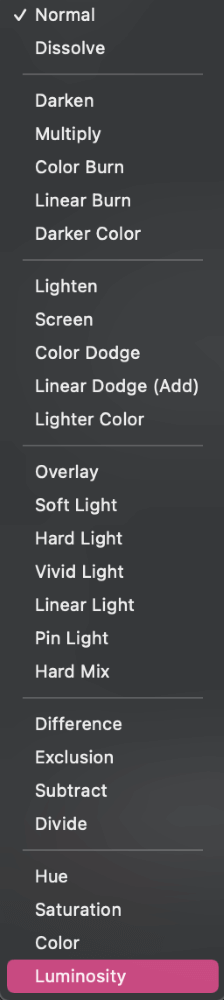
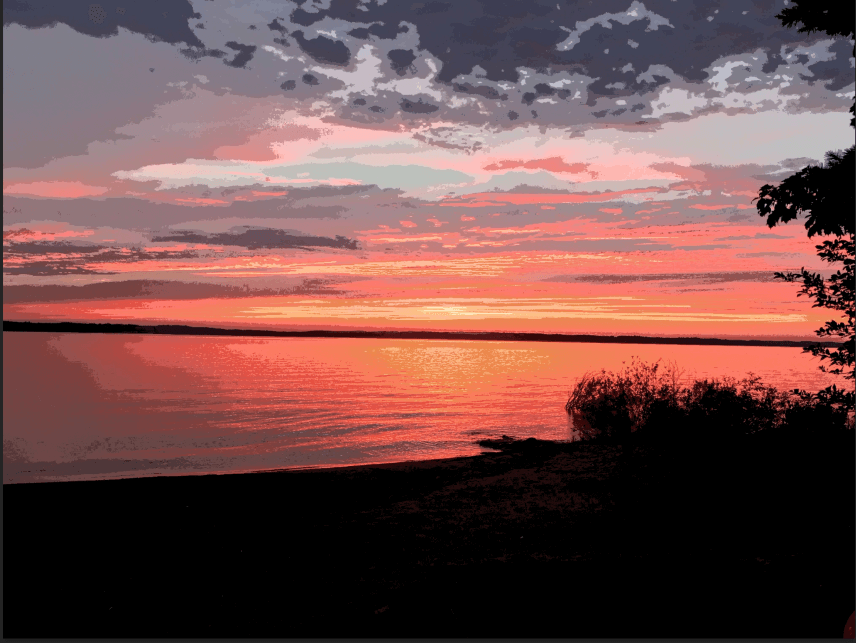
The original colors are left unaffected by the Luminosity blend mode, which restricts the effect to just the brightness values. It’s basically a matter of taste, but I believe the original colors in this picture appear nicer.
Change the blend setting back to normal if you prefer the more genuine posterized look.
If you are still not satisfied with the look of your image, you can also play around with other adjustments to see if that changes things. Your adjustments are located here:
Pro Tips:
- Remember always to save your work, you don’t want to start over from scratch.
- It is important to note that posterization is a destructive process, meaning that the original image cannot be recovered once it has been posterized.
- Since posterization is a destructive process, it isn’t a bad idea to make a copy of your work beforehand.
Final Thoughts
Posterizing an image in Adobe Photoshop is probably one of the easiest editing tasks you can do, as it is very straightforward and even a novice can do it. Posterizing your image can take a normal photo and turn it into something creative, which is why everyone working in Photoshop should learn how to achieve this effect.
Any questions about posterization in Photoshop? Leave a comment and let me know.
About Aly Walters