
Image sharing is one of the most popular things to do on the internet, which can make it extremely difficult to track down the true creator of an image. Images get bounced around the web so many times that they can seem to take on a life of their own, which can be a problem when it’s your work and you want credit for it.
So what’s a photographer to do? Create your own watermark in Photoshop, of course!

The only “trick” to watermarking is actually pretty simple: if you create your watermark image on a layer with a transparent background, you can quickly overlay it onto any other image with a minimum of effort. You’ll probably spend much more time working on the design itself!
Here’s how to create your own watermark and use it to watermark your images.
Table of Contents
Step 1: Design Your Watermark
This step can often take the longest because it can be hard to settle on a design that you’re happy with using on every single image that you finish, but it’s also worth it! You can always change your watermark later if you want to, but consistency helps with audience recognition.
You can keep things simple with some basic text, use a scan or tablet drawing of your artist’s signature, or even combine the two options. For the purposes of this tutorial, I’ll stick with the simple text option, but the steps are the same no matter what your watermark looks like.
Load up Photoshop, and create a new document. Set the Resolution to 300 pixels per inch in case you ever want to use it for printed images, and set the width and height to something large like 1500 x 1500 so you have room to work. You can always crop the canvas later to match the size of your final design.
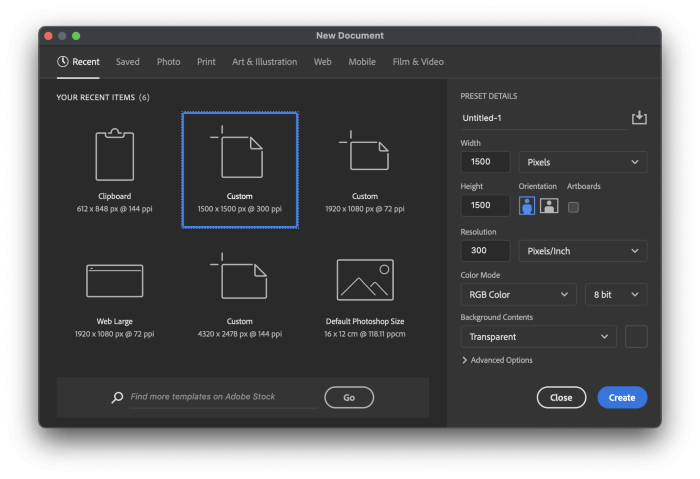
At 300 pixels per inch, 1500 x 1500 works out to 5 inches square, which should be more than enough for a large high-resolution print.
You won’t want your watermark to take up that much space but remember: when you’re working with pixels, you can always scale down without losing image quality, but you can’t scale up.
Set the background contents to Transparent, and click Create.
Next, switch to the Type tool using the Tools window or the keyboard shortcut T. Choose your font and enter your text however you like, although it’s usually best to keep things simple so that the focus stays on your main image and not your watermark.
Step 2: Save Your Watermark
Once you’re happy with the contents of the watermark, switch to the Crop Tool and remove any unused space from the edges of your canvas.

Save your work as a PSD file first, so that you’ll always have an editable backup copy.
With that done, we can export your watermark as a PNG file that can be used in Photoshop or in almost any other watermarking situation. It’s important to use PNG because it’s one of the few widespread graphics formats that support transparency.
To save it as a PNG, open the File menu, select the Export submenu, and click Export As. You can also use the keyboard shortcut Command + Option + Shift + W.

In the Export As dialog box, set the Format option to PNG, and make sure that the Transparency box is checked, then click Export. Enter a descriptive filename, and click Save.
Step 3: Place Your Watermark
At this point, if you want to use your watermark in another program or on a website, you can simply upload the PNG file as-is. But if you want to apply your watermark in Photoshop, there are a couple of different ways that you can do it (no surprises there).
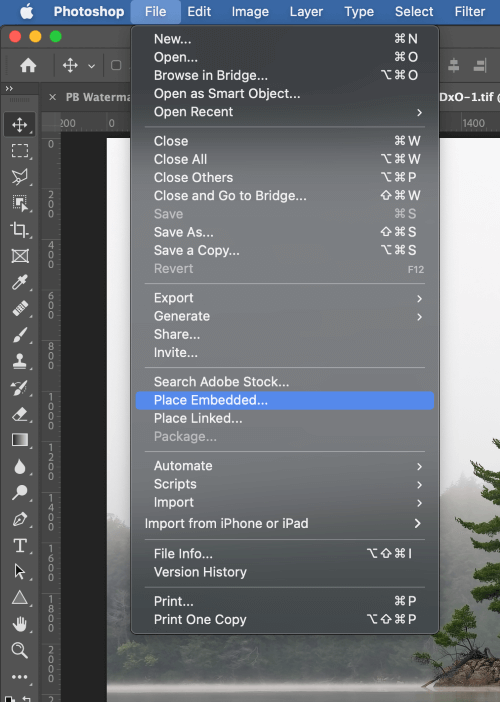
The simplest way is by placing your watermark PNG file into your new image. Open the File menu, and select Place Embedded. This will create a new layer in your image containing your watermark PNG file.
Browse to select the PNG file that you saved in Step 2, and click Place. Photoshop will create the new layer, add the PNG file, and start a free transform so that you can scale and reposition it as needed.
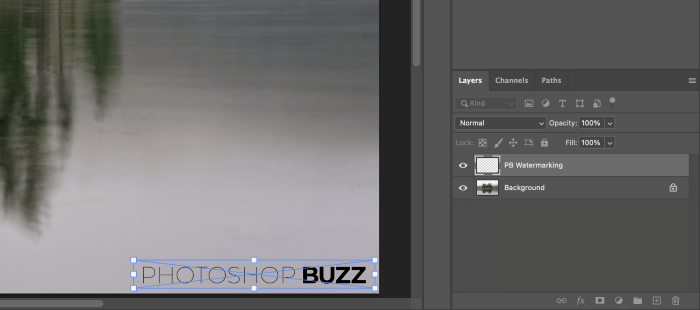
Once you’re happy with the size and placement, click the checkmark icon in the Options panel at the top of the main image window to finalize the watermark.
Since photos can often vary widely in their contents even within a single photoshoot, it can be a good idea to have a couple of different variations of your watermark. A bright version will stand out against a dark background, and a dark version will be more visible against a light background.
All you have to do is revisit Step 2, change the font color, and save it as a PNG again with a different descriptive filename.
Alternate Option: Using Linked Files In Photoshop
Once your watermark image is saved as a PSD file in Step 2, it’s also ready for use as a linked file. To get started, open up the image you want to watermark, open the File menu, and click Place Linked. Browse to find your watermark PSD file, and click Place.
To learn more about the difference between linked and embedded objects, check out this explanation from Adobe.
Photoshop will create a new linked smart object in the Layers panel, and your watermark is ready to be positioned. Because it’s a smart object, you can move it and scale it any way you want so that it fits into your image without altering the original pixel data.
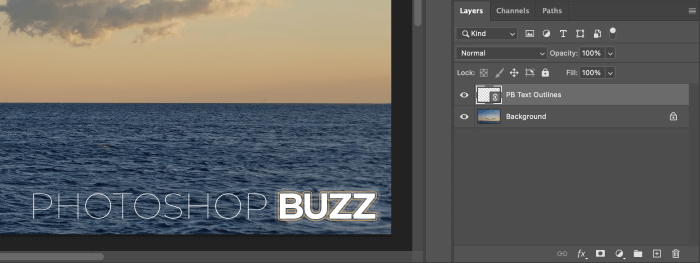
But the real time-saving part comes when it’s time to update your watermark. Instead of having to delete and re-add your watermark to each image, you simply update the original watermark PSD file and Photoshop will prompt you to refresh it automatically in every single linked image as soon as you open it.
A Final Word
That’s all there is to know about how to create a watermark in Photoshop! Watermarks are a great way to build your artistic identity online and ensure that you get credit for your amazing images when they get shared across the web.
If you’re looking for more advanced watermarking projects, you can experiment with turning your watermark into a Photoshop action, which will allow you to batch-process images automatically instead of placing each watermark by hand.
That’s a bit too advanced to fit into this post, but stay tuned for more great Photoshop techniques!
Do you have a different watermarking method that you think is better? Let me know in the comments and I’ll try it out!