
Photoshop is renowned for allowing artists to create amazing images and graphics with simple (and sometimes complex) techniques. You might have noticed, however, that there doesn’t seem to be a readily available bullet in Photoshop.
What do you do?
Hey there! I’m Cara and let me put your mind at ease. It is possible to add bullet points in Photoshop, though the methods aren’t super obvious.
As with many things in Photoshop, there is more than one way to make a bullet point. Let’s look at several and you can choose the one that works for you.
Note: The screenshots and tutorial below are based on Photoshop CC for Windows. If you are using the Mac version, they’ll look slightly different.
Table of Contents
Method 1: The Keyboard Shortcut
I’ll be honest, this one doesn’t work for me and I have no idea why. I’m including this method here because if it works for you, it is definitely the easiest and fastest way to insert bullet points.
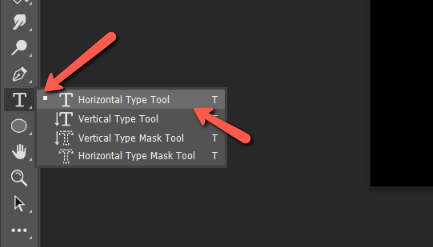
Open the text tool by choosing it from the toolbar or pressing T on the keyboard. Then click on your project where you want to add the text.
On Windows, press Alt + 0 + 1 + 4 + 9. On Mac, it’s Opt + 8.
Method 2: The Font Wingdings
The next method is a little clunkier but it works. Photoshop comes with a built-in font called Wingdings which is actually a bunch of random symbols rather than letters.
Open your text tool and click where you want to add the bullet points.
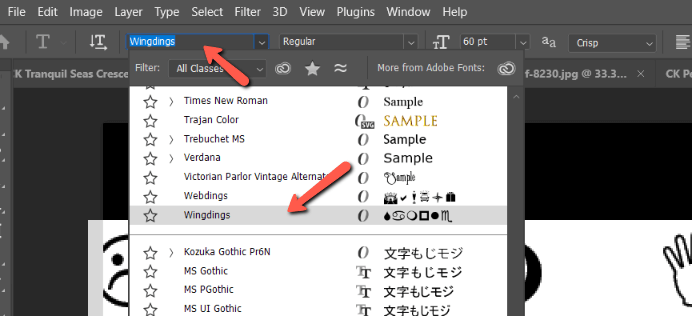
Then go to the Options bar and click on the font box. This will open a list of available fonts. Scroll down to the bottom and choose Wingdings.
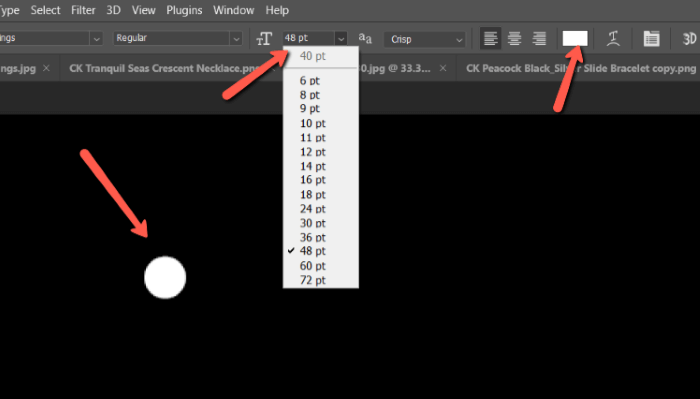
Press L on the keyboard to create a basic bullet point. You can adjust the bullet size by choosing a different font size in the Options bar. Click on the color swatch to change the color.
You can also choose M, N, O, P, Q, R, S, T, U, V, or W to get these different bullet point styles.

Pretty nifty!
Method 3: Copy and Paste a Bullet Point
The Wingdings method is pretty cool but when you’re making a list, you have to keep changing the font back and forth. This can get to be a pain.
A faster method is to use the previous method to put the first bullet point. Then you can highlight the bullet point and press Ctrl + C or Command + C to copy it for subsequent points. Put your cursor where you want your next bullet point and press Ctrl + V or Command + V.
You can also use this method to copy a bullet point from somewhere else. For example, a document on your computer or even the Internet.
Method 4: Bullet Point Glyphs
There is one more option inside Photoshop for finding bullet points. You can find them in the Glyphs menu.
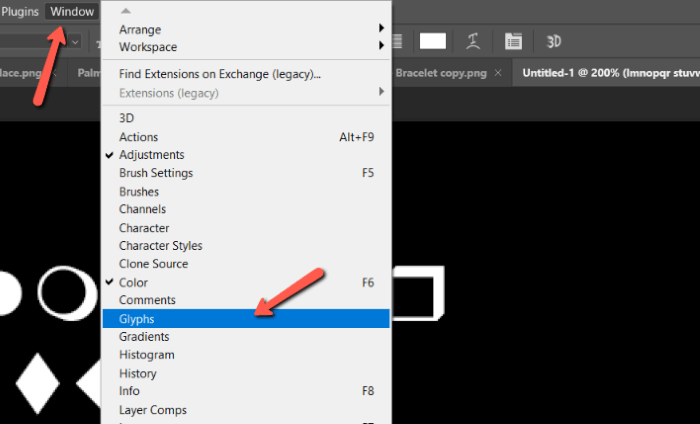
To access it, activate the Glyphs menu through the Window option in the menu bar. Click on Glyphs to make the panel appear.
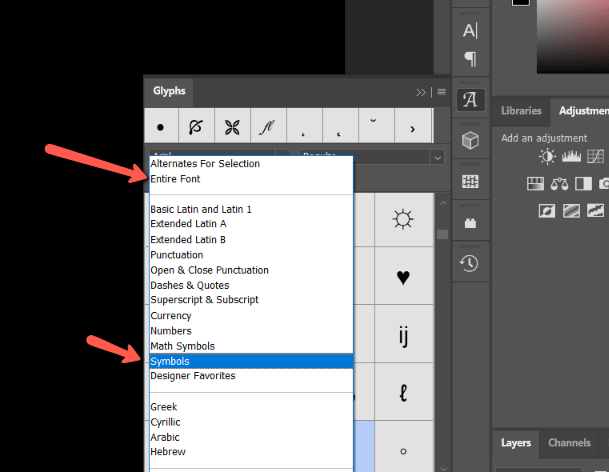
The dropdown menu will probably say Entire Font but you can switch it to Symbols to limit the number of glyphs you have to look through.
Go through until you find the bullet point. Double-click on it to add to your text.
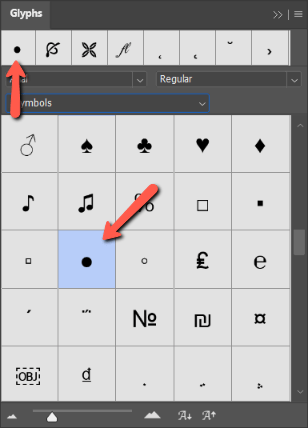
After you use it once, the glyph will appear at the top in the frequently-used section. This is a great way to quickly access the bullet point several times. Leave the Glyphs panel open as you type and you can simply double-click on the bullet point to add it when needed.
Who knew it would be so weird to add bullet points in Photoshop? Thankfully, there are several great options. Curious about other things you can do in Photoshop? Check out how to warp text here!
About Cara Koch