
Many creative people aren’t very fond of working with technology, even when they need it for their work. In decades past, installing fonts could be a bit of a struggle even if you were an advanced user, but now the process is extremely simple and only takes a few clicks.
Adobe has made things even smoother for Creative Cloud members using the Adobe Fonts service, which removes any remaining need for technical wizardry at all. You’ll spend much longer deciding which fonts you want to use!
Photoshop can use any font that’s installed on your computer, so you won’t have to do anything extra to start working with them. The process for installing fonts onto your computer varies a bit depending on where you got them, so let’s take a closer look at the different ways to add fonts to Photoshop on Windows and macOS.
Table of Contents
Adding Fonts to Photoshop Using Creative Cloud
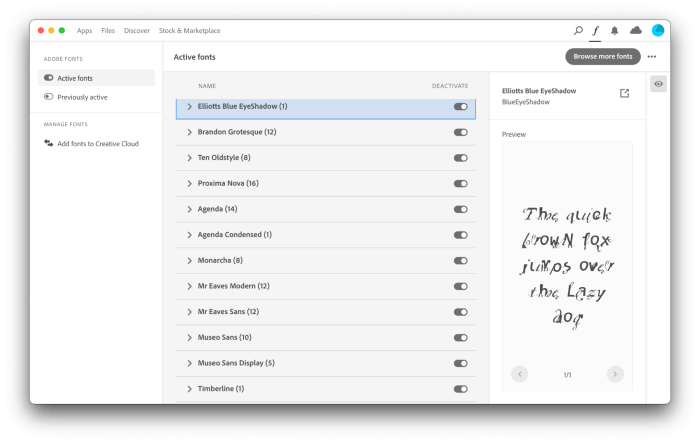
As part of every Creative Cloud subscription, Adobe includes access to its impressive (but unimaginatively-named) font library, Adobe Fonts. Formerly known as Adobe Typekit, this online service makes it easy to find the right font for your project, and then click a single button to have it sync to all your devices, instantly ready to be used.
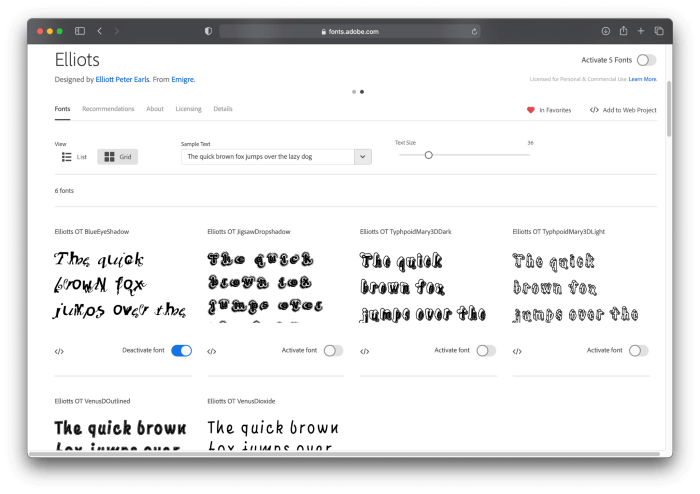
To get started, you can visit the Adobe Fonts website directly and sign in using your Creative Cloud login. You can also jump there using the Creative Cloud app by clicking the ornate letter ‘F icon in the upper right corner of the interface, and clicking the Browse more fonts button.
You can even load the site directly from Photoshop using the More from Adobe Fonts button in the font selection dropdown menu. Can you tell they really want you to use the service?
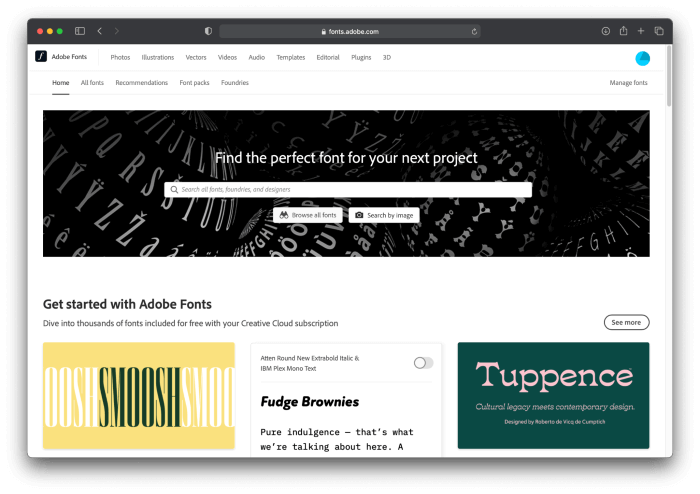
No matter how you get there, Adobe Fonts has a huge library of great typefaces, from design classics to modern and trendy options. Once you select the font you want, just click the Activate font button, and in a few seconds, your Creative Cloud app will download, install, and activate the font for use in Photoshop.
That’s all there is to it! It doesn’t matter if you’re using Windows or a Mac, the process is just as easy on both platforms.
Adding Photoshop Fonts from the Web
If you’ve downloaded a font from a different font library or a website like Google Fonts, the installation process is almost as easy. The instructions are a tiny bit different for Windows and macOS, but they’re both very simple. Here’s how the process works.
Installing Fonts In Windows 7 / 8 / 10
Open File Explorer and locate the font file you’ve downloaded. Unless you specified a different location, it’s probably in your Downloads folder. If the font is in a compressed file like ZIP, you’ll have to extract it first.
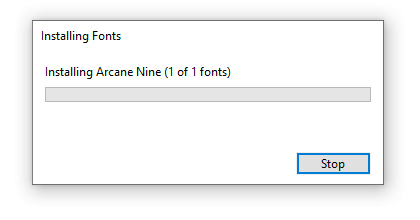
Right-click on the font file, and select Install from the popup menu. A dialog with a progress bar will appear, but the process is usually so fast that you might not even get a chance to see it. Your font is now installed and it should be ready to use in Photoshop right away.
You can even select multiple font files and install them all at once using the right-click method. This should save you a lot of time if you’ve downloaded an entire font family, which can sometimes include upwards of 30 different files to account for all the various weights, condensed versions, italics, obliques, and more.
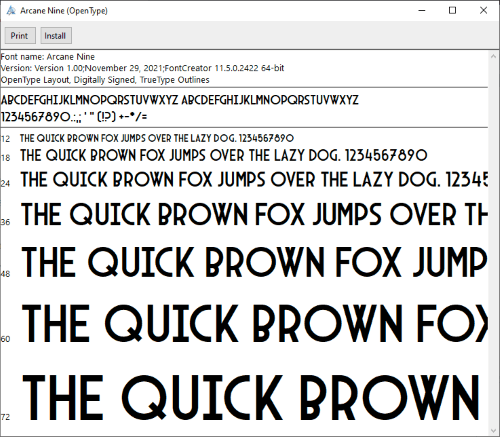
If you want to see a preview before you install it, you can double-click the font file to open it. Windows will display a small preview with a few different font sizes, as well as some basic information about the font. To install, simply click the Install button in the upper left corner of the preview window.
Installing Fonts in macOS
Installing fonts in macOS is just as simple as it is in Windows. Open a new Finder window, and locate the font file you’ve downloaded. If it’s contained in a compressed file, extract it first.
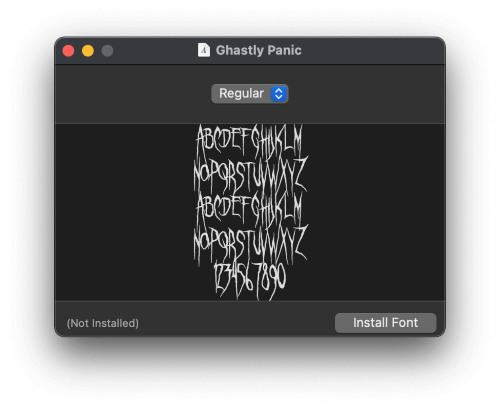
Double-click the font file, and your Mac will open a small window with a quick preview of the letterforms and glyphs in the font file. Click the Install Font button, and the Font Book app will open and showcase the new font.
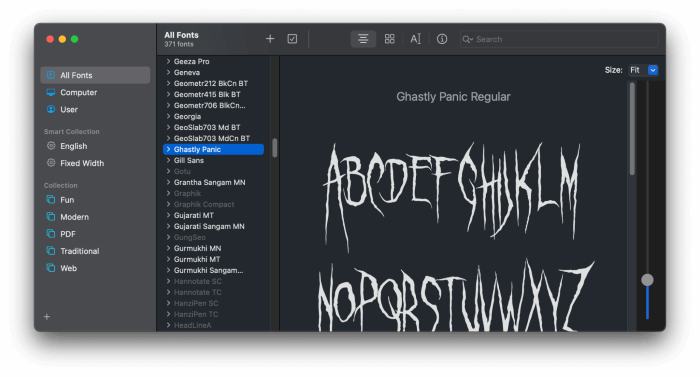
If there are fonts available from Apple that you haven’t installed on your Mac yet, you can also install them quickly and easily right from the Font Book app. For example, while I was taking the screenshots for this article, I found a great font named Canela that’s available free from Apple!
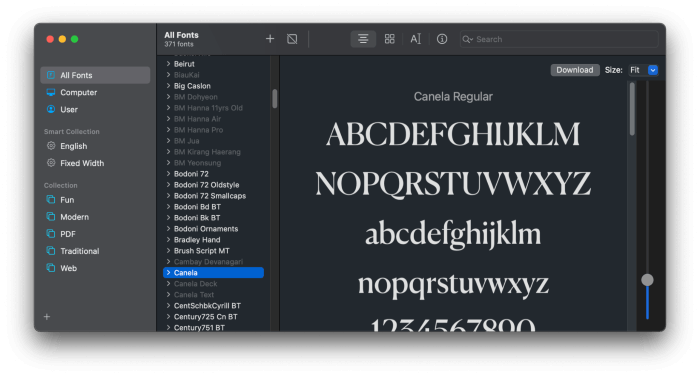
All I had to do was click the Download button in the upper right corner, and it was immediately installed and available for use in Photoshop too!
OpenType vs TrueType vs Type 1
If you’re adding fonts to Photoshop by hand, you might notice that there are different font formats available. Font files typically come in one of three popular formats: Postscript Type 1, OpenType, and TrueType.
Modern versions of Windows and macOS support all three types of fonts, and they all install the same way.
For most people, there isn’t much functional difference between the three options, but for graphic designers, OpenType was a huge step forward thanks to its vastly expanded capacity for extra characters like ligatures, swashes, and other glyphs.
Adobe has plans to phase out support for Type 1 fonts by January 2023, so if you’ve got any old Type 1 fonts that you still use regularly, it’s time to start thinking about how you can get a copy of the typeface in a more modern OpenType format.
An Important Note About Font Licensing
There are tons of great fonts available from Google Fonts, DaFont, and other great font libraries around the web, but they’re not all available for free. Because they’re small files that are easily shared and difficult to track, font piracy is a huge problem in the design world.
Google Fonts makes its entire collection available for free and licenses them for any usage, but not all online font libraries share the same open-source spirit. Online font libraries like DaFont offer a lot of great free fonts, but it’s extremely important to make sure that you have the proper permissions to use them from the original font designers.
Font licenses vary, and most designers are happy to let you use them however you want. Some restrict you to personal usage, and some require that you give them a credit on any project where they’re used.
Just remember that it’s important to double-check especially if you’re using the fonts in a project for a professional-client!
A Final Word
Expanding your font collection is one of the simplest and most effective ways you can really step up your Photoshop game and you might even start to like them! The world of typography is a weird one, but weird in a very beautiful way.
Just be careful if you ever decide to learn what kerning is. Bad kerning is everywhere, and once you start to notice it, you’ll never be able to stop! (Click here if you dare).
About Thomas Boldt