You say “I want complete control over the color of objects in my images.” Photoshop says “Your wish is my command!”
Hey there, I’m Cara and I’m back with yet another explanation of an exciting tool in Photoshop. This one allows you to adjust the colors in all or part of your image.
You can use it to turn an image black and white while leaving one object in vibrant color. You can adjust specific colors in the image to fix a color cast (or create one for creative effect). And you can target parts of an image to adjust the colors of specific objects.
To learn how to do all that, let’s look at how to use selective color in Photoshop!
Note: I use the Windows version of Photoshop. If you are using a Mac, the workspace will look slightly different from the screenshots displayed here.
Table of Contents
Step 1: Prepare an Image
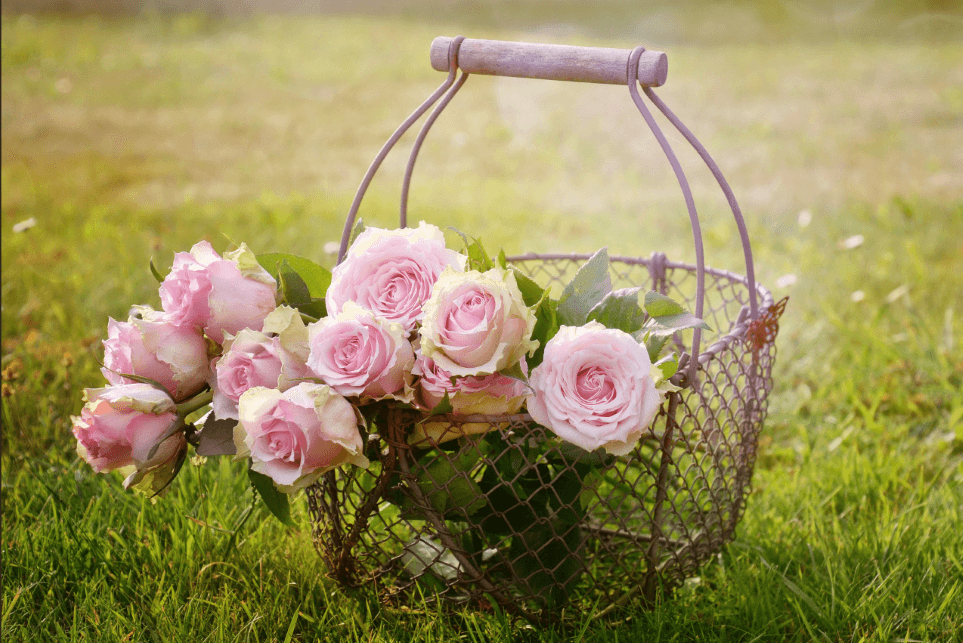
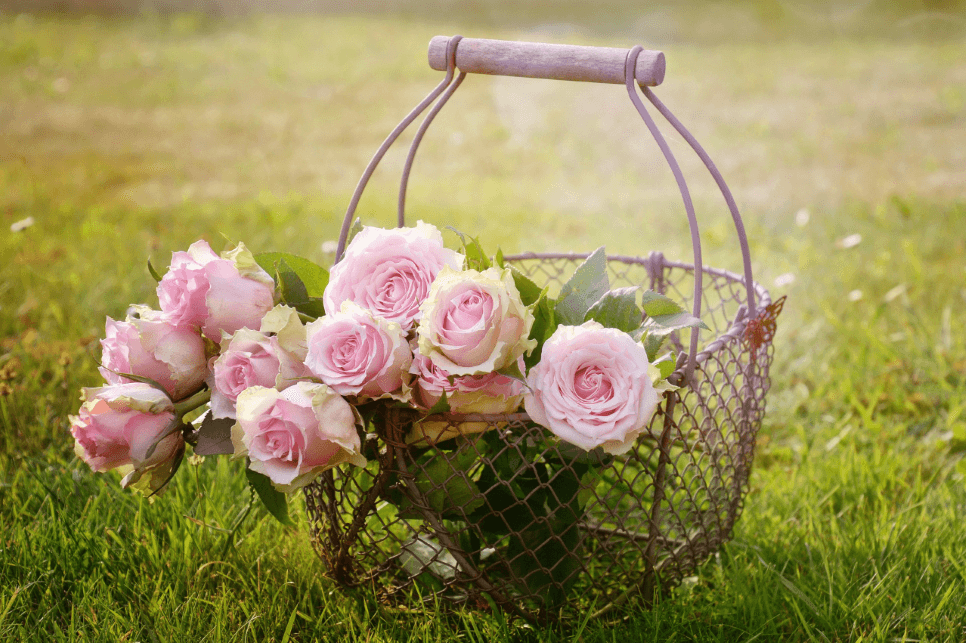
First, let’s pull an image to work with. I got this one from Pixabay.
To keep an unaltered copy of the image, let’s hit Ctrl + J or Command + J on the keyboard to make a copy of the image.
Step 2: Open the Selective Color Adjustment Layer
Now let’s open the Selective Color tool. There are two ways to get there.
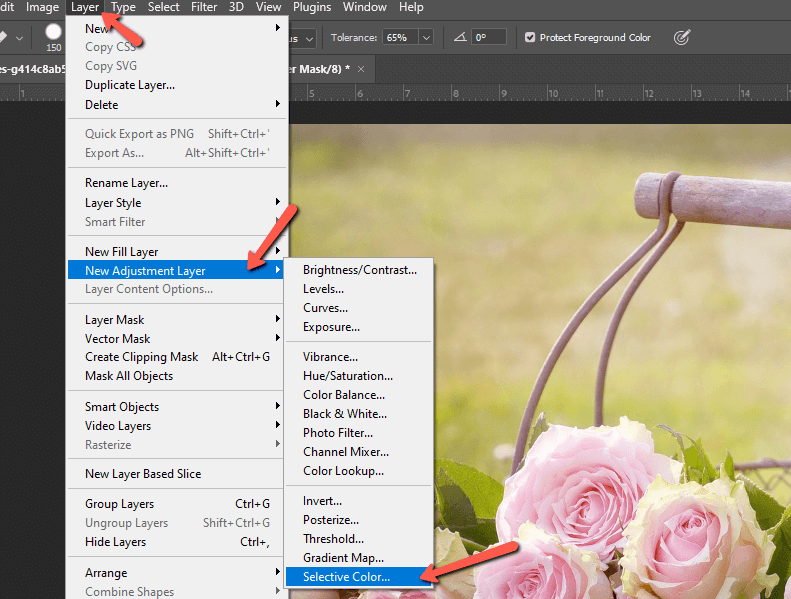
The first is to go to Layer in the Menu bar, hover over New Adjustment Layer, and choose Selective Color.
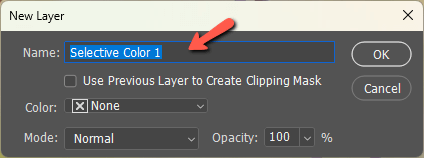
A box will pop up allowing you to name the layer and change the blend mode or opacity right off the bat. You can also check the Use Previous Layer to Create Clipping Mask box if you want to limit the color changes to only the previous layer.
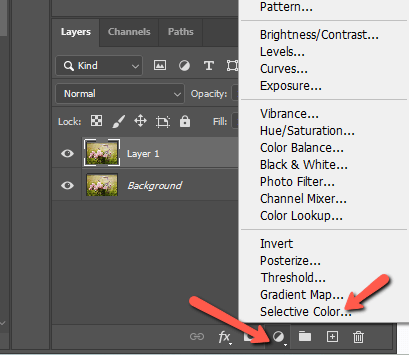
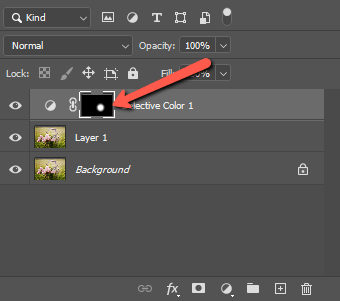
The second way to access the tool is through the Adjustment Layer icon at the bottom of the Layers panel. Click the half-filled circle icon and choose Selective Color from the menu that appears.
Relative vs Absolute
Regardless of how you get there, you should end up with a control panel that looks like this.

Near the bottom, you’ll notice two radio buttons, Relative and Absolute. This refers to the method Photoshop will use to change the colors.
Relative means that Photoshop will add or subtract cyan, magenta, yellow, and black (the slider options) relative to their initial amount. For example, let’s say you start with a cyan value of 50%, then add 20%, and the program will actually add 10% for a final total of 60%.
Absolute is more fixed. Regardless of where the value begins, the program adds however many colors you do. For example, again if you start with a cyan value of 50% and add 20%, you end up with a final value of 70%.
Try playing with the sliders a little with each of the radio buttons selected to get a feel for how this works in practicality.
Making Universal Color Changes
At first glance, it isn’t overly obvious how this tool works by looking at the sliders. In fact, it’s a little awkward how they are named. Just remember that a positive value adds more of a color and a negative value takes it away, which means adding more of the opposite color.
For example, a positive magenta value adds more magenta, but a negative value adds green.
It would be helpful if the sliders were marked with both colors, but they are not. So here’s what to expect:
- Red – Cyan
- Green – Magenta
- Blue – Yellow
- White – Black
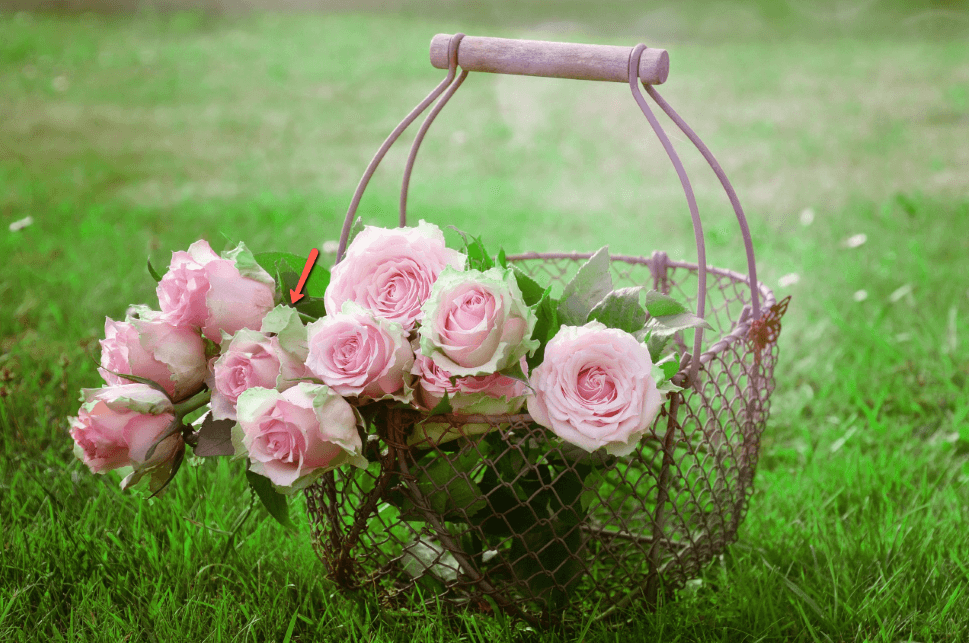
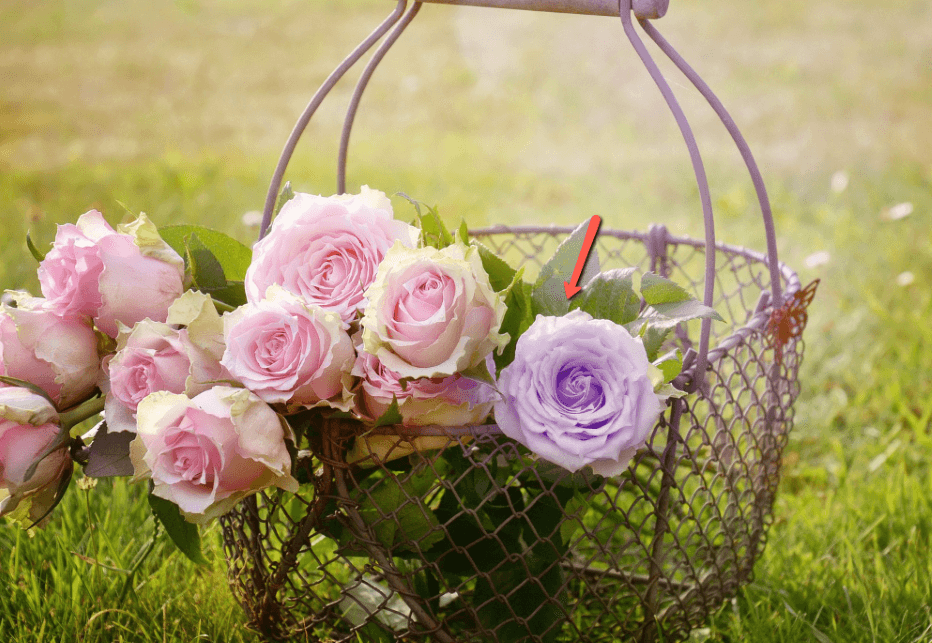
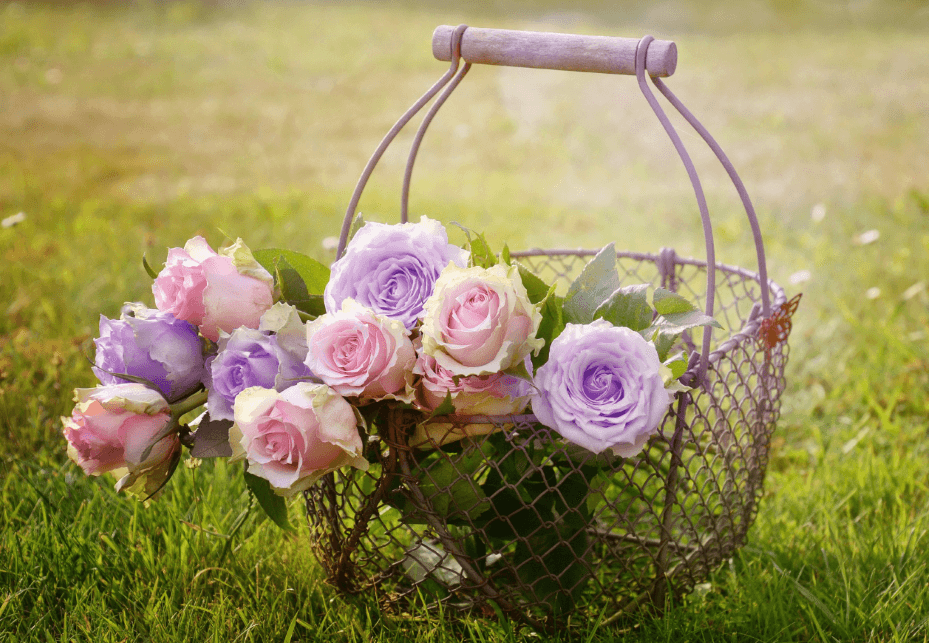
Now, let’s look at what we can do with this. We have this lovely image of pink roses against a somewhat green grass background, though there is actually a lot of yellow in it. What if we wanted to strengthen the green?
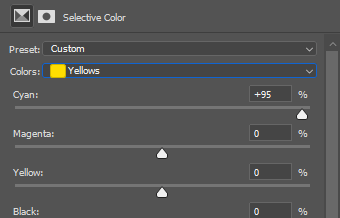
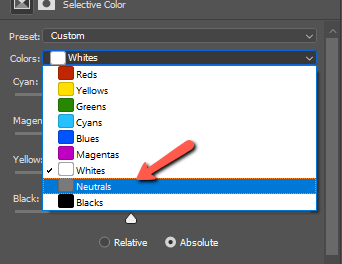
Before making any changes, you have to choose the color family you want to affect. In this case, let’s choose the Yellows (there are more yellows than greens in the grass) from the dropdown menu at the top and then add lots of cyan.
Here is the result we get with the Relative method applied.
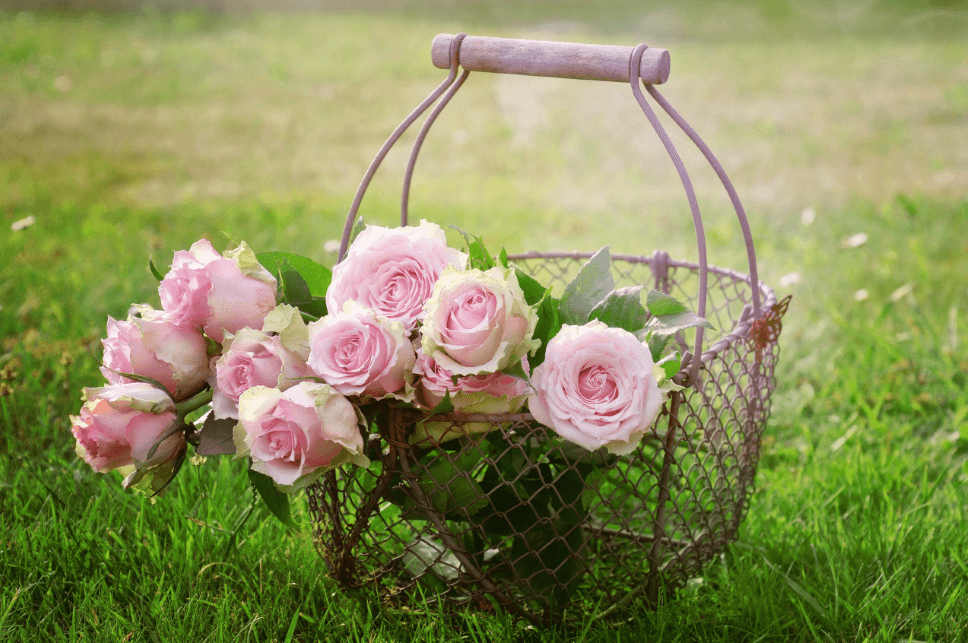
The grass turns greener and the image becomes a little more spring-like.
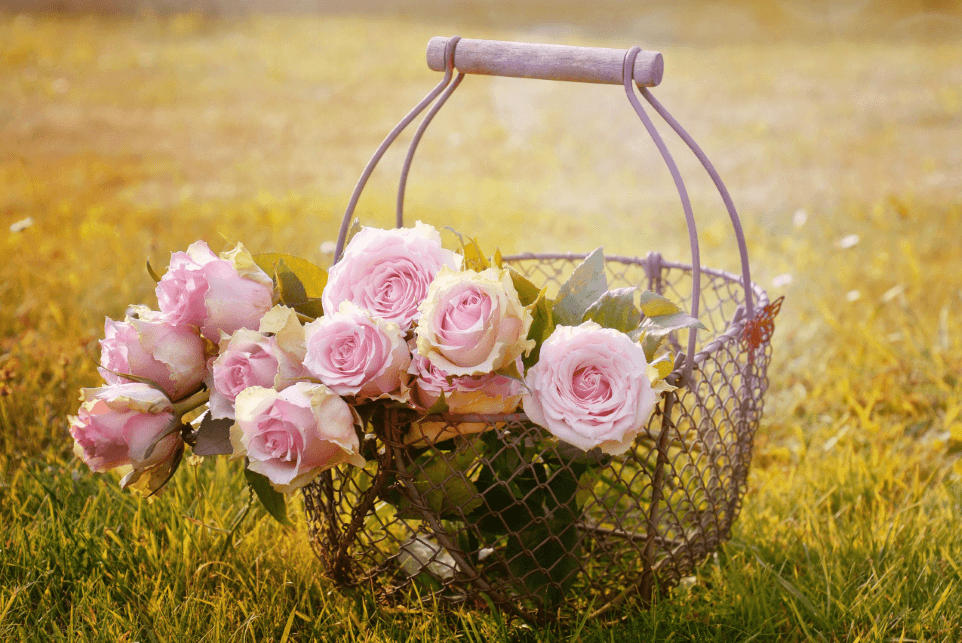
But check out what happens if we switch to Absolute.
The color change becomes more complete and even the yellow highlights on the roses themselves turn green. The effect will have to be dialed back or you’ll have to mask off the roses to achieve a natural-looking result.
Now, let’s go the other way on the cyan slider to get a more golden-toned image. This is the result at -42% using the absolute method.
You can also target your colors based on the tones of the image as well. Instead of choosing one of the color families, you can choose whites, neutrals, or blacks. This works like Color Grading in Lightroom and helps get rid of unwanted color casts.
Limiting Color Changes to Specific Objects
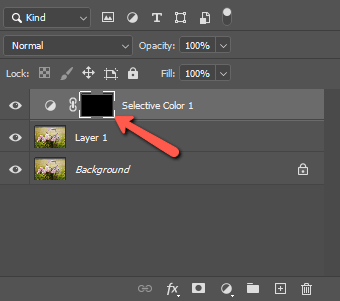
What if you want to limit the color changes to specific objects? You can do this with the tool’s layer mask.
Click the layer mask thumbnail in the Layers panel. Remember, black conceals and white reveals. Press Ctrl + I or Command + I to invert the white layer mask to a black one.
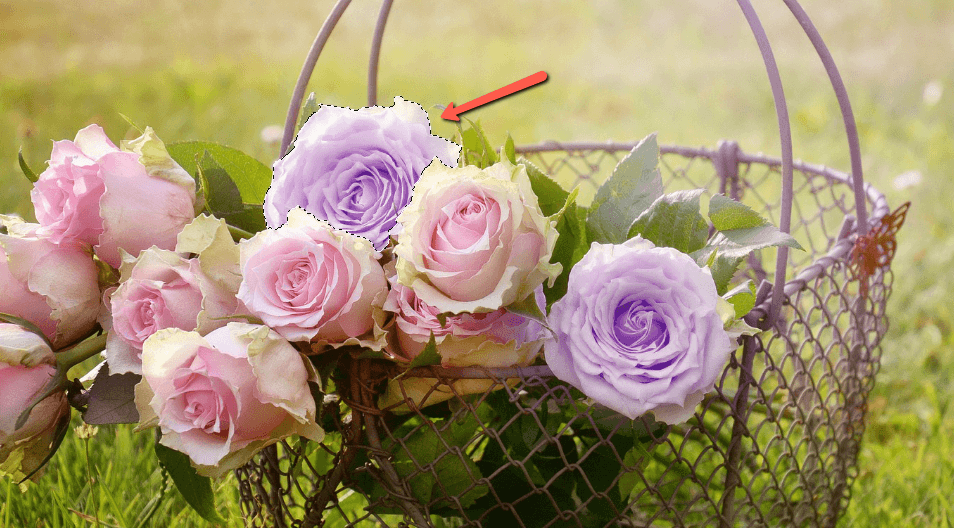
Press B on the keyboard to activate the Brush tool. Paint over the area(s) of the image that you want to be affected by the color change. I’m going to grab one of the flowers here real quick as an example. (The white circle is around one of the blooms).
Now when I make color changes, only the flower I painted over is affected.
What if you need to be more precise? The flower I chose to change is easy because it’s off by itself. But what if you wanted to change one of the ones in the back? Painting a lazy circle around it won’t work.
An easy way to limit the brush is by making a selection around the flower first. Let’s look at this in action.
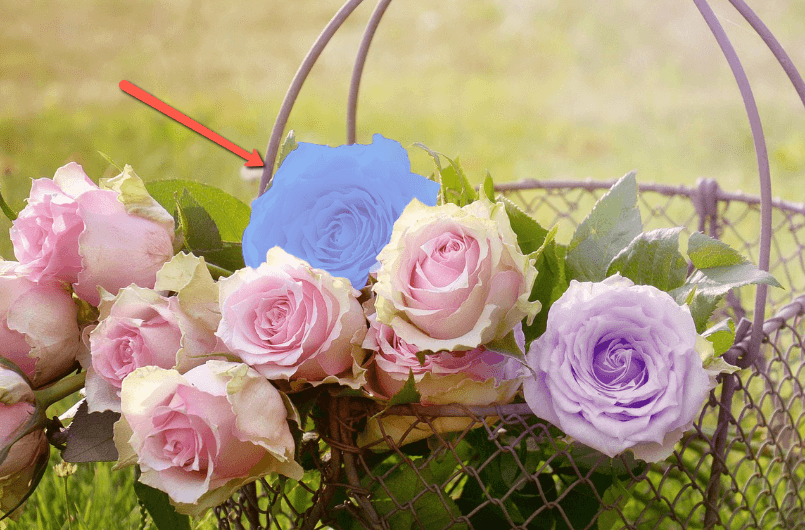
You can use any selection tool, but for this example, I’ll grab the Object Selection tool. Photoshop calculates the object and offers a preview in the form of this blue mask. It looks good, so let’s click once to make the selection.
Switch back to the Brush tool with the B shortcut. Click on the layer mask in the Layers panel so that you are painting on the mask. Now, when you paint with the brush, it will only have an effect on the selection. You can paint outside the selection all you want, but it will have no effect.
You can do this as many times as you like to change the colors of individual objects. If you want to change some to different colors, simply use a new selective color adjustment layer.
Having Fun with Colors
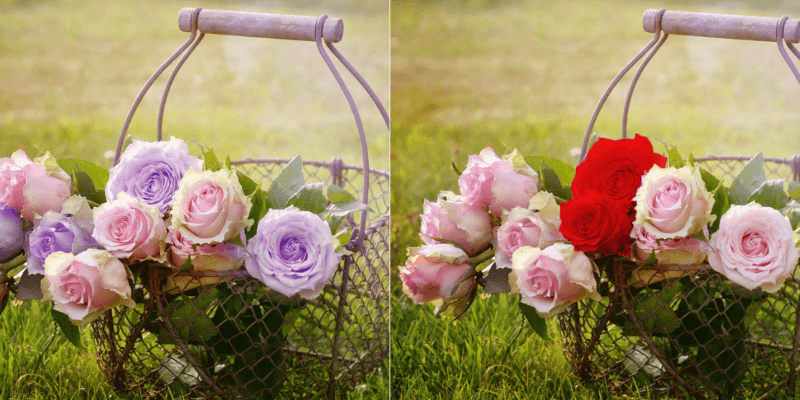
Color changes are somewhat limited with this tool. I wouldn’t be able to turn these pink roses to blue or deep red or some major color shift like that. However, that can easily be done with a Hue/Saturation adjustment layer.
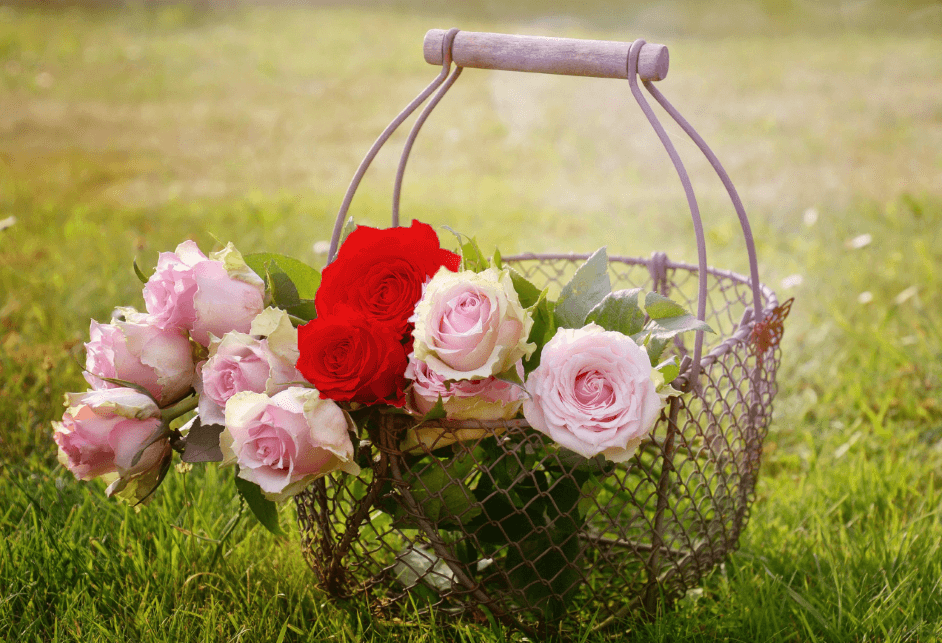
Choose the Hue/Saturation option from the adjustment layer menu. Check the Colorize box and choose the Hue, Saturation, and Lightness of the color you want.
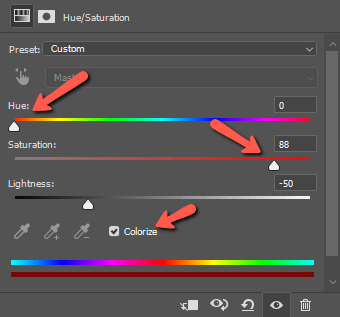
Don’t forget to limit the changes to certain blooms by painting on the mask as described here. And voila! Brilliant red blooms!
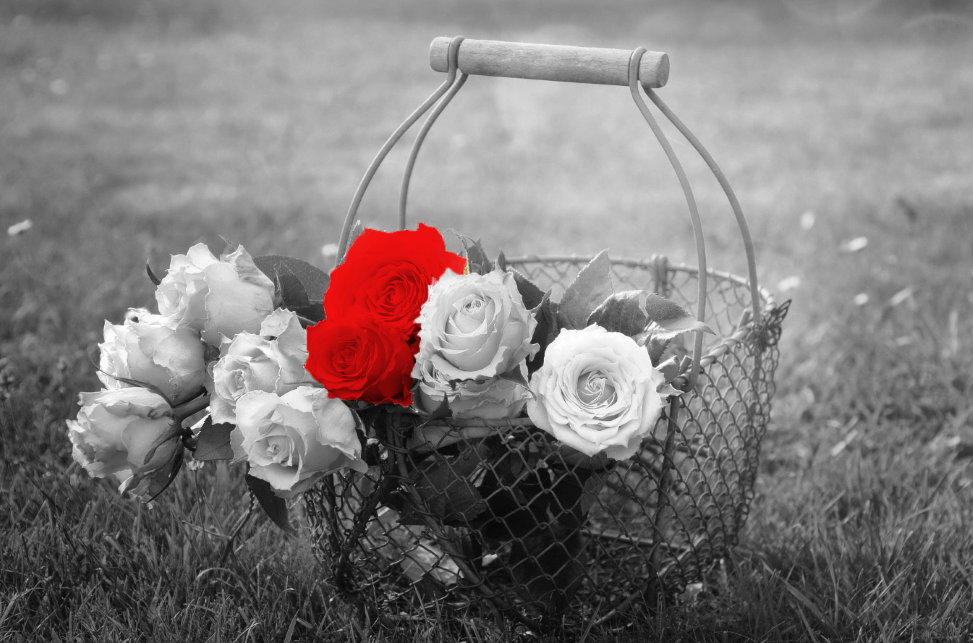
Add a Black and White adjustment layer to get the selective color effect, which can be really fun for making images pop! Simply slide the Black and White layer under the Hue/Saturation layer.
Seriously, you can have so much fun with color in Photoshop. Check out these other methods of making colors pop here!
About Cara Koch