Let me guess, you’ve probably been searching for a while but still can’t find the perfect chalkboard background because the free ones are in low resolution or the lighting just isn’t right?
Yup, that was my struggle when I first started doing graphic design years ago. Searching for free stock images is probably one of the most time-consuming processes of my work, that’s why I started to create everything on my own that would fit best in my design.
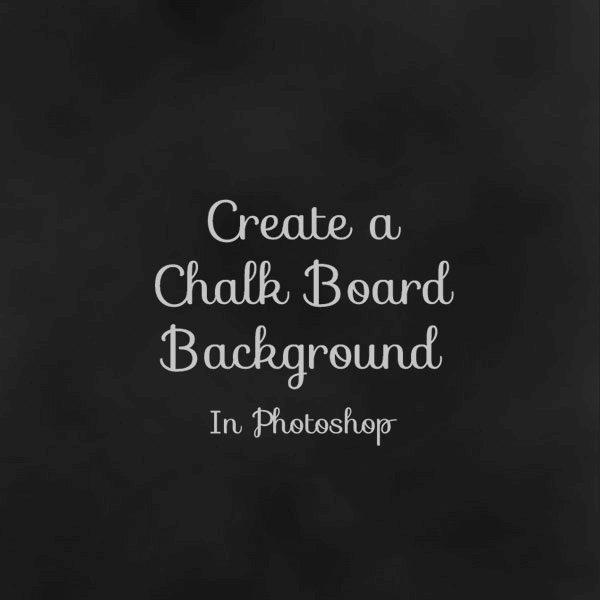
In this tutorial, you’ll learn how to create a realistic chalkboard background from scratch in 6 simple steps.
Let’s dive in!
6 Easy Steps to Create a Chalkboard Background in Photoshop
Note: Screenshots are taken from Adobe Photoshop CC Mac version. Windows or other versions might look slightly different.
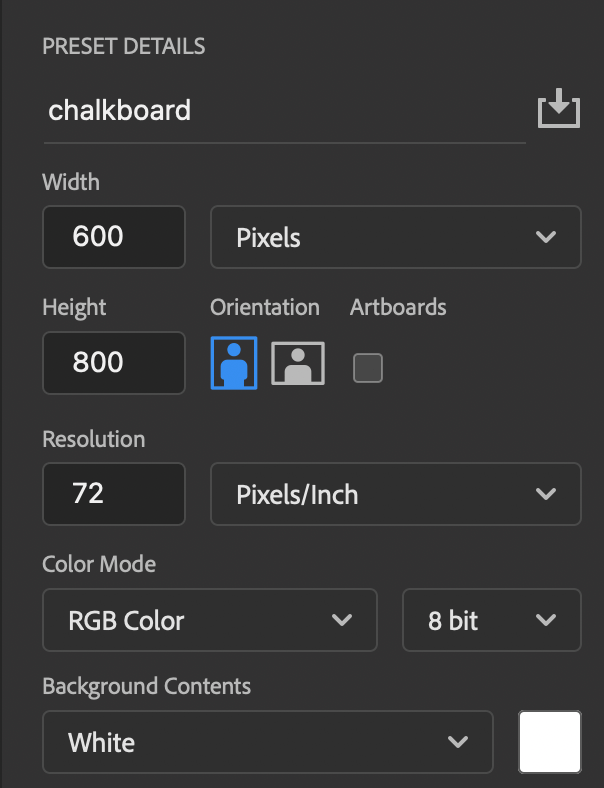
Step 1: Create a new document in Photoshop. I recommend setting the size in pixels, for example, I’m going to set my canvas at 600 x 800 pixels.
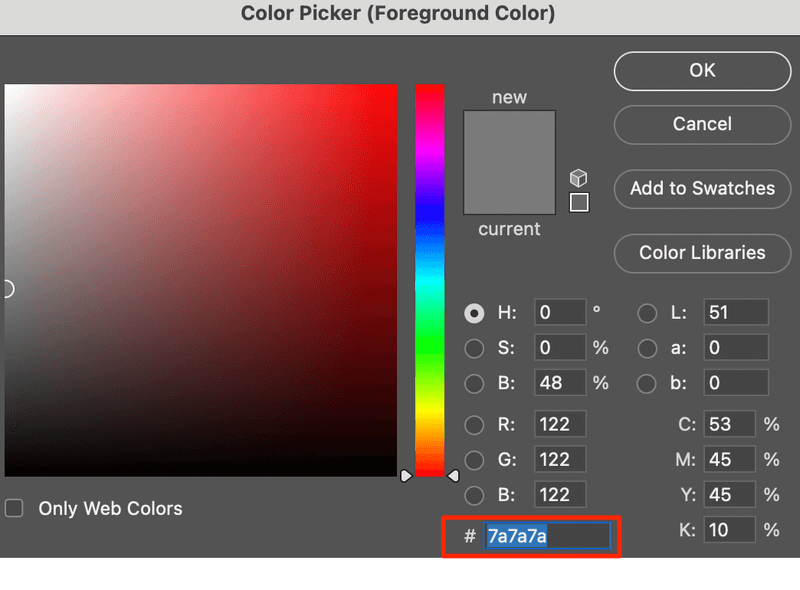
Step 2: Choose a medium grey as your foreground color and black as your background color.
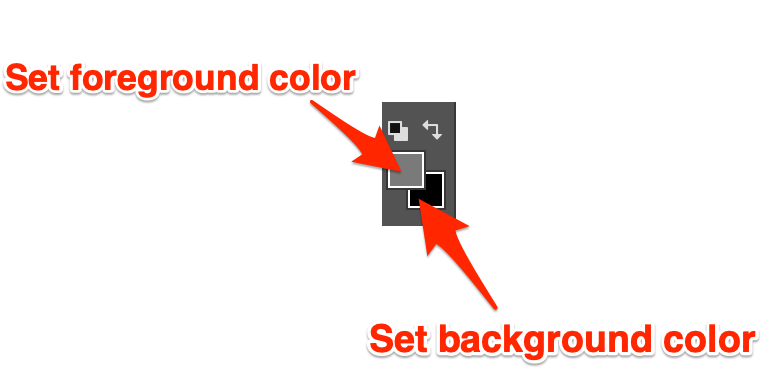
My foreground is #7a7a7a and background #000000.
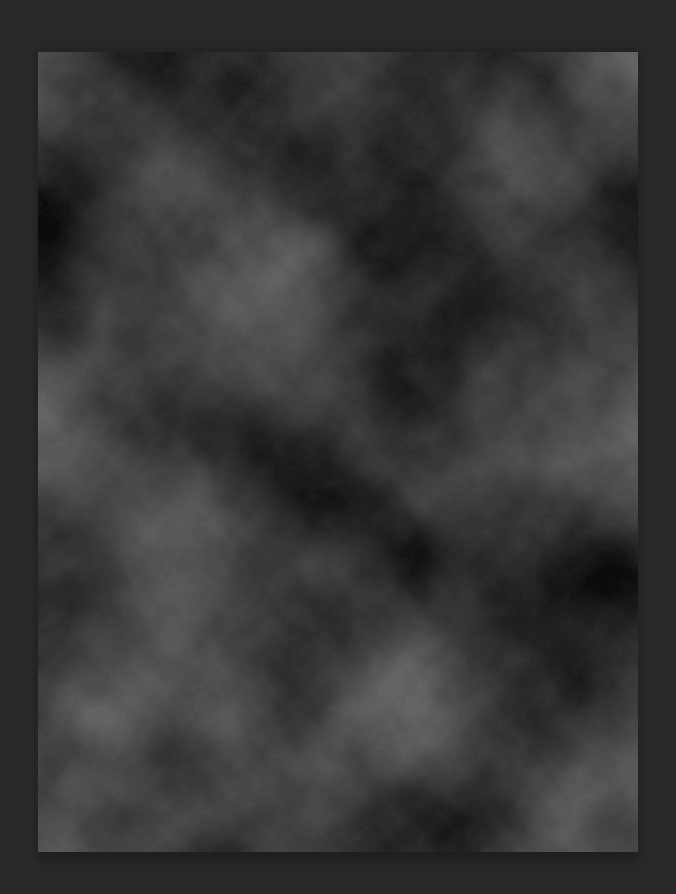
Step 3: Go to the overhead menu Filter > Render > Clouds.
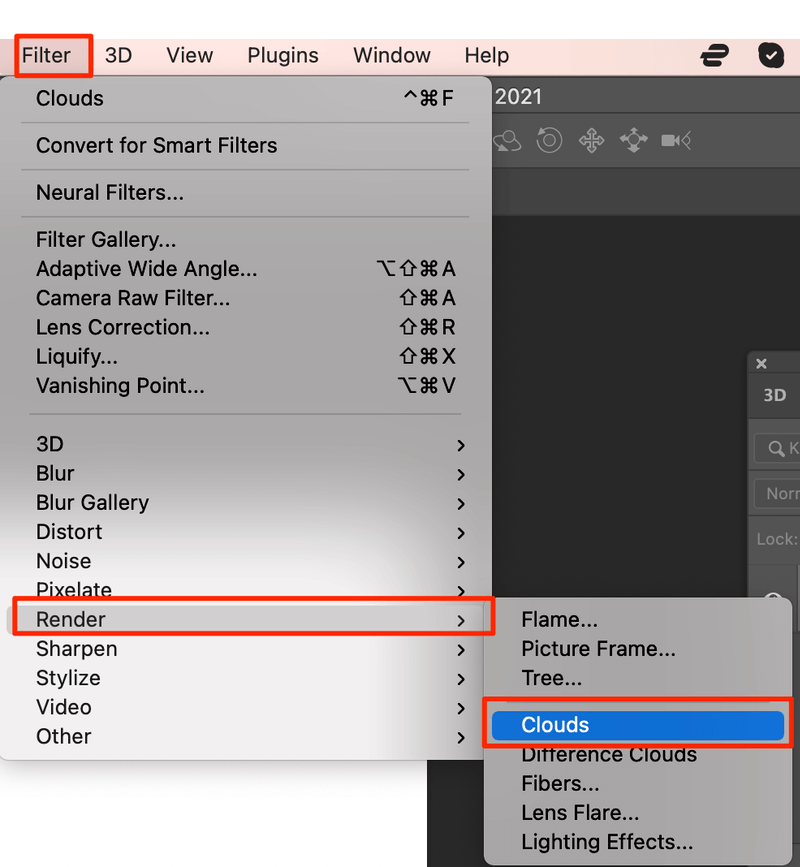
This creates the mottled base for the Chalkboard.
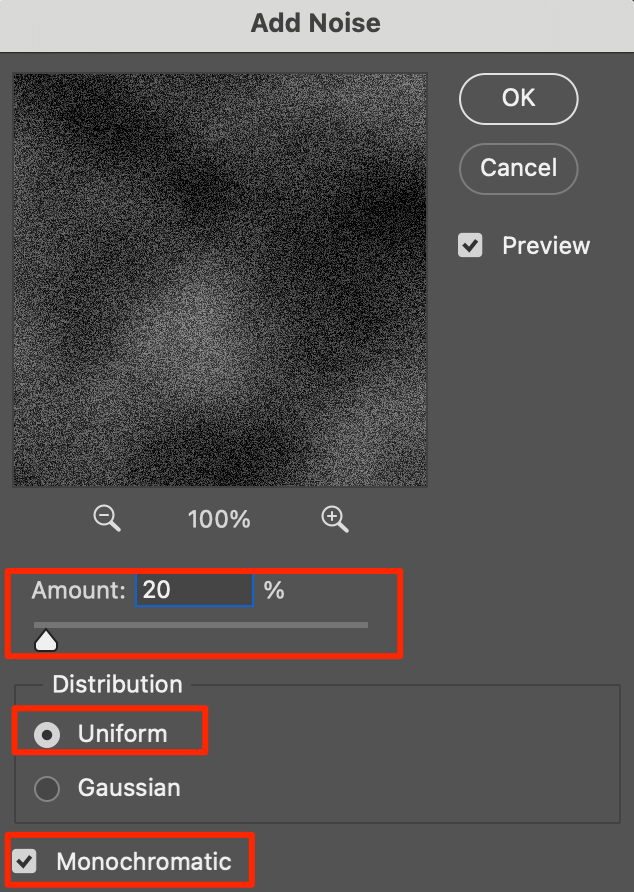
Step 4: Go to the overhead menu again to add noise: Filter > Noise > Add Noise. Set the noise Amount to 20%, Distribution check Uniform, and check Monochromatic at the bottom.
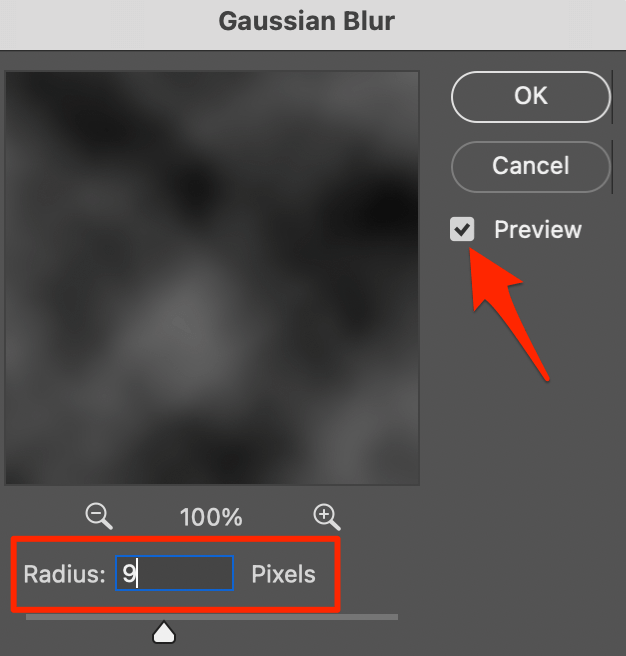
Step 5: Go to the overhead menu Filter > Blur > Gaussian blur.
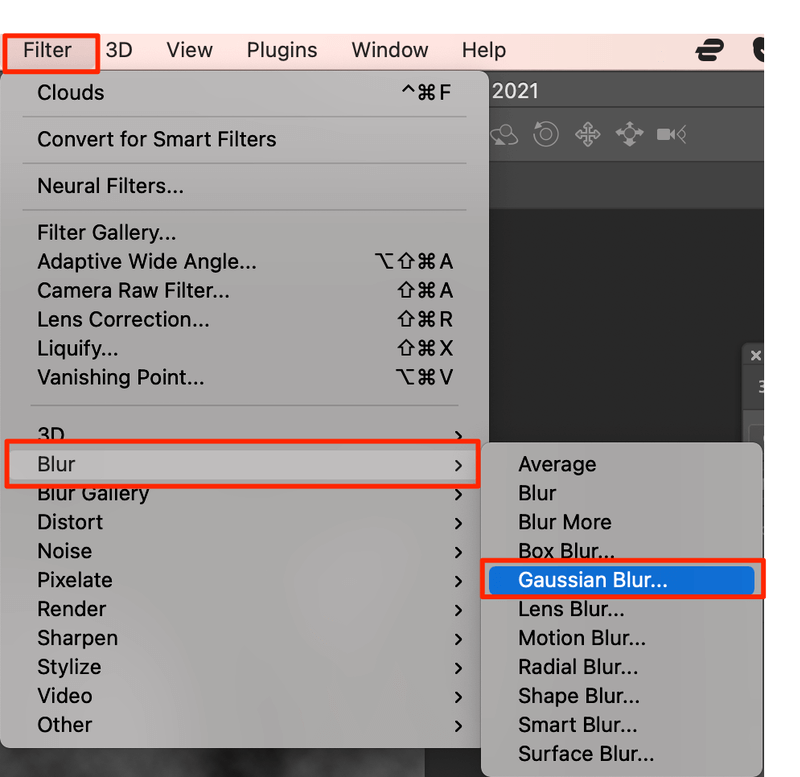
Set Radius to around 9 pixels. Check the Preview box to see how it looks.
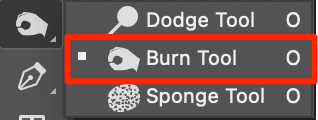
Step 6: Use the Burn Tool to make the background look more natural and realistic. This step might require you some time and patience but hey, you’re making your design unique.
Tips: Use a large soft brush and set the brush Exposure lower to make changes gradually.
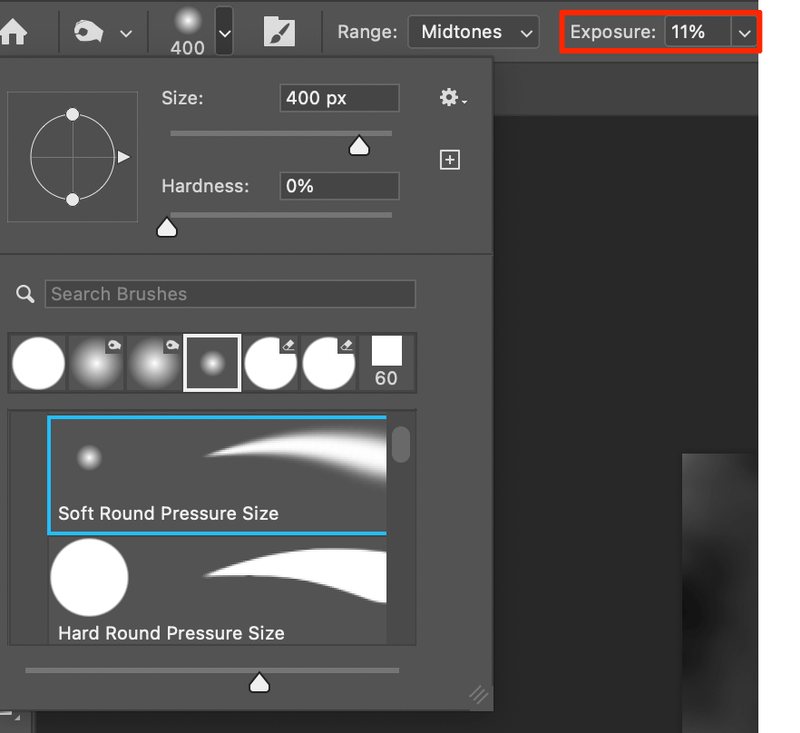
If you want more light areas, switch to the Dodge Tool and brush over the areas you want to lighten.
I’m pretty happy with this result, what do you think?

Now you’ve learned how to create a chalkboard background, it’s time to add some text to see how it looks!
Not sure which chalkboard fonts to use? Maybe I’ve got some ideas for you.
Check out these 25 awesome chalkboard fonts that you can download and use for free.
Conclusion
Creating a chalkboard-style background is easy and you can customize and resize it the way you want. A chalkboard background is perfect for making a handwriting-style design. All you have to do is choose an awesome font and add some hand-drawn icons!
Have fun creating!
About June
Jamie Brandow
Thank you! This is the best tutorial for this I have found.
Cherie
A really helpful tutorial – thanks so much 🙂
Linda Sue
Wow! What an amazing tutorial! I always have huge issues following instructions for Photoshop. You, however, made my heart smile! I actually did it right the first time following your step-by-step tutorial!
Thanks so much!!!
Linda Sue
June
Thanks Linda, glad you found it easy to follow 🙂
Mike
Thanks for this. It is precisely what I was looking for. I wanted to check (and it might not matter as they both come out gray); your instructions say foreground color should be #7a7a7a, but in your screenshot, the value is #a7a7a7. I went with the screenshot’s value. 🙂
Thanks again!
Mike
MSVCP140
🙂 OK !
kuliahdesain.com
Woahhh thanks ……it a little trickkkk