Have you ever wanted to pour out your inner Picasso in Photoshop? You may have felt it frustrating that colors don’t mix and blend together the way they would on a real canvas.
Or do they?
Hey there, I’m Cara! And yes, Photoshop absolutely does support mixing colors and blending them just as you can when painting. The trick is simply knowing what tool to use and how to use it.
So, today we’ll look at how to use the mixer brush in Photoshop. Once you know how this works, you’ll be creating masterpieces of digital art, or at least well on your way!
Note: I use the Windows version of Photoshop. If you are using a Mac, the workspace will look slightly different from the screenshots displayed here.
Table of Contents
Where is the Mixer Brush Tool in Photoshop
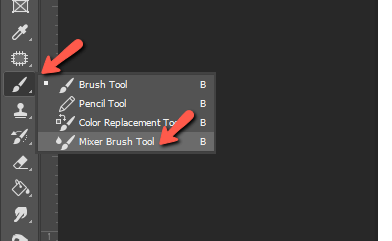
The first step is to find the Mixer Brush, which isn’t difficult. It is located on the toolbar on the left with your other tools, though it is probably hidden behind the regular brush.
Click and hold (or right-click) on the brush tool to open the menu of tools hidden behind the top one. Select the Mixer Brush Tool from the list.
Once you find the tool, you can follow the steps below to use the Mixer Brush in Photoshop.
Step 1: Pick a Color
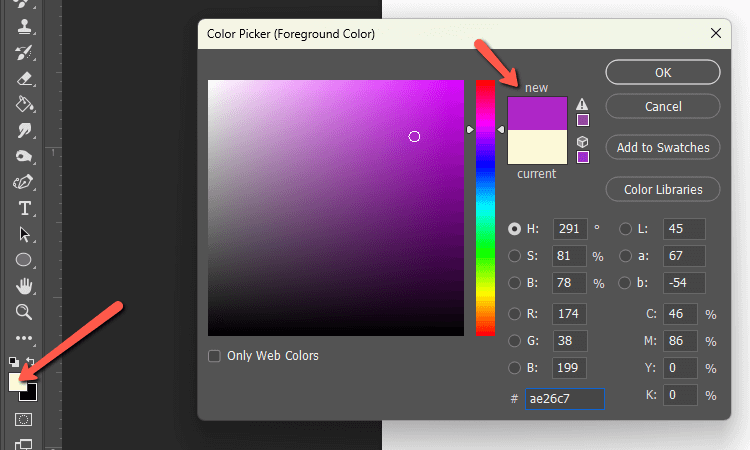
To set the color for your brush, click the foreground color swatch near the bottom of the toolbar on the left. Let’s pick something dark so we can more easily see how the brush is behaving.
You can also pick up paint color directly from your canvas. This is helpful when you’re trying to blend existing colors. To load canvas paint Alt + Click or Option + Click on the color you want to pick up.
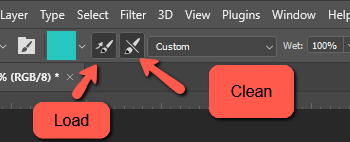
You can also Load and Clean the brush using the buttons in the Options panel.
Try a few brush strokes and you’ll notice that the brush doesn’t paint with your color solidly as you are used to with the regular brush. You may wonder why since at this point we don’t have two colors mixing.
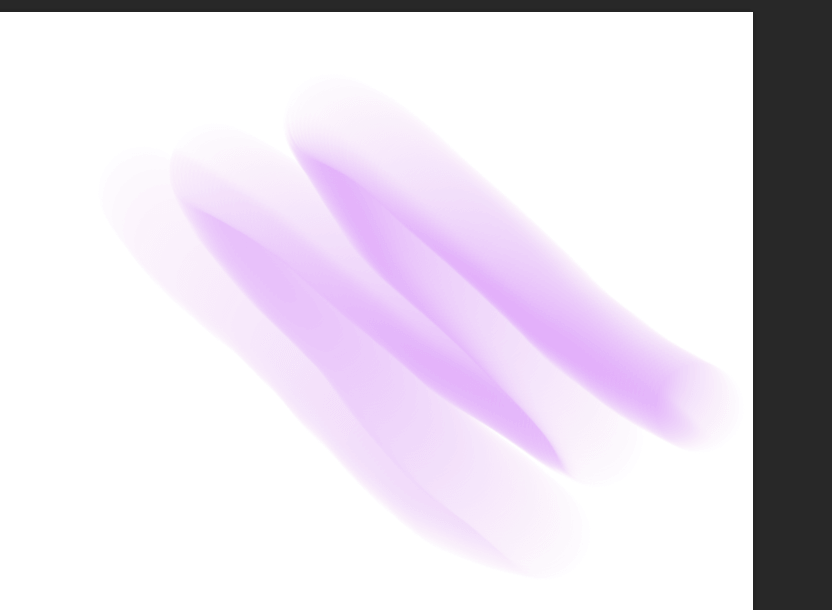
Well, actually we do.
Photoshop acts as if whatever color is on your canvas is wet paint. That includes whatever background color you’ve set. So here, the color is faint because a lot of white is getting mixed in.
You can control how this mixing occurs by configuring your brush settings.
Step 2: Choose Your Brush Settings
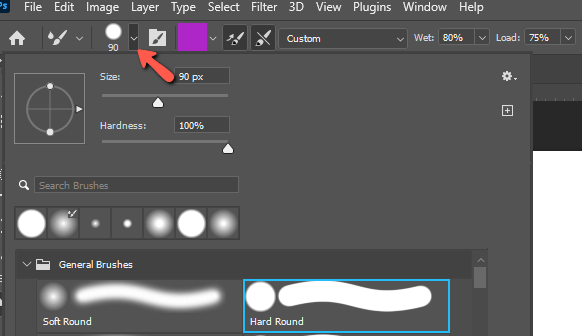
As usual, in the Options bar, you can choose settings for your brush. Click the little arrow next to the brush tip preview to choose the brush tip, size, and hardness of the brush.
But we have a few more and different settings than the typical Opacity, Flow, etc of the regular brush. Let’s look at each more in-depth.
Wet
Wet lets you control how “wet” the paint is on your canvas. Thus, a higher setting will cause the brush to pick up more color from the canvas as if your paint were still quite wet. A low setting will act as though the paint on the canvas is already drying and doesn’t blend as well.
Below you can compare how it looks when setting Wet at 80 and when setting it to 5. The color is stronger in the right image as well as darker because less white “paint” is getting mixed in.
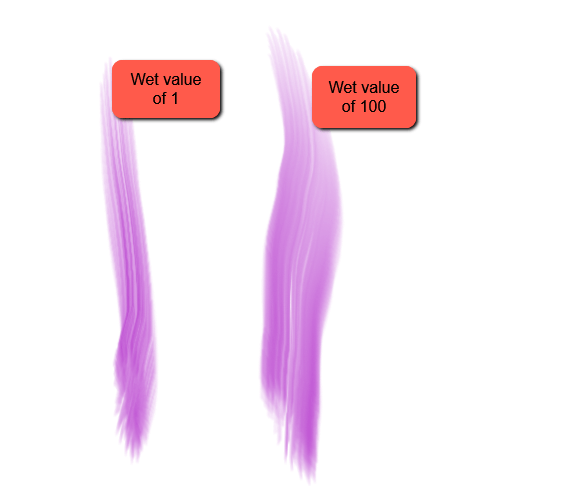
For the brush to work properly, the Wet setting cannot be 0. If Wet is 0, the brush will just paint a solid color on the canvas like the normal brush.
Load
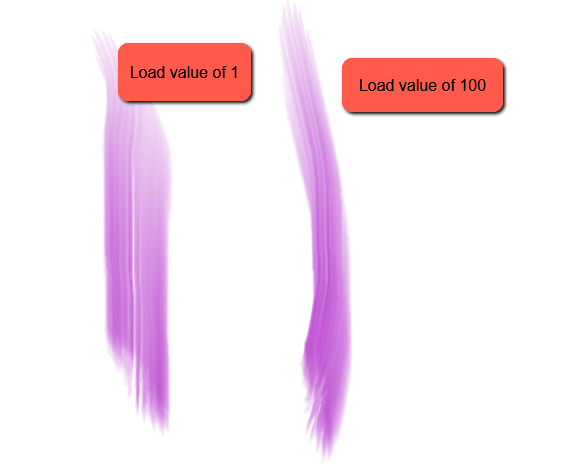
The Load value controls how much paint you put on your brush for the stroke. This is the paint you would be picking up from your paint palette if you were painting on a real canvas.
A higher value puts more of your chosen color on the brush, while a lower value picks up a smaller amount. The difference is subtle, so understanding what this value means is difficult to figure out intuitively.
Here’s a Load value of 1 compared to a Load value of 100.
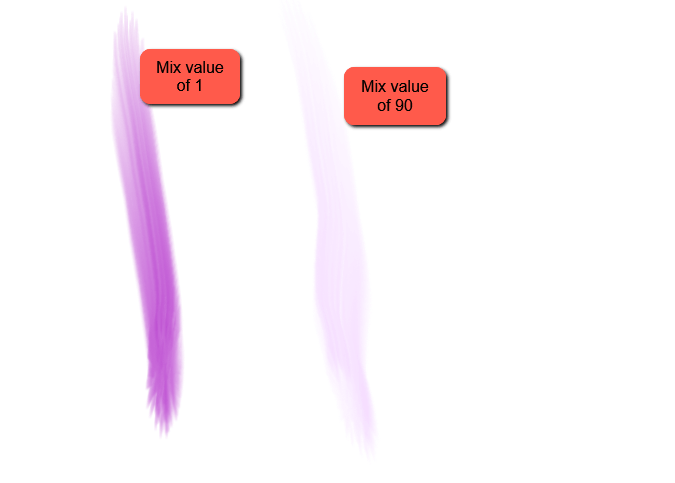
Mix
The brush has a reservoir of paint. When you load your brush, you’re putting paint in this reservoir. The Mix setting determines how much paint comes from the reservoir and how much comes from the canvas.
Thus, a higher Mix value will put more of your chosen color on the canvas. But a lower mix value will pick up more paint from the canvas to add to the mix.
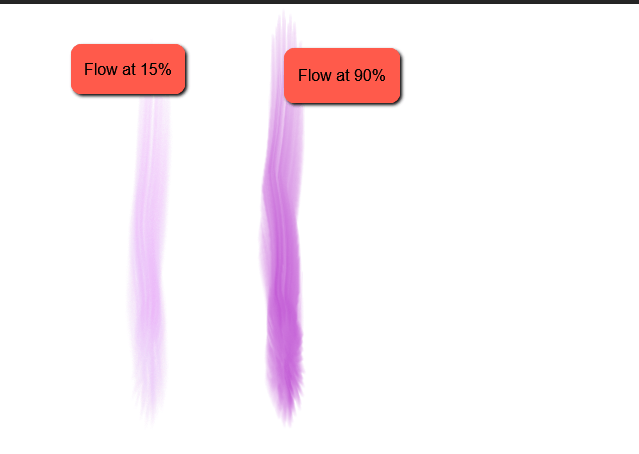
Flow
You can also determine the flow and this works just as it does for the regular brush. The paint will flow more freely with a higher flow value than a lower one.
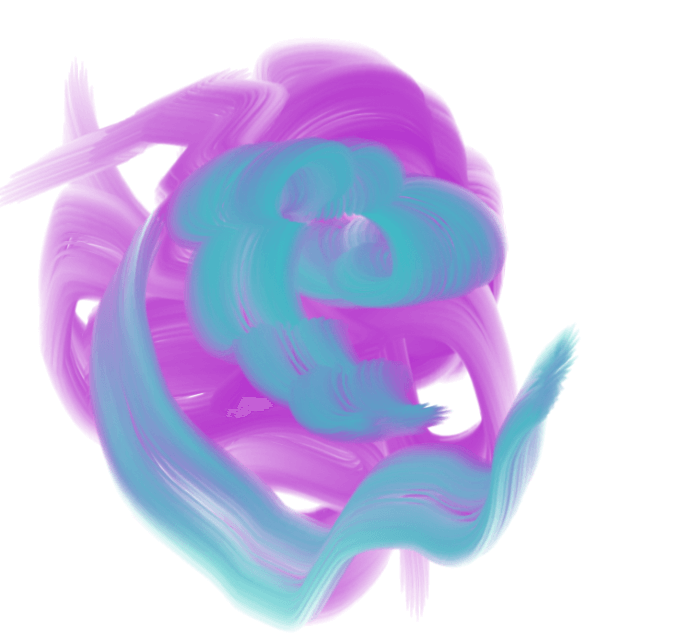
Working with the Brush
Now that you understand how these settings work, it’s time to experiment. Watch how the colors blend together with different brush strokes and practice to get a feel for how it works.
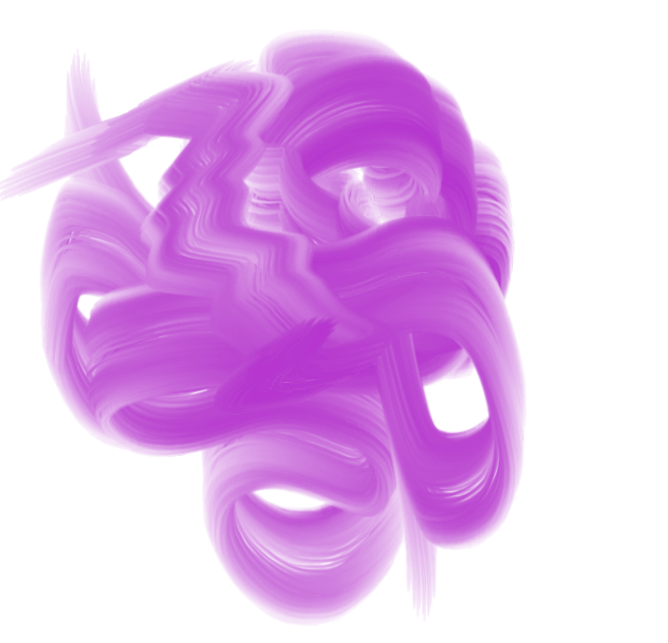
With a little practice, you’ll be creating digital paintings as awesome as those you paint in real life!
The Mixer Brush for Photographers
But what if you don’t paint in real life? What if your main purpose for using Photoshop is to edit photographs? Many of our readers here at Photoshop Buzz are interested in using Photoshop for photo manipulation and editing.
The mixer brush comes in handy for Photographers as well. Imagine that you’re trying to fix up somebody’s skin. Maybe you’re covering a blemish or removing a tattoo. This brush can help you blend the colors more realistically and get a better-finished look.
Don’t put yourself in a box with the tools available in Photoshop. The more creative you are with how to use them, the more amazing your creations will be!Curious about how to turn photos into watercolor paintings? Because let’s be honest, that would be a lot easier, right? Check out how to do that here!
About Cara Koch
Mary
Is there a way to not have the Mixer Brush load a color? All I want to do is to fill in gaps by mixing the existing colors I applied earlier.
Thanks.
Mary .
June
Have you tried adjusting the load rates?