
Photoshop’s impressive array of image-editing tools can manipulate images in ways that you often have to see to believe, and few tools show off this power better than the Liquify tool.
The ability to completely distort and rearrange pixels within an image while still maintaining a photorealistic appearance almost seems like magic when you first use the Liquify tool in Photoshop, but it can also be an overwhelming experience. There’s SO much it can do!
My name is Thomas Boldt, and I’ve been working with Photoshop since way back before the Liquify tool was available. Watching it develop over time into the astonishing tool that it is now has been a fascinating experience, and I want to share the results of that experience with you.
Usually, in these tutorial articles, I’ll give a quick introduction to the subject and then follow it up with a more detailed step-by-step explanation, but that doesn’t really fit in this case. Instead, I’ll take you through the basic Liquify tools and then we’ll dig into the more advanced face-aware tools that still amaze me.
Note: The model photos used in this tutorial for the face-aware section are provided by Mika on Unsplash. Thanks, Mika!
Table of Contents
The Liquify Tool Basics
The Liquify tool, which is also known as the Liquify filter, allows you to push, pull, distort, warp, bloat, and pucker your pixels to your heart’s content.
Without getting too technical, the tool places an invisible mesh over your image and then tracks the distortions you make to that mesh using the various warp tools.
The end result is that your pixels act like a flexible gel or liquid instead of being stuck in a rigid pixel grid, which is obviously where the name comes from.
This mesh also allows you to apply all the distortion effects non-destructively, which means that while you’re in the Liquify workspace, you can modify and adjust the results without losing your original image quality.
You can even apply the Liquify filter to Smart Objects, and it will function as a non-destructive Smart Filter.
Let’s begin with the easiest smart filter option.
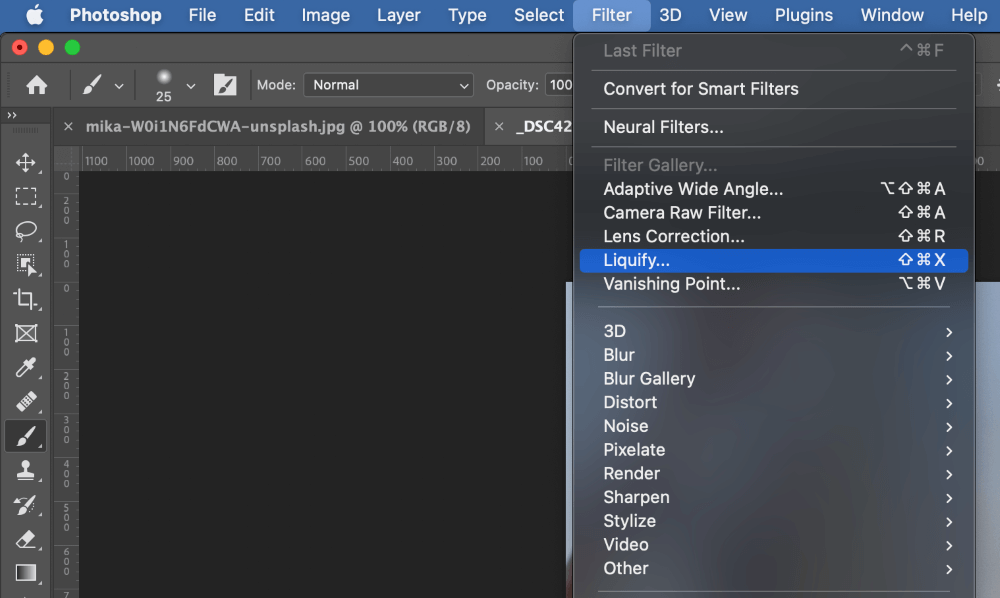
Filter > Liquify
To start working with the Liquify tool, you can launch it from the Filter menu. You can also launch it using the keyboard shortcut Command + Shift + X (use Ctrl + Shift + X if you’re using Photoshop on a PC).
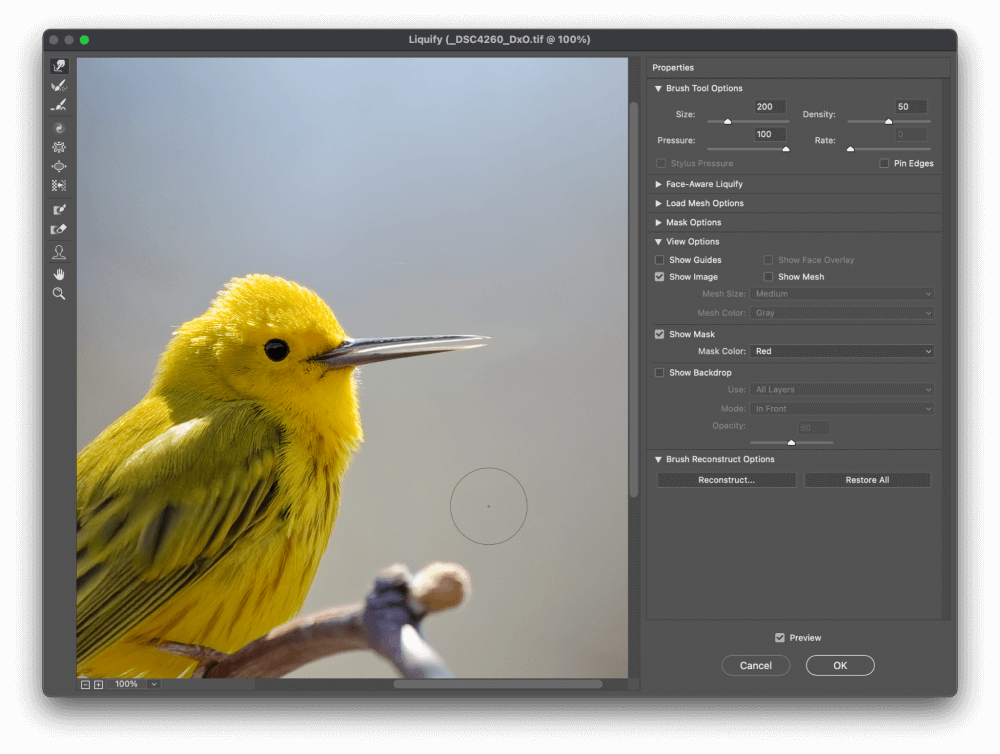
This loads the Liquify tool workspace, which follows the standard interface model found in many places throughout Photoshop: a large window showing your image, with tools on the left side, and customization options and other settings on the right side.

It can be a bit overwhelming at first, but I’ll take you through the essential tools and options for warping your images with the Liquify tool.
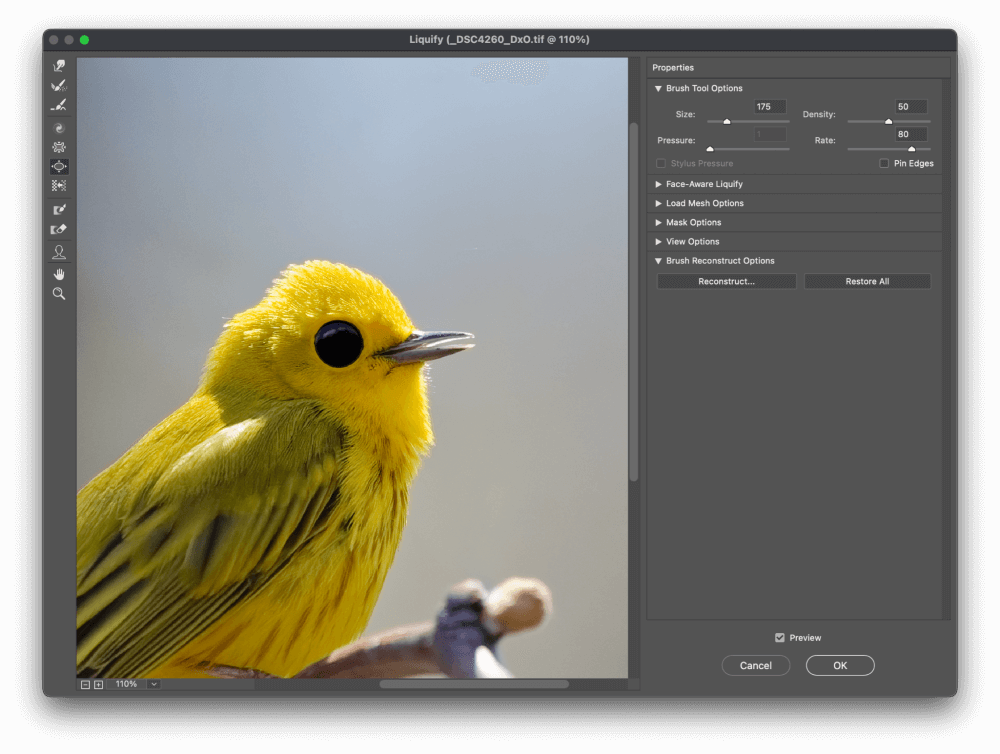
The Brush Tool Options
I’m mentioning this section first because it applies to all of the brush-based tools used in the Liquify workspace. Located in the upper right corner of the workspace, this section gives you total control over how your brush tools function.
The Size setting is quite obvious, and the Density setting is similar to the brush hardness setting when working with standard brush-based tools in the rest of Photoshop – it softens the edges of the brush along a gradient from the brush’s center point.
The Pressure slider controls how fast your brush effect is applied while clicking and dragging and using a lower setting causes the effect to be applied more slowly.
The Rate slider works in a similar way but applies to stationary effects such as the Twirl tool.
The Pin Edges option simply keeps the edges of your image intact, preventing your distortions from drawing in empty pixels from the empty space outside the document bounds.
Last but not least, if you’ve got a graphics tablet, you can check the Stylus Pressure option. This uses pressure sensitivity information from your tablet stylus to control the strength of the effect dynamically, giving you a much more intuitive way to apply your distortions.
Enough of that, now on to the fun stuff!
The Forward Warp Tool
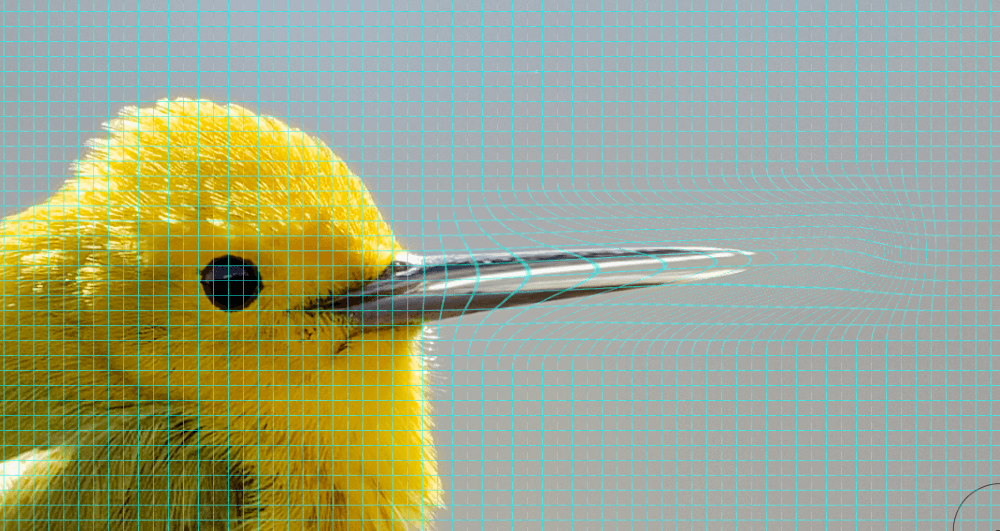
The simplest way to show off what you can do with the Liquify tool is to start using it! Located at the very top of the toolbar, the Forward Warp tool does what it says in the name: when you click and drag, the pixels inside your initial brush shape get pushed in the direction that you move your mouse.
Within the Liquify workspace, you can also select by pressing the keyboard shortcut W.
For a practical example, the Yellow Warbler in my example photo can be given an extended beak like a hummingbird simply by clicking on its beak and dragging the mouse to the right.
(If you’re old enough to remember the movie Beetlejuice, think about the scene where Adam and Barbara stretch their faces out into horror masks!)
If you open the View Options section and check the Show Mesh option, you’ll see exactly how the warp is applied to your image (see below). I don’t find much practical use for the mesh view while actually working with the Liquify tool, but it does give you a good sense of what’s happening behind the scenes.
The Twirl Clockwise Tool
This tool also has a straightforward name, even though the results you get while using it will be anything but straight.
As you’ve probably already figured out, this tool will twirl the pixels under your brush in a clockwise direction, and the longer you hold down the mouse button, the stronger the rotational effect will be.
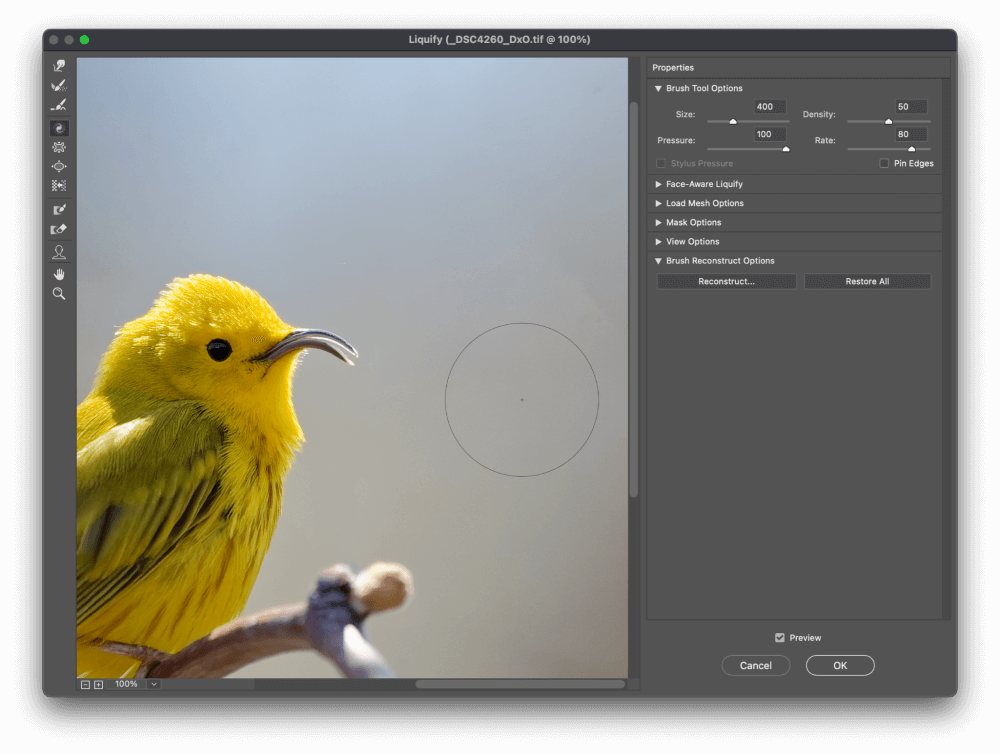
Clicking and holding for a few seconds just below the warbler’s beak transforms it into a curved shape worthy of one of Darwin’s finches from the Galapagos Islands, while still maintaining a photorealistic look – but I could stretch it even further if I wanted. Sometimes less is more!
If you’re already wondering why there’s only a named clockwise tool, you’re not alone – it would make more sense to simply call it the Twirl tool since you can reverse the effect into a counterclockwise twirl by holding down the Option key (use Alt if you’re on a PC) while you click and hold with the mouse button.
The Pucker Tool
The Pucker Tool can be used to shrink and compress the pixels within your brush. Switch to it using the toolbox or the keyboard shortcut S (as long as you’re within the Liquify workspace).

The longer you hold down the mouse button, the stronger the shrinking effect will be.
The Bloat Tool
As you’ve no doubt guessed, this tool is the opposite of the Pucker tool. The longer you click and hold, the larger the pixels under your cursor will become.
I’m not sure why Adobe doesn’t combine the Bloat and Pucker tools using the Option or Alt key as a modifier the way they do with the Twirl tool, but perhaps that will be part of a future update.
The Push Left Tool
Adobe’s inconsistent naming process strikes again, although this is one of the more confusing examples of it. When you click and drag upwards with the Push Left tool, it pushes pixels to the left, and when you click and drag downwards, it pushes pixels to the right.
In my experience, this is the least useful of the distortion tools available, since the other tools can already recreate this effect with more control, but you may find a use for it.
Masking and Reconstruction
Now that you know how to distort the pixels of your image, you’ve probably already begun to experiment with your own images – and you’ve realized that it’s all too easy to accidentally distort a portion of your image that you wanted to keep in its original state.
There are several tools to help you deal with this problem, apart from the basic Undo command you can apply by pressing Command + Z (use Ctrl + Z on a PC). The Freeze Mask tool allows you to prevent an area from getting distorted, and the Reconstruct and Smooth tools allow you to undo the effects that you’ve already applied.
If you’ve frozen an area using a mask, you can switch to the Thaw Mask tool to remove it.
Because the Liquify tool uses non-destructive techniques as long as you’re still within the Liquify workspace, you can adjust the strength of any effect without having to start over again.
If all else fails, you can always open the Brush Reconstruct Options section on the right side of the Liquify workspace and click Restore All to completely undo all the effects you’ve applied.
Using Face-Aware Liquify
If you’re already impressed by what the Liquify tool can do, then this section will probably knock your socks off.
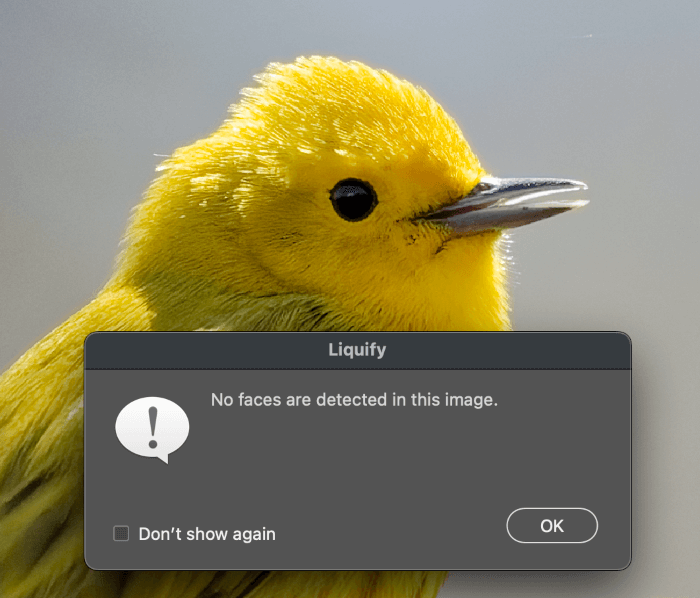
Photoshop detects whether or not there are faces in your image, and even detects the elements of a human face – eyes, nose, mouth, chin, jaw, and more – and allows you to modify them with a few basic sliders.
As a nerdy gamer type, I love the character creation stage of starting a new RPG. Customizing your character’s appearance down to the tiniest details isn’t really the point of the game, but it’s always fun for me – being able to do it with a real person’s face is an unquestionably surreal experience.
This great portrait by Mika from Unsplash doesn’t need any tweaking to look great, but it provides an excellent demonstration of what the Face-Aware Liquify tools can do.
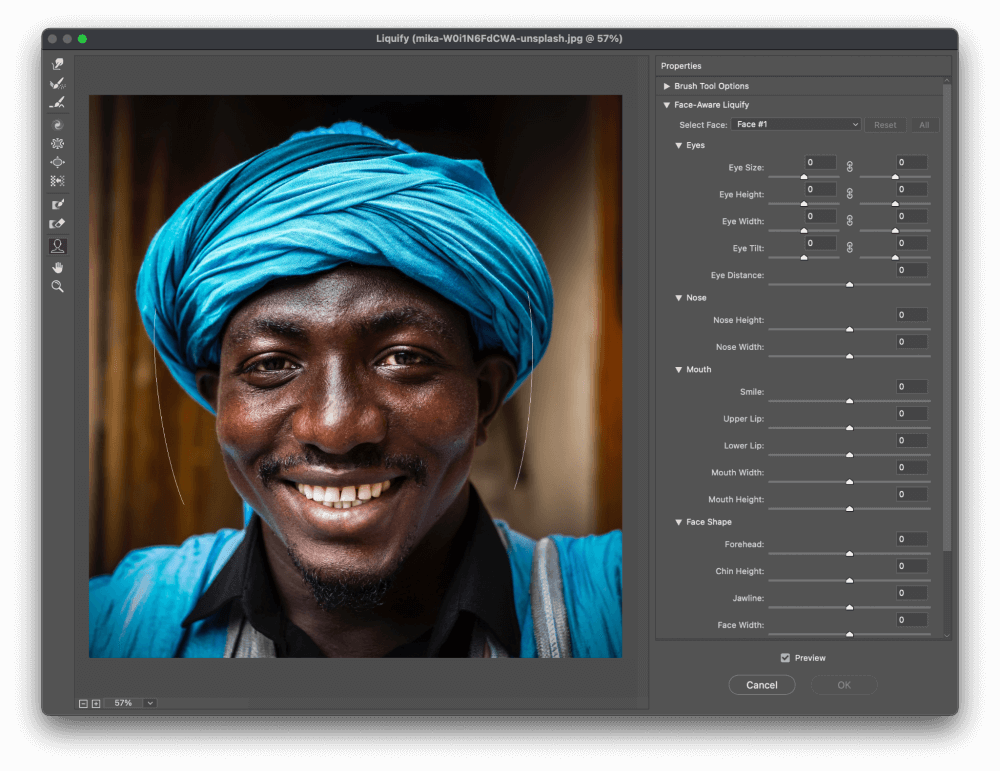
There are a couple of different ways to use the Face-Aware tools: you can use the sliders in the Face-Aware Liquify section on the right side, or you can switch to the Face tool and use the on-image overlays to adjust your model’s facial features.
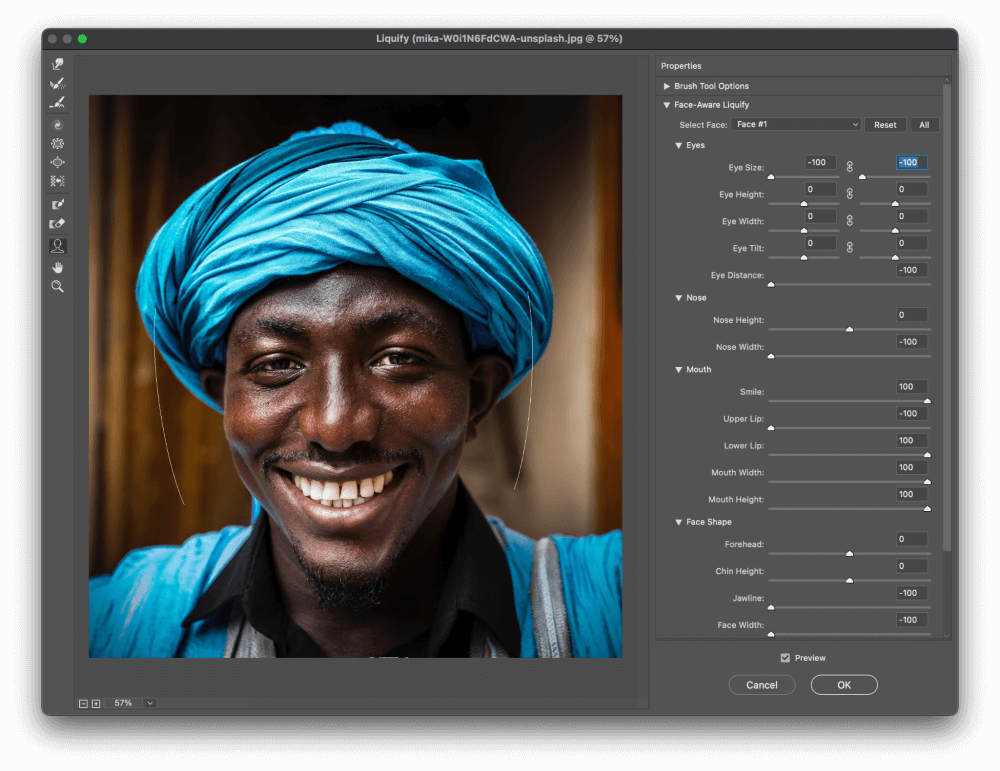
This entire modification took about 15 seconds, and it still looks as good at 100% zoom as the original.
Now that’s what I call powerful image editing! Just be careful not to go too far when moving those sliders around, as it’s all too easy to create a face that looks completely unrealistic – unless that’s your goal, of course!
Face-Aware Liquify For Group Photos
Sharp-eyed readers will note that there’s a dropdown menu in the Face-Aware Liquify section that allows you to select which face in the image you want to modify, making it easy to correct faces within group photos individually.
Simply open the dropdown menu and you’ll see an entry for each face that Photoshop has detected.
After all, there’s almost always at least one person who looks grumpy or just wants a few vain touchups after the fact (looking at you, office holiday card photos!)
A Final Word
That’s just about all there is to know about how to use the liquify tool in Photoshop, but I’m hoping that you’re so amazed and inspired by what this tool can do that you’re already eager to try it out on your own images.
As I said in the introduction, there are a few other tools that showcase just how powerful Photoshop can be when it comes to photorealistic image manipulation.
You might just never look at a photo the same way again – I know that I sure don’t!
Happy liquifying!
About Thomas Boldt