You have the perfect photo, but the lighting seems to be lacking. Make your photographs stand out by including a light source in Photoshop. By applying the proper methods, you may add a light source that seems natural and enhances your photographs.
To simulate real lighting, we’ll use the Lighting Effects filter in this Photoshop tutorial. This filter has a wide variety of useful features. In this tutorial, I’ll show you how to use them.
My name is Aly, and in this tutorial, I will be showing you how to add light effects to your image using Adobe Photoshop. This tool is something that has come in handy for my years working in Photoshop, and I hope it will for you too!
How to Add a Light Source in Photoshop
Lighting is very important when working with photos; follow the steps below to better understand how to add lighting to your image. Photoshop’s lighting effects can dramatically turn your image into something far more appealing.
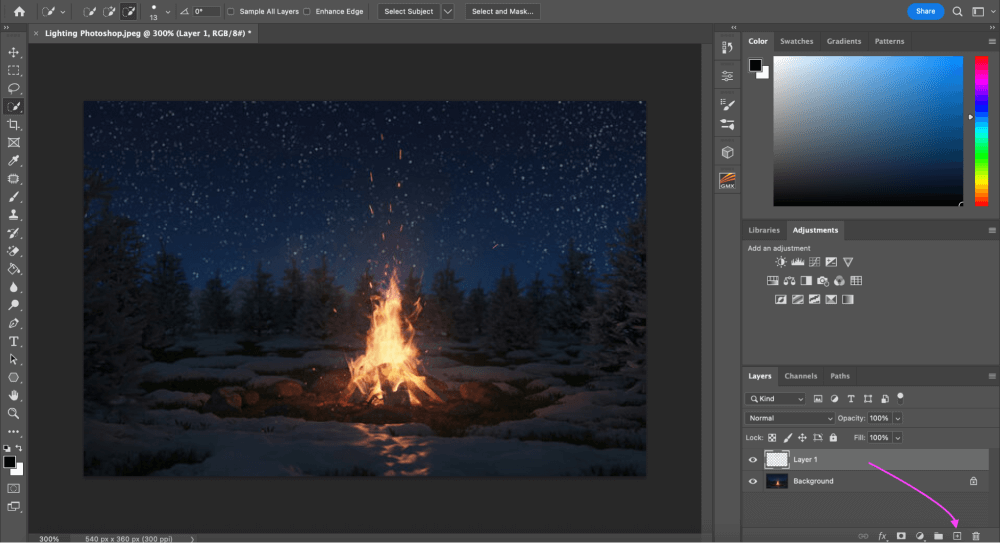
Step 1: Have your image up and ready to go in Photoshop, then make a new layer. You must make a new layer in order to add light to your image. Click the Create a new layer icon in the Layers menu.
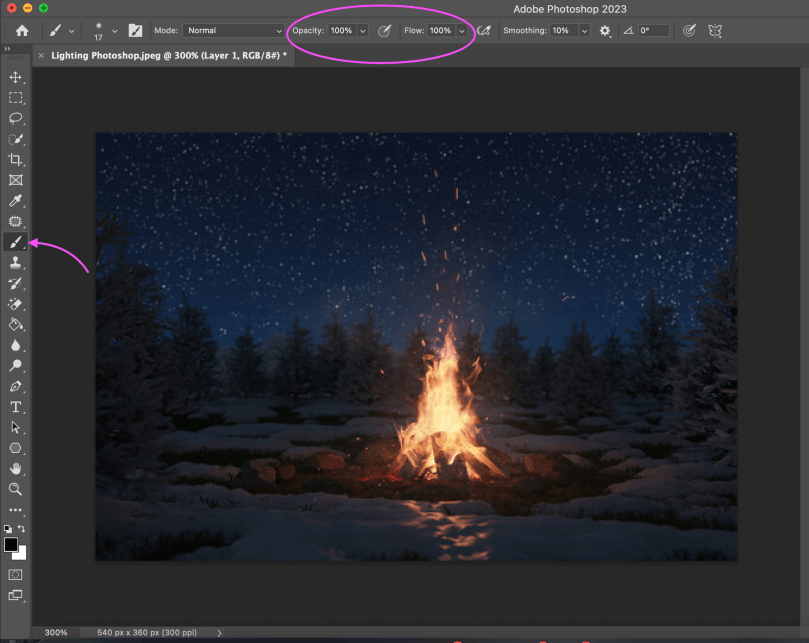
Step 2: Choose the Brush Tool from the toolbar and set the brush’s opacity and flow to 100%.
Step 3: Using the foreground swatch, select a color for your light source. To access the Color Picker, double-click on the color block. For my image, I went with a dark blue-green hue. I want my trees that are next to the fire a little lighter.

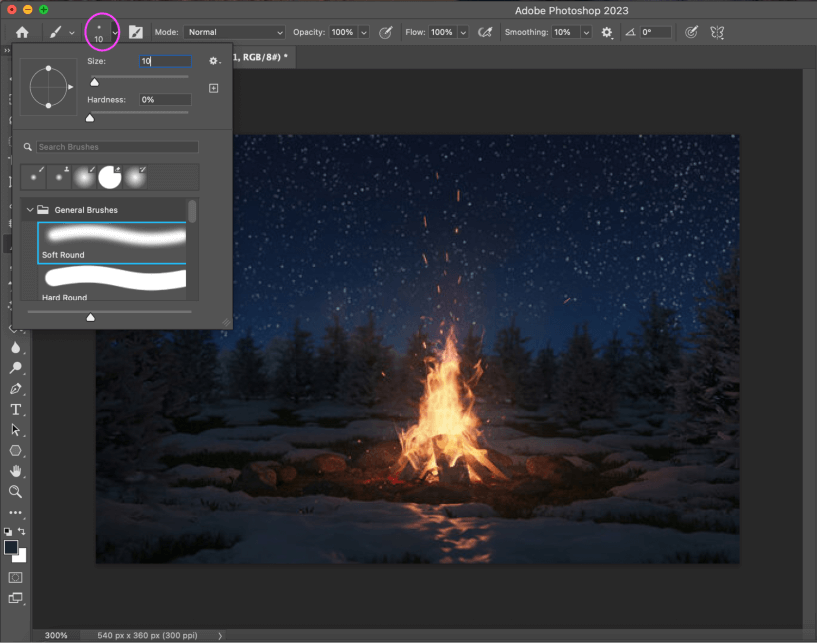
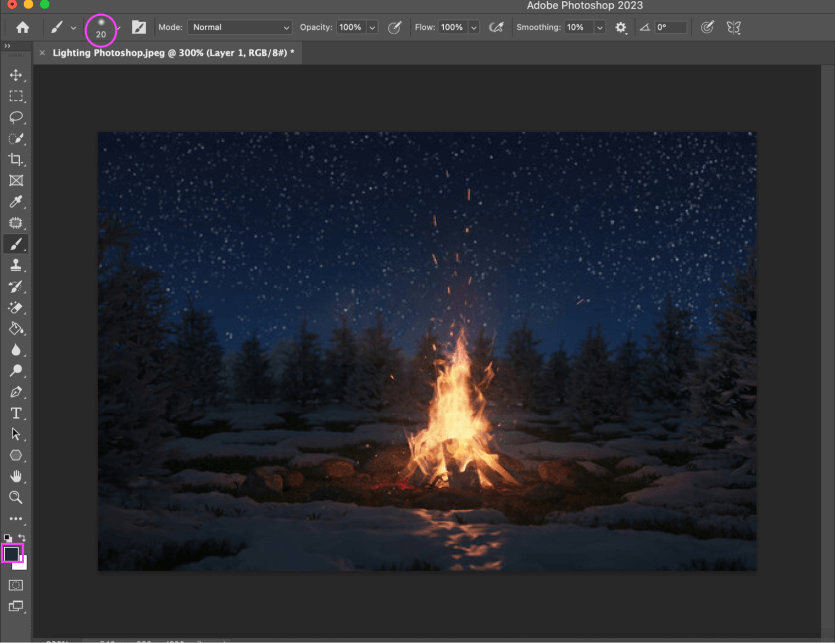
Step 4: Now, you will want to go back to the brush tools. At the top of the screen, you will see a little dot icon with a number size next to it. Go ahead and click that to adjust the brush size.
I would always try to use the soft round brush just because it will keep the edges from looking too harsh when going in with the brush. As for the size of the brush, I am going to set mine at 10 just so I can be precise.
Choose the brush size based on your image; wherever you are going to lighten up an area, work with the size that will help you be the most accurate. I am going to start with smaller portions, and then I will increase my brush size as I go.
Step 5: You’re ready to click and drag on the spots where you want to lighten the image. Click the area where you will lighten. Once you do that, head back to the color picker and make the color you have now a little lighter so the area looks brighter toward the middle.
You will most likely need to increase/decrease your brush size so that the lighter color can blend outward into the darker color in the area.
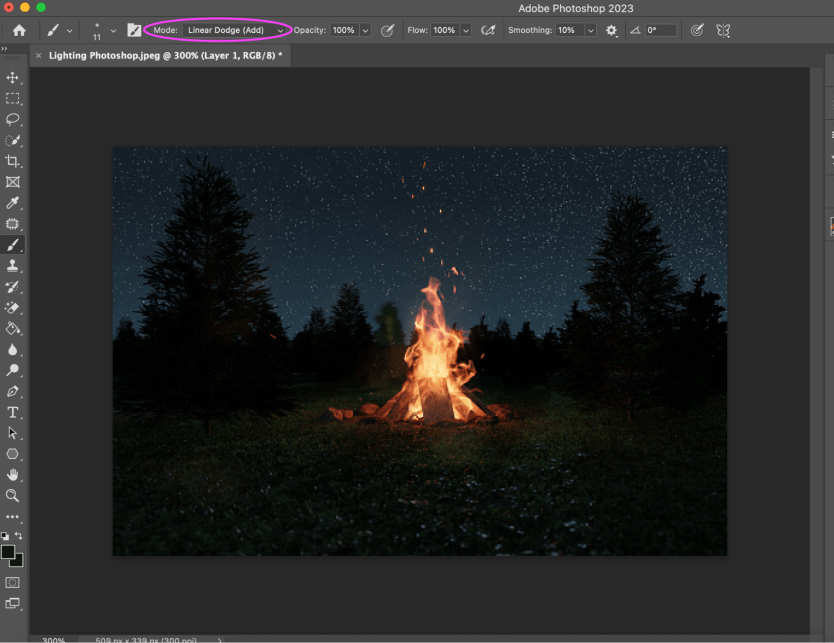
Step 6: You will now want to go back up to the top menu, and where you see Mode, go ahead and change that from Normal to Linear Dodge (Add). Most likely, the brush colors will look a little harsh.
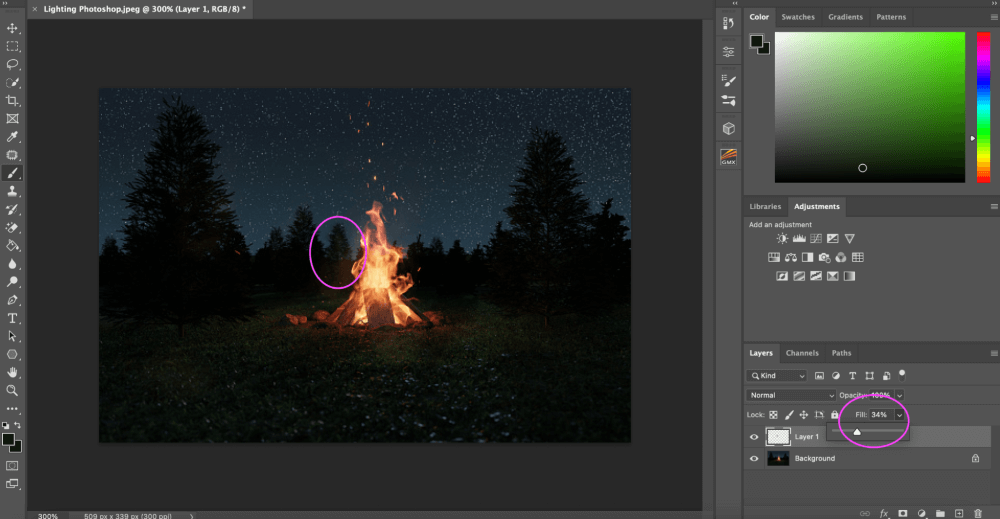
You can change that by going to Fill on the layer and lowering the fill percentage. Lower it to what looks best for your image. I changed my fill to 34%. You can see how the tree circled is lighter than when I started.
And it’s that simple! Use this technique to create more natural-looking lighting on an image.
Play around with the other modes, you never know when one might work better than the other.
Final Thoughts
Adding a light source to your photographs in Photoshop is an excellent way to make them stand out and bring out the best in them. You can produce a realistic and natural-looking light source by applying the proper techniques.
Any questions about adding a light source in Photoshop? Leave a comment and let me know.
About Aly Walters