In this tutorial, you will learn how to create an animation of an item that turns around a circle in Photoshop. I am going to show you an example of birds flying in a circle but you could use any item to make the circle animation that you like.
Since it does get a bit complicated to create an animation, I’m going to divide the steps into 2 parts. Part 1 includes the steps to organize layers for the animation, and Part 2 will guide you through how to create animation in Photoshop.
Table of Contents
Part 1: Before Animation
It’s always a good idea to organize your layers before creating the animation to make sure the birds are flying in a smooth flow.
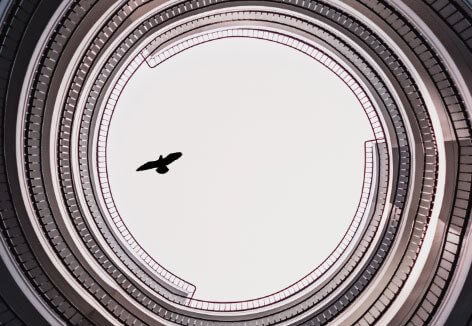
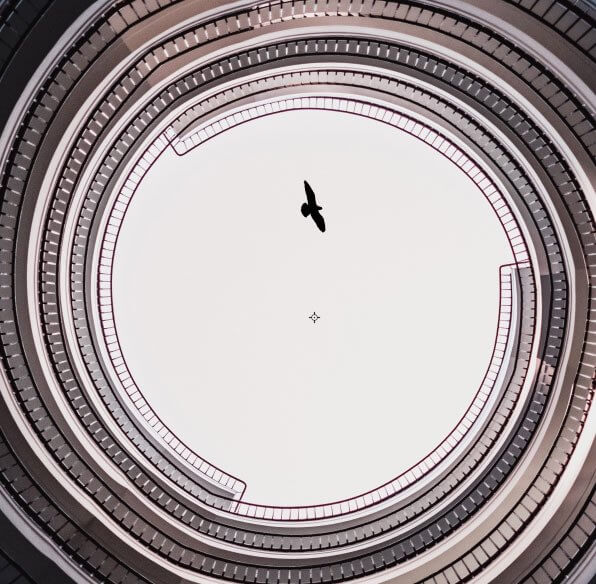
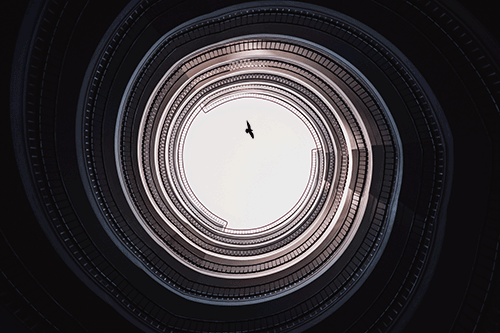
Step 1: Open the background images for your repeating GIF in Photoshop. I have a photo of a building, looking upwards into the sky as my background, and a black silhouette of a bird in flight.
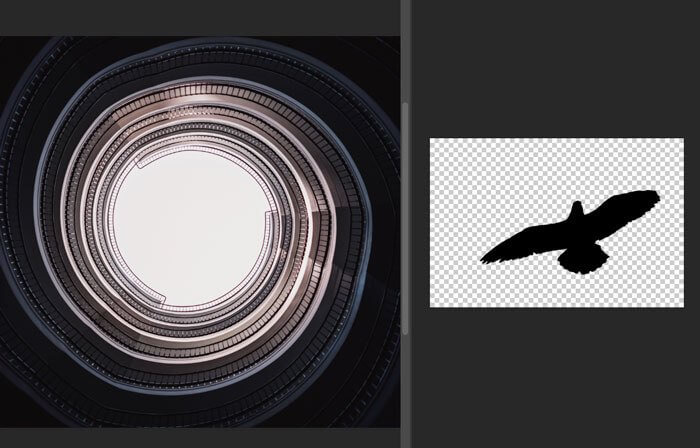
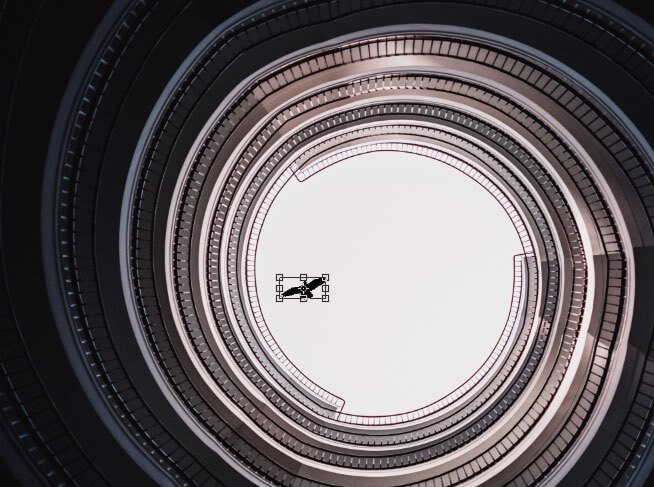
Step 2: Click and drag the bird onto the background so they are both in one document.
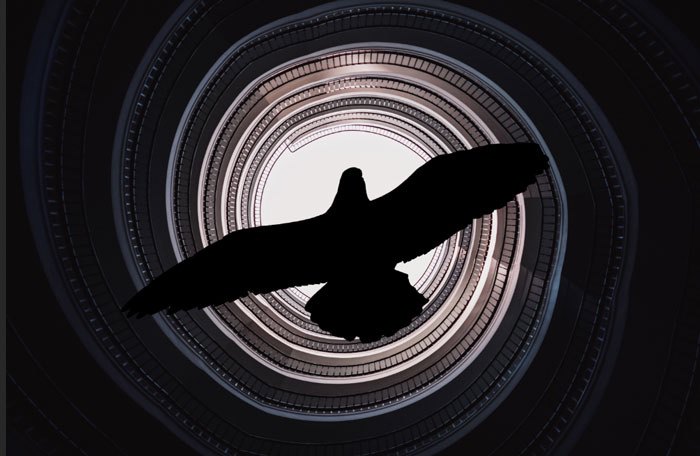
Step 3: With both the background and the bird in one document, select the layer with the bird and re-position it on the background so it is in the correct place and size for the animation.
You can resize the bird using Free Transform, press Command + T / Ctrl + T on the keyboard and you’ll see a scaling box. Hold the Shift key while resizing to keep the object in proportion.
As we want to create the animation in a circle you will want to position the bird on the edge of the circle.
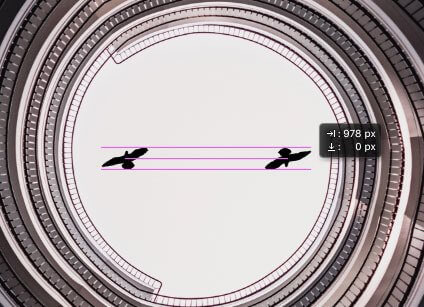
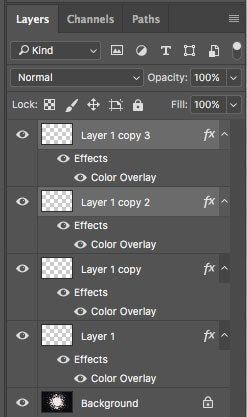
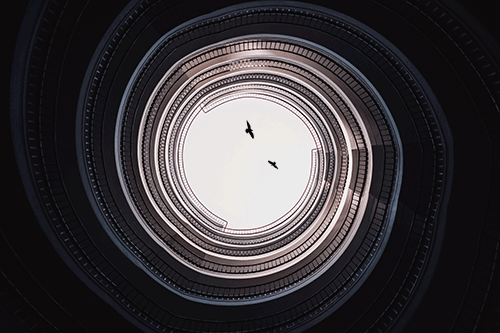
Step 4: Duplicate the bird layer in the layers palette. Make sure the original bird layer is selected and hit Command + J / Ctrl + J to duplicate.
With the new duplicated layer selected, rotate it by 180 degrees. You can do this with the free transform Command + T / Ctrl + T and use the mouse to turn the object or type in the angle value (180) in the toolbar at the top of the screen.

Step 5: With the same layer selected use the move tool to drag the new layer into position.
By holding the Shift key as you drag the new layer, the two birds will be horizontally aligned. Newer versions of Photoshop will highlight the alignment as you move the layer. This layer should be directly opposite the original on the imaginary circle that you wish to create.
Step 6: Select both layers in the layers palette and duplicate both layers. Hold the Shift key to select both layers and right-click to duplicate.
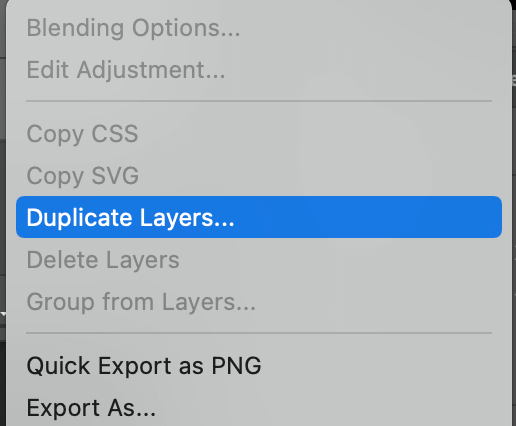
The new layers will appear above the originals.
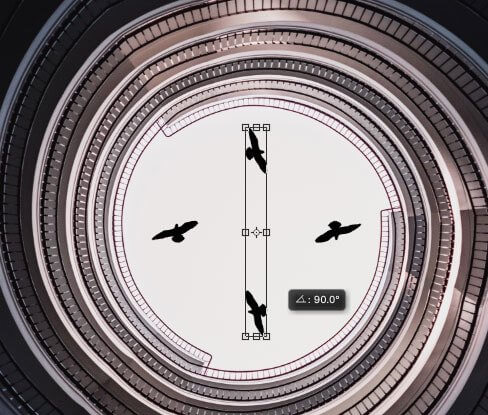
Step 7: With the new layers selected use the Transform tools and rotate the layers 90 degrees.
Step 8: Now select all 4 layers and duplicate again.
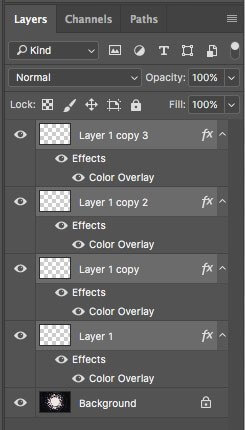
You should now have 8 layers with the top 4 layers selected.
Starting to get the idea? The idea is to make a circle of birds in different positions which later will be the path the birds fly along.
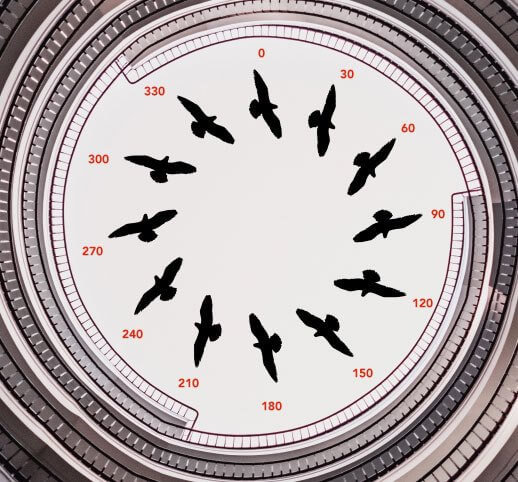
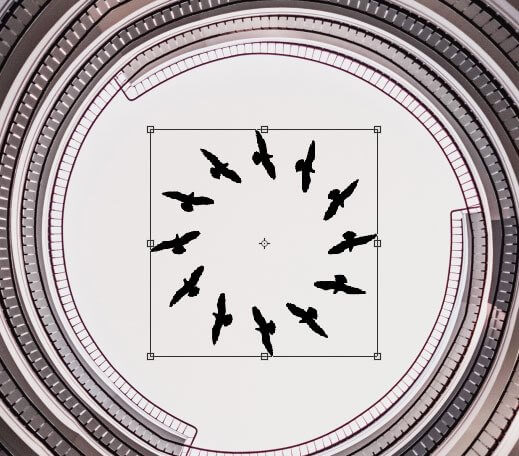
As I want to have an animation that rotates through each 30-degree angle, I am going to rotate the last 4 layers created by 30 degrees. You should now see something similar to the below graphic.
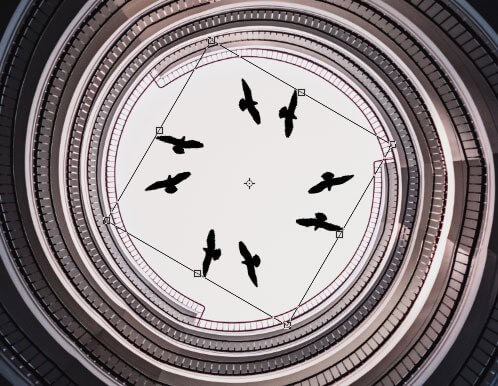
Duplicating the last 4 layers again and using the transform tools to rotate by another 30 degrees will give you all the stages of the animation.

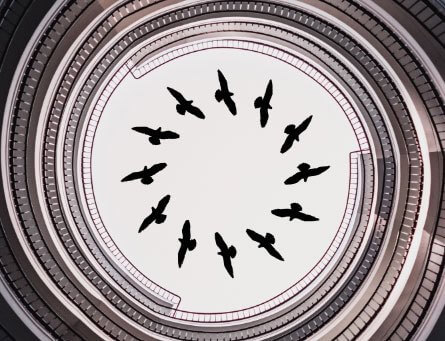
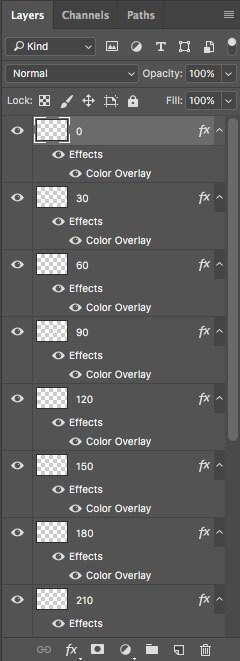
You should now have something similar to the image below with 12 birds (layers) on top of your background layer.
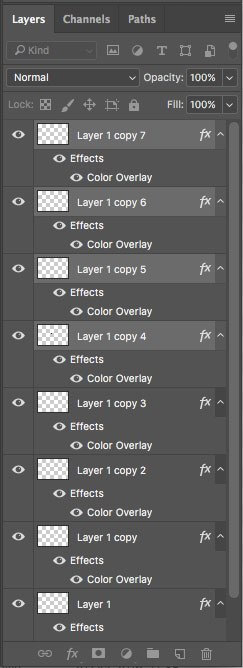
To make things a lot simpler to animate I re-organize my layers and give each of them a number.
With all the layers renamed. Click and drag the layers into numerical order within the layers palette. This will help speed up the process when it comes to creating the animation.
Step 9: The last step is to make sure your elements for animation are in the correct position. For example, I resized the birds to make them smaller and place them closer to the center.
Now, you’re ready to create your animation.
Part 2: Create Circle Animation
Once you have everything set up and organized in part 1, you can start making the animation.
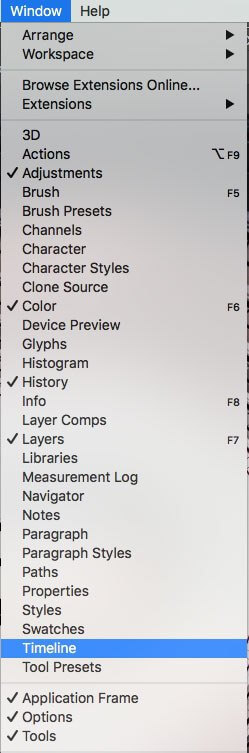
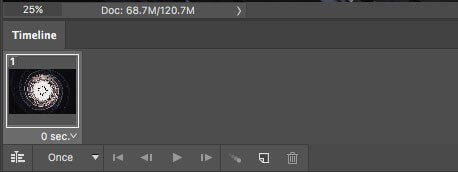
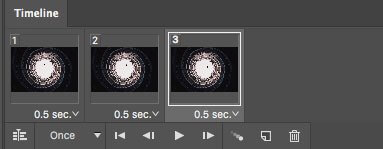
Step 1: Open the Timeline Window. Go to the top menu and select Window > Timeline.
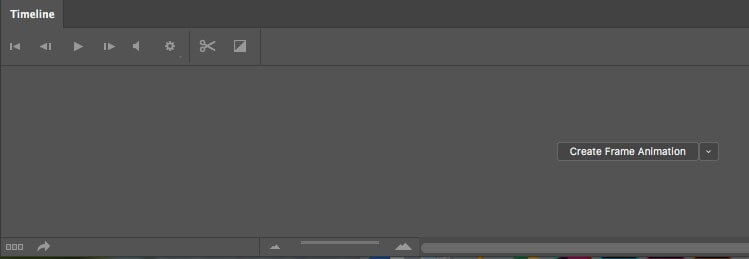
This will open up a Timeline window at the bottom of the screen. Click the Create Frame Animation button.
Your first frame will show all the layers you have switched on.
Step 2: Turn off the visibility of the other layers because, for the first frame, you only need the background and the first bird labeled as 0 in the Layers palette.

Your canvas will reflect these changes and look similar to the one below.
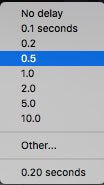
Step 3: To set the speed of the frames, click on the time shown on the first frame and change the speed. I’ve changed mine to 0.5 seconds.
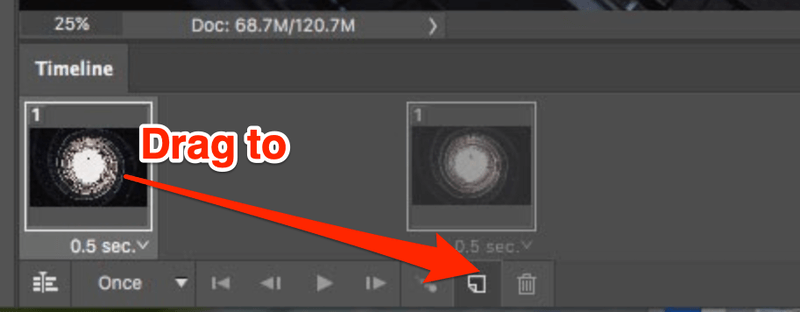
Step 4: Drag your first frame to the New frame icon to duplicate the frame.
Step 5: Turn on the visibility of your second frame (layer named 30) and turn off the visibility of the first frame (layer 0), so the first bird layer (0) is no longer showing and the next bird layer (30) shows.

Step 6: Keep duplicating the layers and choosing which layers need to be shown on each.
It is important this is done in order as if you go back and edit a frame, the change is then carried forward across the later frames.

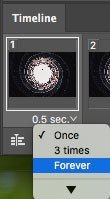
If you want the animation to play continuously rather than a set number of times. Change the option from Once at the bottom left of the timeline to Forever.
You can see how this will look within Photoshop on the canvas by pressing play on the timeline.
Below is my animation at a speed of 0.5 for each frame.

Your GIF animation is made!
Extra Tips
If you want to make changes to the speed you can select all frames by selecting the first frame and then the last frame by pressing shift and then changing the speed on the drop-down on one of the frames and this will change across them all.
I’ve sped up the animation by choosing a time of 0.25.
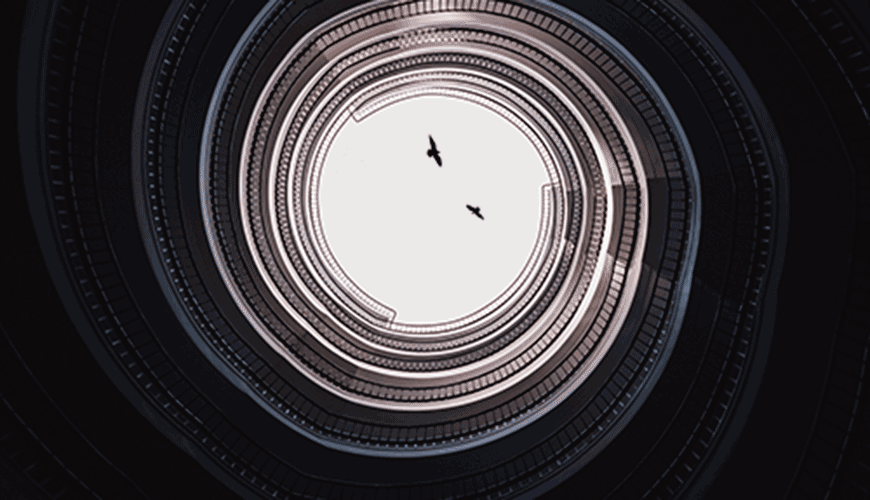
I decided that I wanted the animation to be smoother, to do this I added more frames with more bird rotations. The final animation had 24 frames, all at 0.25 seconds with birds rotated every 15 degrees.

Then I decided to add introduce a friend to the lonely bird. I duplicated all the bird layers, made them smaller as a group, and changed their position and rotation to create the 2 bird animation.
Conclusion
The steps might seem long and repetitive, but it’s really not that difficult to make a circle animation in Photoshop. The most important thing when it comes to making a repeating circle animation is that you need to organize the layers in part 1 and keep in mind which one you’re turning on and off the visibility in part 2.
About June
Acun Ade
Thanks!
I’ve been looking for circling object animation lately and then found it here. Very helpful tutorial, especially now i know how to set the object angle to get more interesting and alive motions.
Have a good day.
Sincerely,
Acun
June
Thanks for your comment Acun, glad you found it helpful