
It’s my favorite lesson again, making patterns! I’ve been designing patterns for fashion brands and tech products for years, and it’s something that I have a great passion for!
Whether you’re applying a pattern as a design background or adding a bit of style to a shape, making your own pattern is always useful. A diagonal line pattern is actually one of the most common patterns and attention here, it’s not created by a straight line!
In this tutorial, you’ll learn how to make a diagonal line pattern and a quick guide on how to edit patterns in Photoshop.
Keep reading.
Table of Contents
7 Steps to Create a Diagonal Line Pattern in Photoshop
Note: Screenshots are taken from Adobe Photoshop CC Mac version. Windows and other versions might look slightly different.
Step 1: Create a new document and adjust the settings as below:
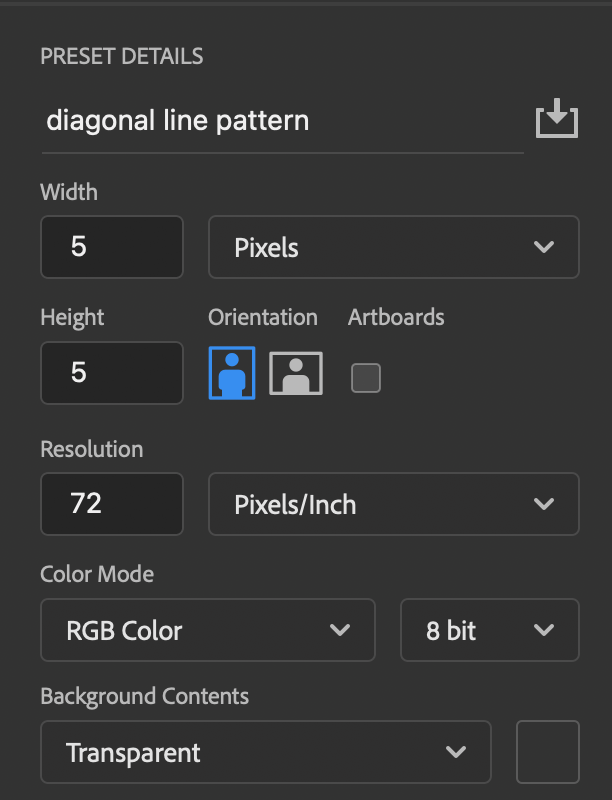
- Width: 5 pixels
- Height: 5 pixels
- Resolution: 72 pixels/inch
- Color Mode: RGB
- Background: Transparent
Yes, a 5 x 5-pixel document is REALLY tiny, you’ll have to zoom in to work on it. I zoom in on my canvas at 12800%. Of course, you’re free to adjust the size to what works best for you. For larger size artwork, you can set the pixels higher.
Step 2: Select the Rectangular Marquee Tool (keyboard shortcut M) in the toolbar.
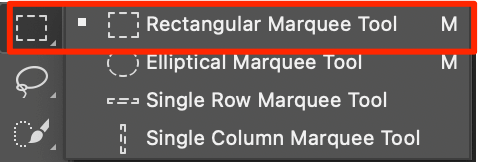
Choose from the Application bar at the top menu, change the Style to Fixed Size, and change the Width and Height to 1px.

Note: Make sure you are using px, mm as measurement units alongside the value because this will automatically revert to centimeters if you only add a numerical value.
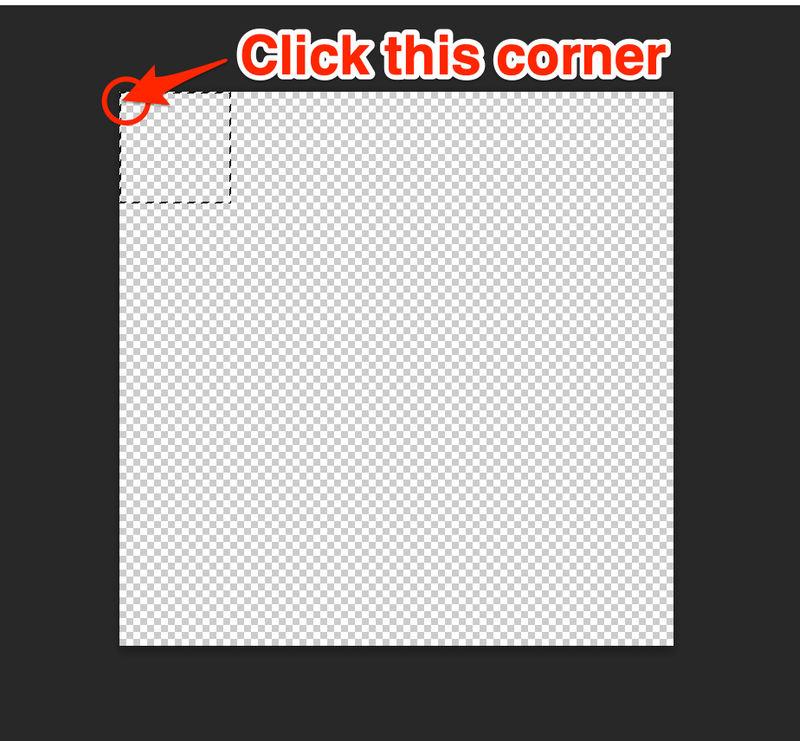
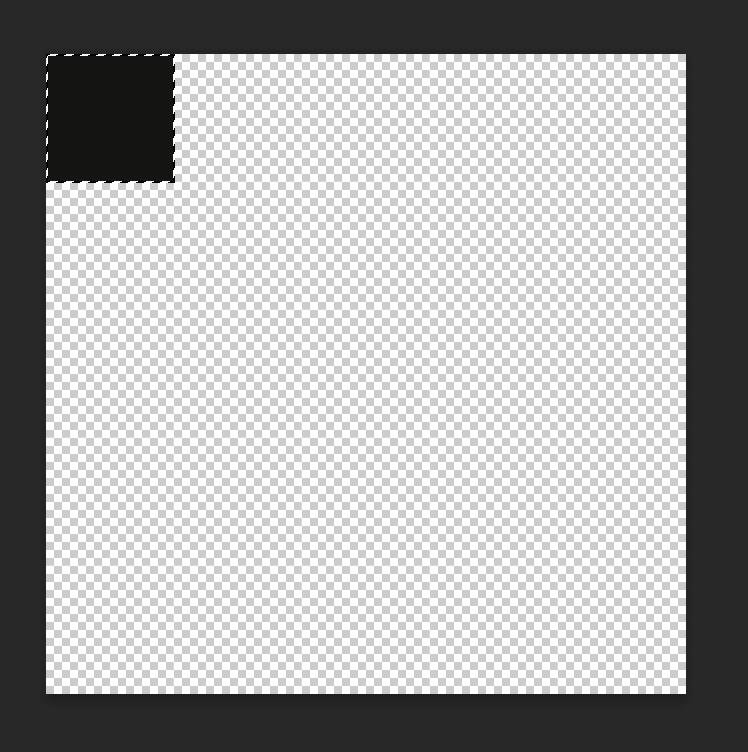
Step 3: Click the top left corner of your canvas and you’ll see a dashed square.
Step 4: Choose the Paint Bucket Tool (keyboard shortcut G) from the toolbar, usually in the submenu of the Gradient Tool.
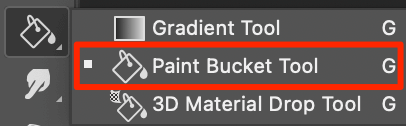
Click inside the area you marked with the Marquee tool to fill the square you just created.
Step 5: Move the Marquee square to the right and down and use the Paint Bucket Tool to fill the new area.
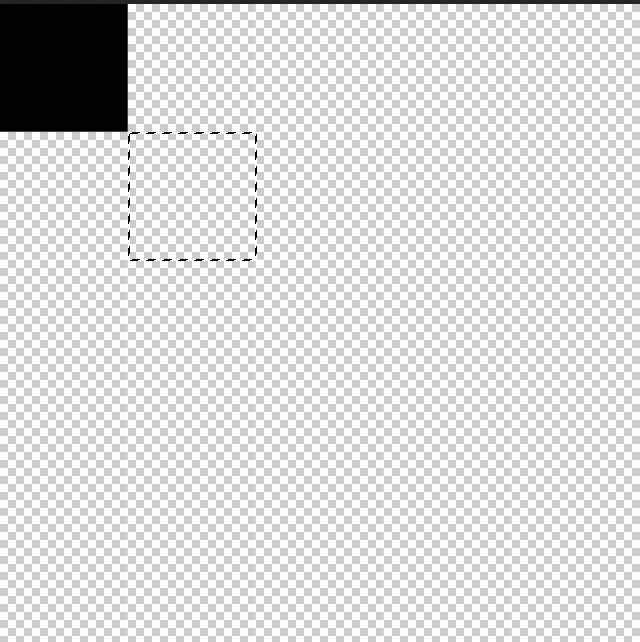
Continue this process until you have a 5 square diagonal line.
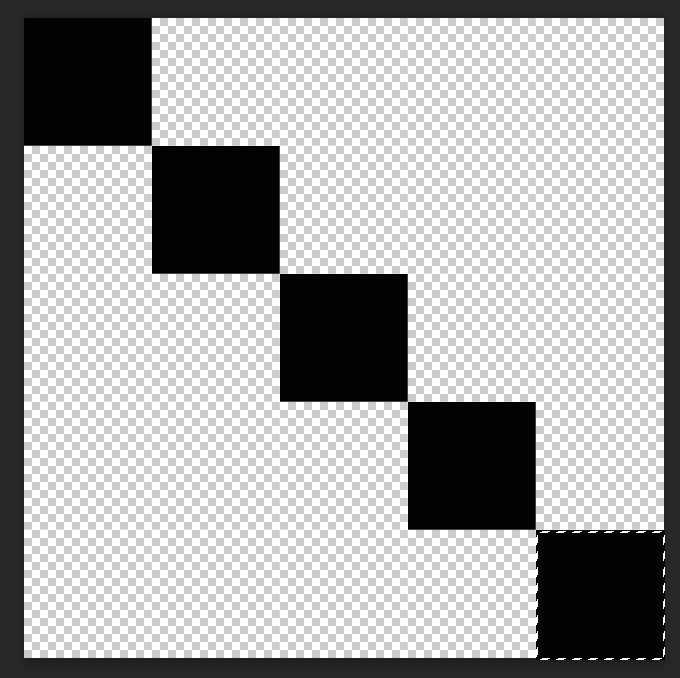
Tips: If you’re pretty familiar with Photoshop, you can also select the first square, hold the Option key, click and drag to make a copy, and drag to the right-down position. Repeat this process until you have 5 squares.
Step 6: Hit the keyboard shortcuts Command + D to deselect the last square. This is an important step, if not, you’ll be making a pattern of the square, not the diagonal line.
Step 7: Once the marquee is deselected, go to the overhead menu Edit > Define Pattern. Name your pattern and click OK.
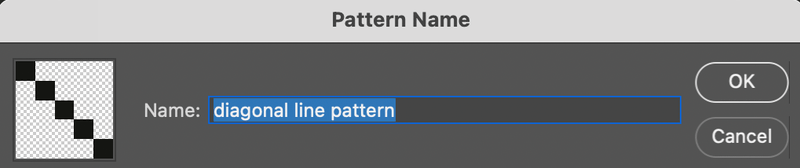
Your new diagonal line pattern is ready for use!

2 Methods to Apply Patterns in Photoshop (Quick Steps)
You can apply this diagonal line pattern to a shape or canvas background using the Paint Bucket Tool or Fill.
1. Edit > Fill
Step 1: Create a new document.
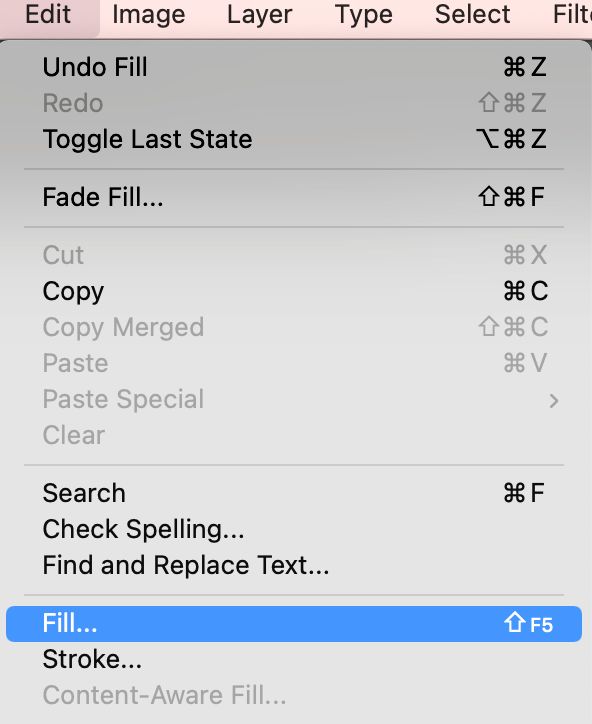
Step 2: If you want to fill the background with a diagonal line pattern, go directly to the overhead menu Edit > FIll.
Step 3: Select Pattern as fill contents and select the diagonal line pattern you created as a custom pattern.
If you want to fill a layer, create a new layer, and go to Edit > Fill.
2. Paint Bucket Tool
Step 1: Create a new document.
Step 2: Create a new layer.
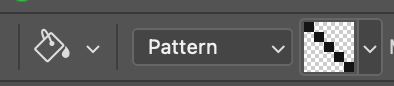
Step 3: Select the Paint Bucket Tool. On the top menu, you’ll see the Paint Bucket style usually in the foreground by default. Change it to Pattern, and select the pattern you created.
Step 4: Click on the canvas and your layer will be filled with the diagonal line pattern.
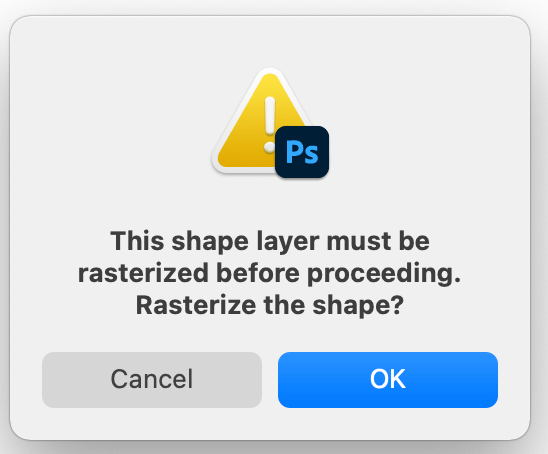
If you’re applying the pattern to a shape, you’ll have to rasterize the shape first. When you click on the shape layer, you’ll see this window, just click OK.
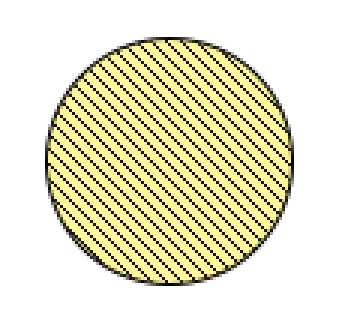
Click inside the shape again to fill.
Quick Edit
You can change the color or add a background color to the pattern by adding a layer style.
If you want to add color, select Color Overlay, and choose a color you like.
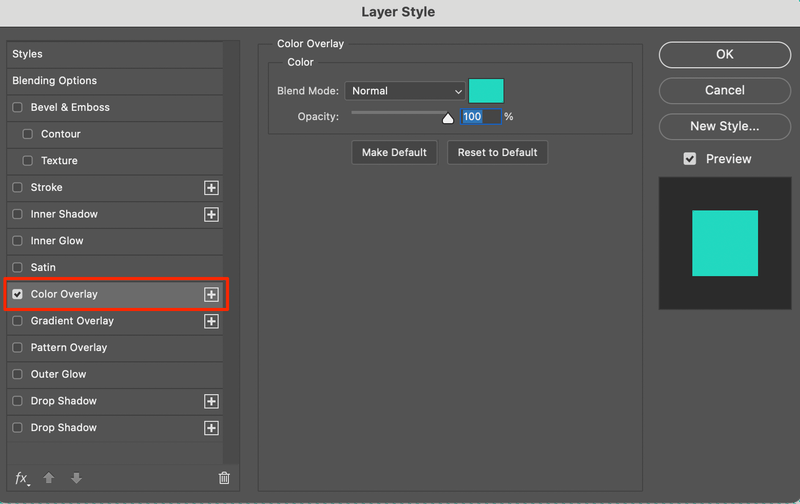
For example, I’m going to change it to this Turquoise color.

Want to make it more colorful? Create a solid color layer.
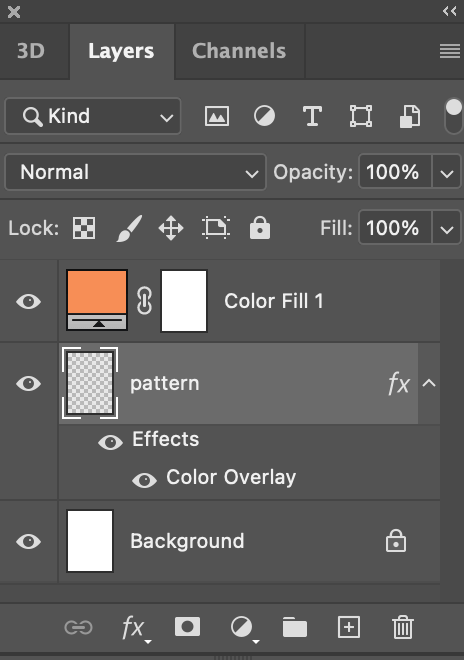
Remember to drag the background color layer underneath the pattern layer 🙂
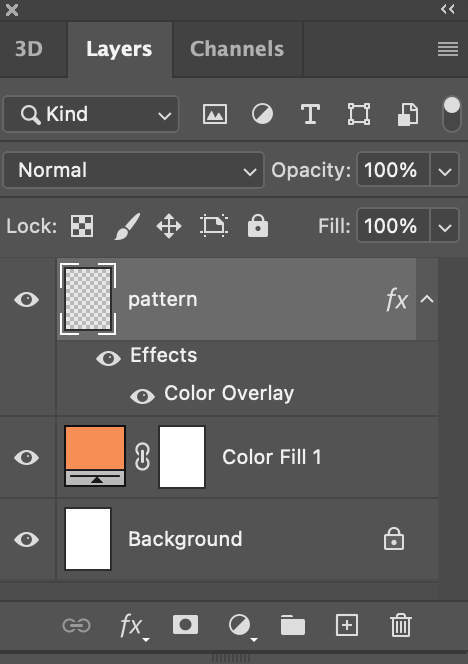
There you go!

Conclusion
The advantage of making your own pattern in Photoshop is that you can easily edit it to make it suitable for any design. Again, remember one important step that I mentioned above, deselect the last object before you click Define Pattern to avoid creating incomplete patterns.
About June
marissa
Thanks so much. Very helpful!
June
You’re welcome, glad you found it useful 🙂
Florentine
Hi! Do you have a tutorial how you installed the diagonal background to your inner content in your blog? I’m trying to create the same effect but would know where to start!
Thanks in advance!
June
Hi Florentine, you will need to create your background tile and save it in the images folder on your website. Then whichever area it is on your website where you want to use the pattern you will need to link to it in your CSS, for example if you want it across the whole background it would be: body{background-image:url(‘images/your-image.gif’) repeat;} W3Schools is a good website to learn CSS if you’re not familiar with it.
richard
Clear, well done, thank you so much
June
You’re welcome, Richard!