My name is Aly, I have over five years of experience using Photoshop. It’s my favorite tool for image editing from the basic image touch-up to creating surreal artwork.
in this article, I will be explaining what matte painting is and how you can create a matte painting in Photoshop.
Table of Contents
What is Matte Painting in Photoshop
A matte painting is a portrayal of a scene that would be impractical or impossible for filmmakers to recreate in real life using traditional or digital painting techniques.
This could be due to the landscape not existing in the actual world, the expense of traveling there, or the inability to expand the set beyond what was filmed.
Matte paintings were historically produced on glass plates backlit by lights, although they are now primarily produced digitally.
How to Create Matte Painting Effect in Photoshop
You can easily create a matte painting in Photoshop by following the steps below.
Step 1: Open the image in Photoshop that you would like to use for your background image.
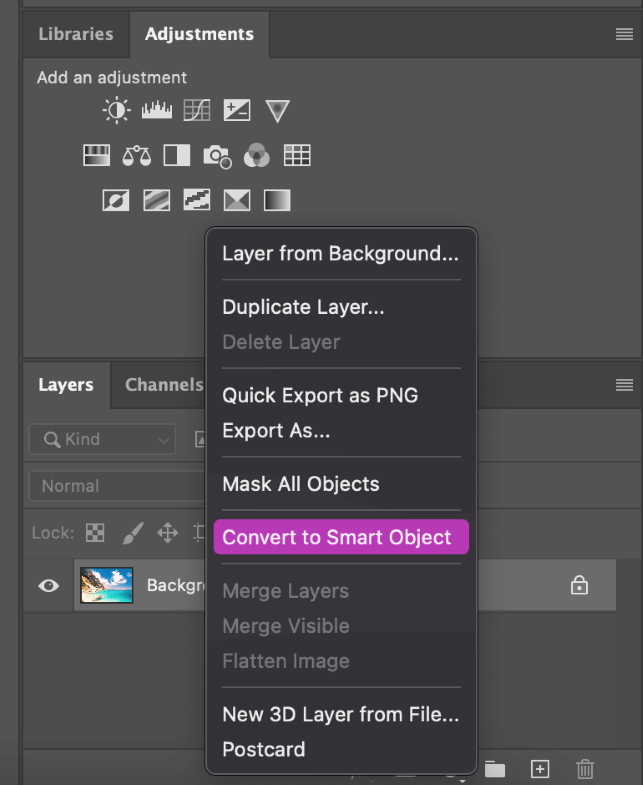
Step 2: Create a smart object out of the background. Convert to a smart object by right-clicking on the layer thumbnail (Background layer).
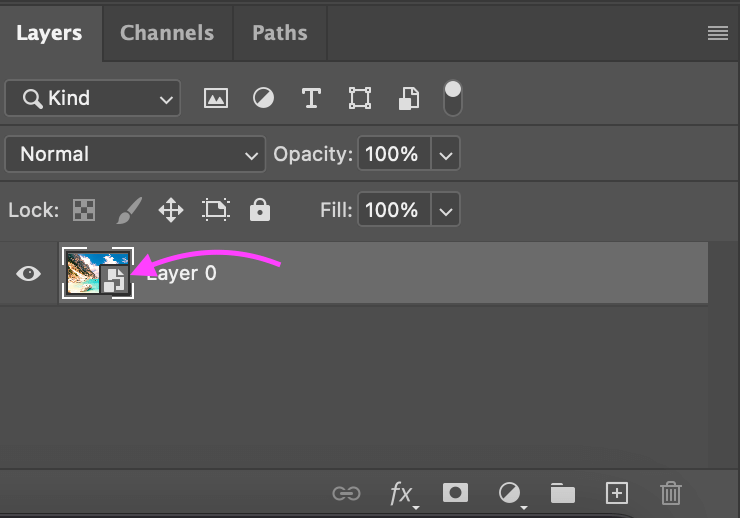
Step 3: Double-click on the thumbnail of the smart object. A new window will now appear and now you can edit the smart object. Click OK.
Step 4: In case you need to return to the original image, press Ctrl/Command + J to duplicate the layer. The next step is to use the Patch Tool to cover up undesirable portions of the image in this layer.
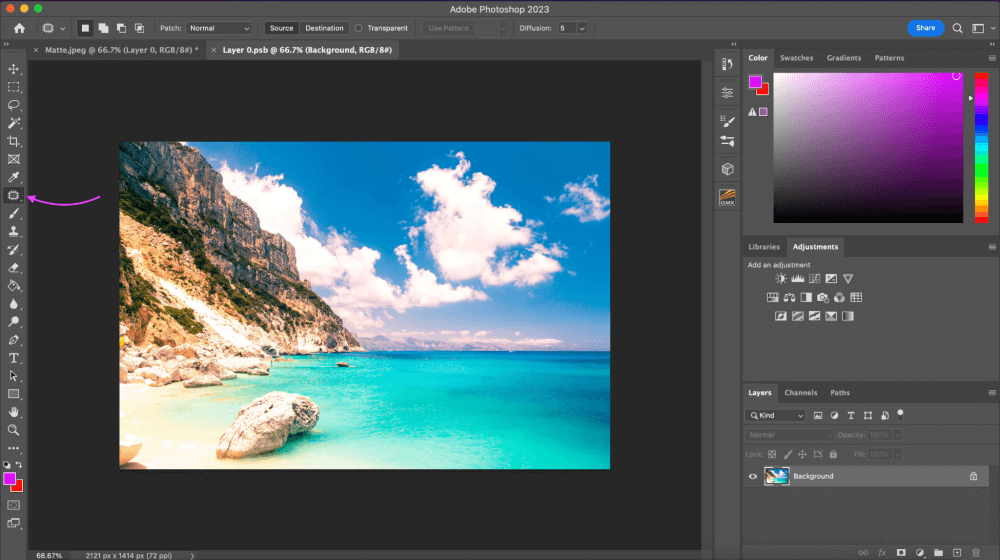
Step 5: Select the Patch Tool from the toolbar and use it to get rid of anything in the image you don’t care for. I am going to get rid of the big rock in mine. Just draw around the area you don’t want and drag until it’s covered up.
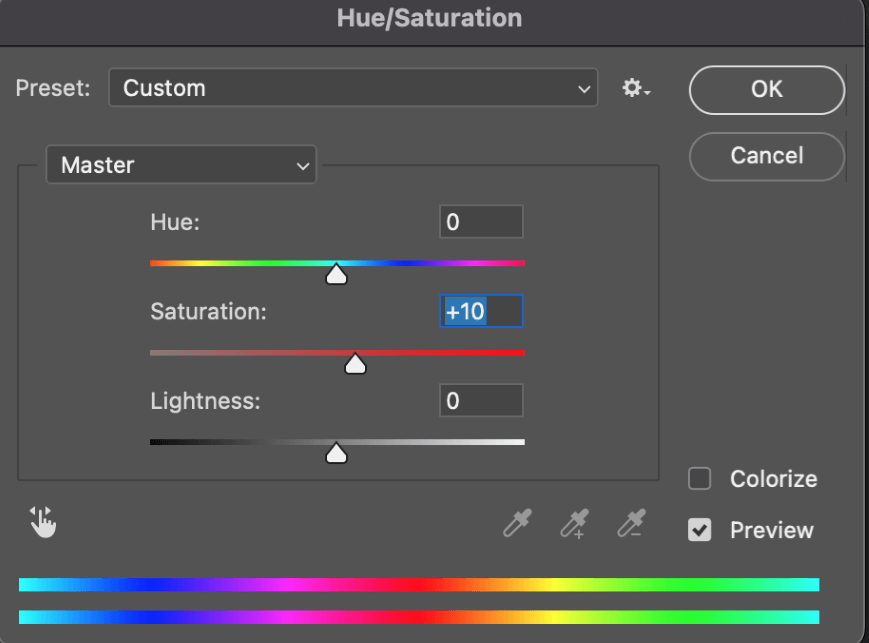
Step 6: Duplicate the layer and change the saturation. You can press Ctrl/Command + U and play around with the saturation level you like best. This hue will be present in the photograph.
Step 7: Press Ctrl/Command + S to save your changes and then click the window’s close button.
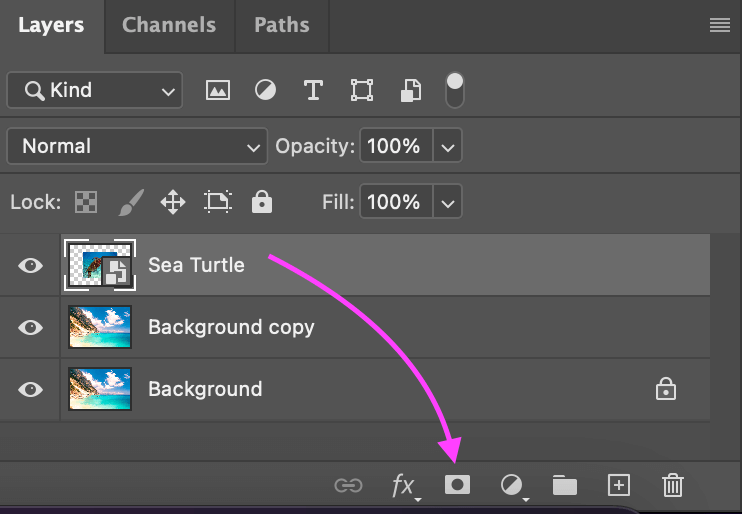
Step 8: Now you will need another image, something you want to include in the current photo. Drag it on top of the current image, and make it into a smart object as we did before. You can change the image size by using the four corners to adjust.
Step 9: To remove the unwanted portions of the image, use a layer mask. To paint over the areas you want to cover up, choose a soft round brush. You’ll get something along these lines:
Step 10: Go to Create a new fill on the adjustment layer and click on the option Hue/Saturation. Choose a level that looks good in blending the new image into the original image.
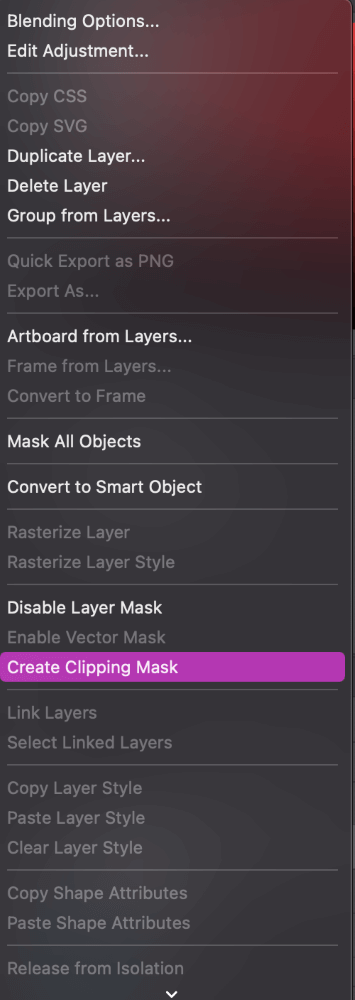
Step 11: You must right-click on the Hue and Saturation layer and choose Create Clipping Mask to apply the modifications only to that layer of the new image.
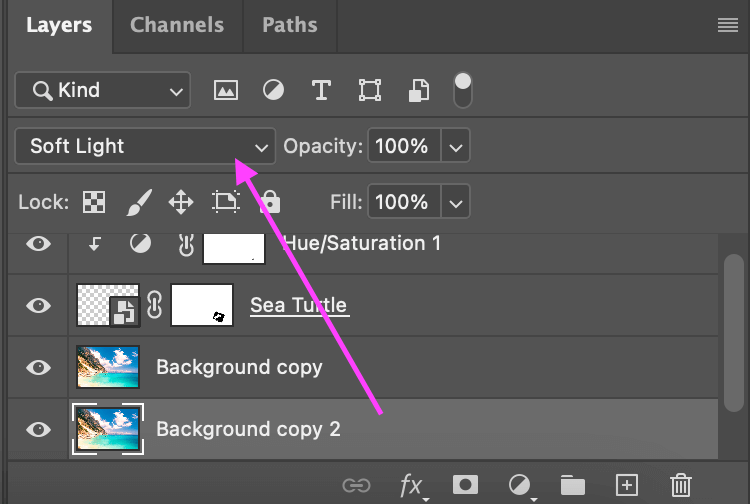
Step 11: Return to the Background image and press Ctrl/Command + J to duplicate the layer. Next, switch the layer mode to soft light.
Feel free to add more images, for this example, I am just using two. But this is the general idea of matte painting and how you can explore it to create some really interesting images.
Conclusion
As a finishing touch, you can add a few adjustment layers and a universal layer blend mode to the image to establish the mood.
Although modern matte paintings are digital, they are still very large, and digital matte painters must work with enormous files that need a lot of system resources. You will need quite a bit of storage space on your computer to create these.
Any questions about Matte Painting in Photoshop? Leave a comment and let me know.
About Aly Walters