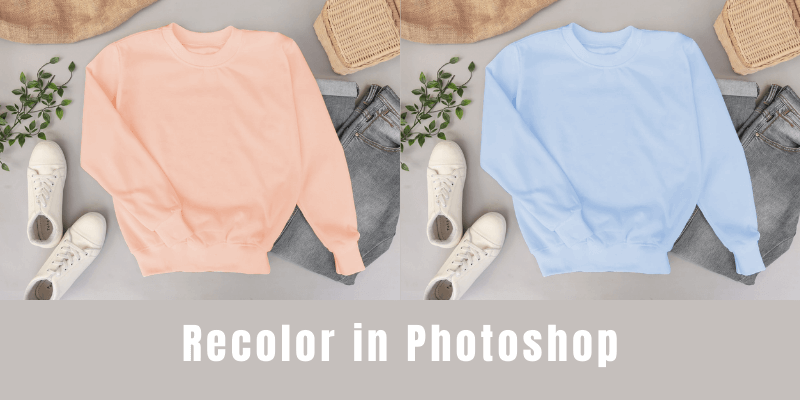
You’ve probably already seen on e-commerce websites that a model staying exactly the same pose wearing different color shirts. You must be wondering how can they keep in the same position and how can the product look the same, right?
Well, that would be a superpower, but sorry to disappoint you, they don’t. The only superpower here is Photoshop.
In this tutorial, I’m going to share with you two easy methods to recolor images or part of an image in Photoshop that I frequently use when I re-touch product photos for e-commerce clients.
Table of Contents
2 Methods to Recolor in Photoshop
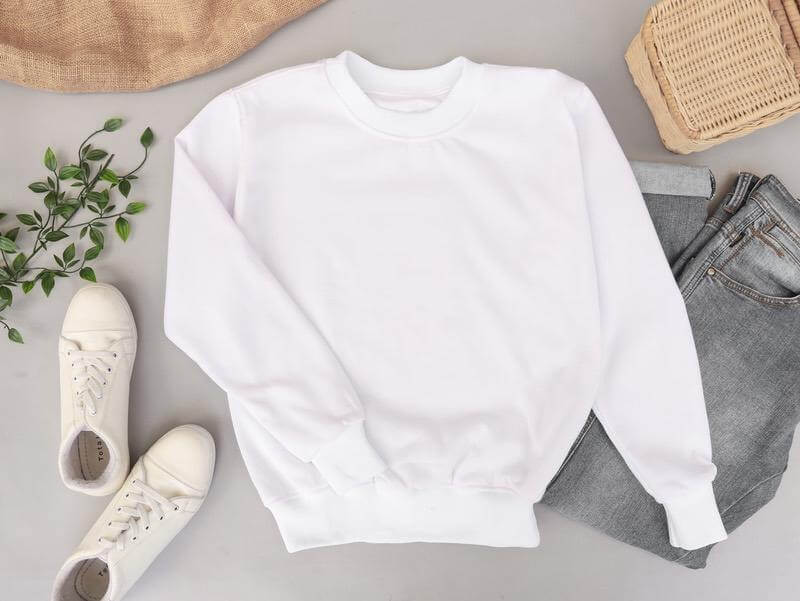
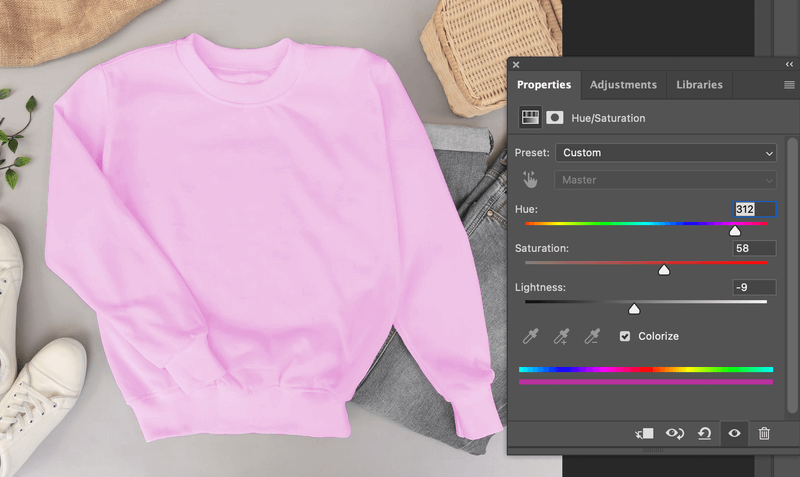
Want to know how I turn this white sweatshirt into different colors? Keep reading!
Note: the screenshots are taken from the Adobe Photoshop CC Mac version. Windows and other versions can look different.
Method 1: Brush Tool
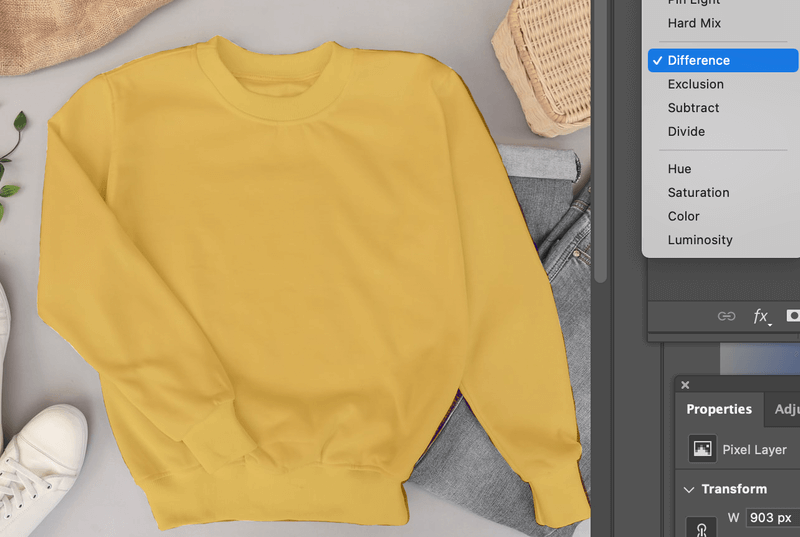
The basic idea is to paint a new color on top of the original one, but the trick is to set the blending mode in the Layers panel.
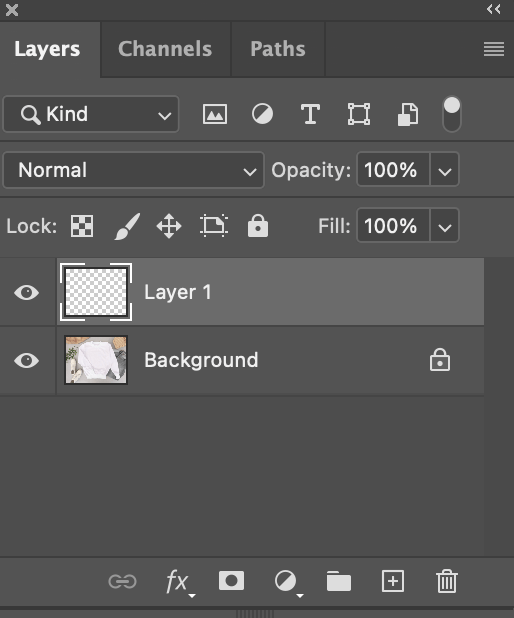
Step 1: Add a new layer on top of the background image (layer).
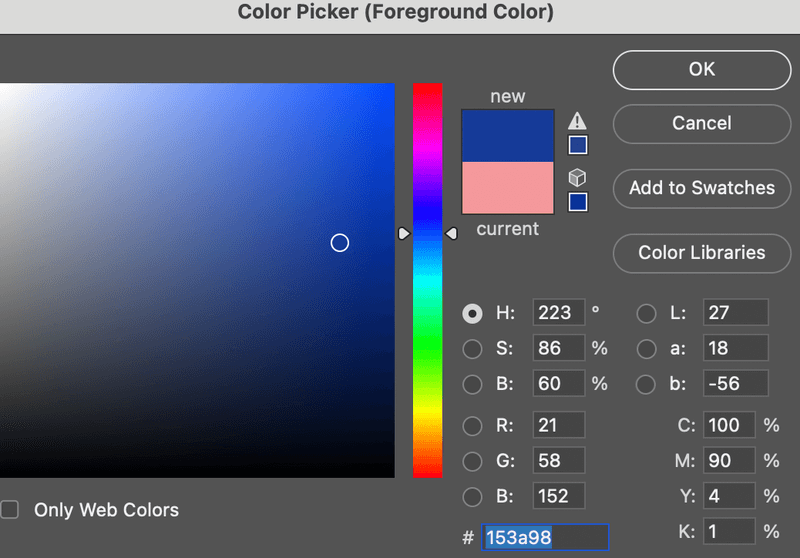
Step 2: Select a foreground color. It should be the color tone you want to change to.
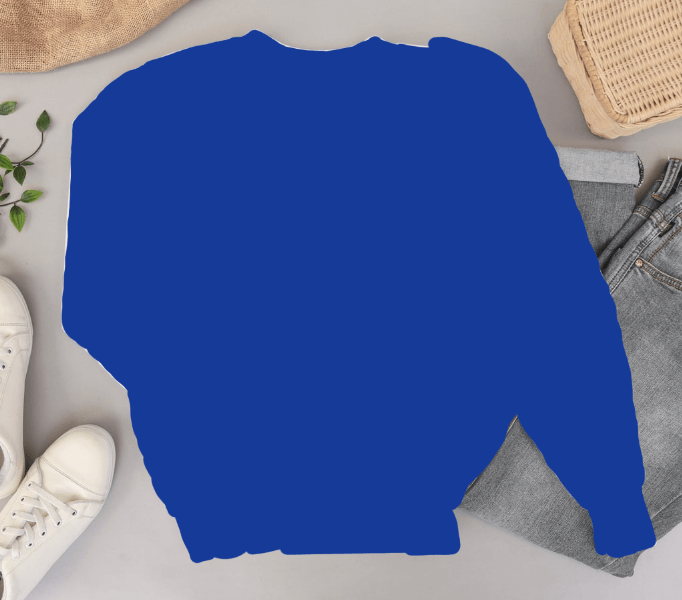
Step 3: Select the Brush Tool on the toolbar (keyboard shortcut B) and paint on the object area that you wish to recolor. Don’t worry if you paint outside the object, you can clean it up later.
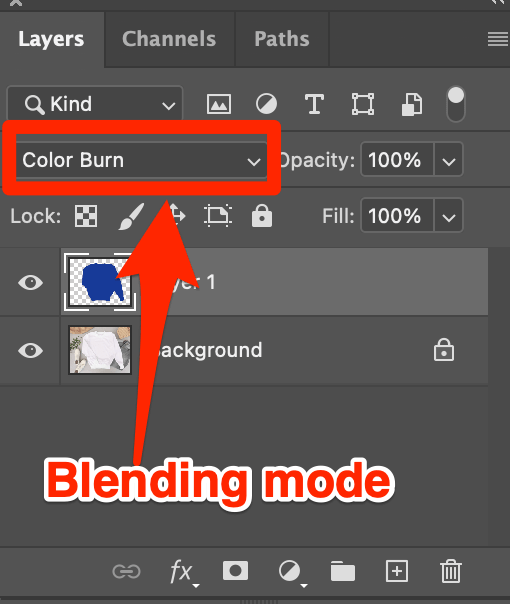
Step 4: Play with the Blending Mode in the Layers panel to see which color you like the most. For example, you can start by changing the blending mode of the layer to Color Burn.
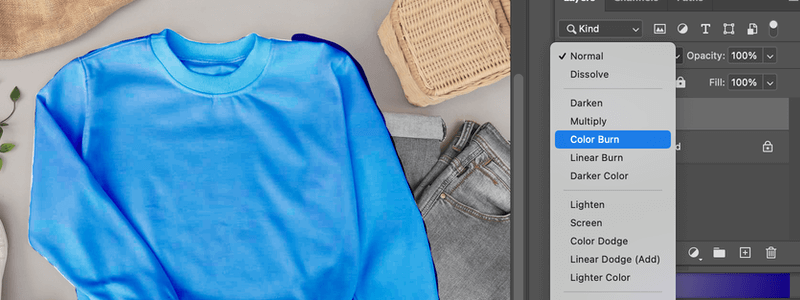
This is where you set the blending mode.
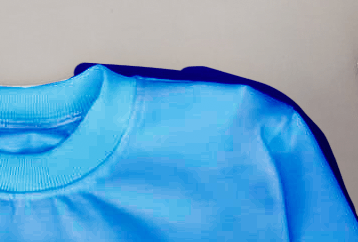
As you see that there is some extra blue area outside of the shirt that needs to be removed.
Simply select the Eraser Tool from the toolbar (keyboard shortcut E) to clean up the area. Vice versa, if you erased the recolored area by accident, use the Brush Tool to paint again.

Feel free to explore more blending mode options.

Who says if I paint blue, it has to be blue?
Method 2: Hue/Saturation
This is the quickest way to recolor if your object is easy to select, meaning, it has smooth edges or outlines. If you’re recoloring hair, for example, the result might not be as good.
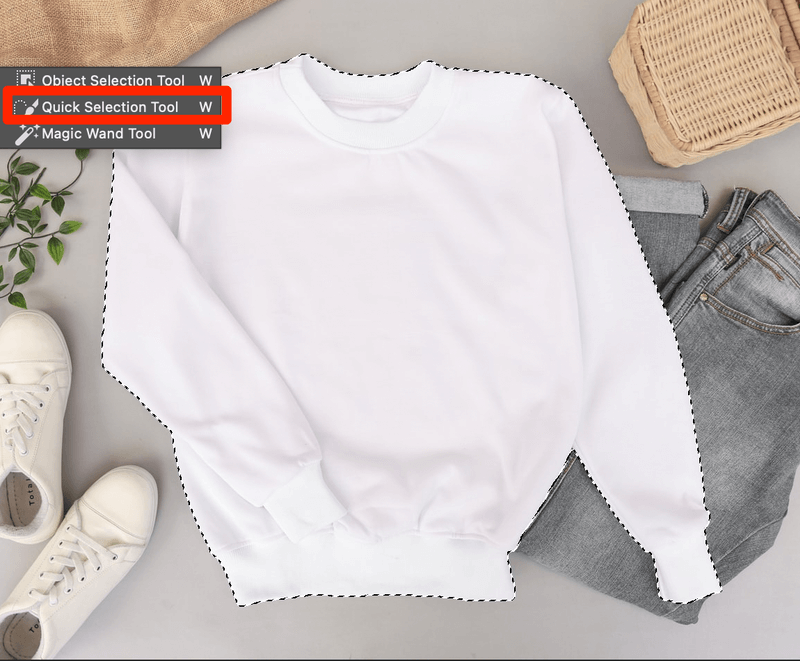
Step 1: Use the Quick Selection Tool to select the area you want to recolor. In this case, I’ll select the sweatshirt.
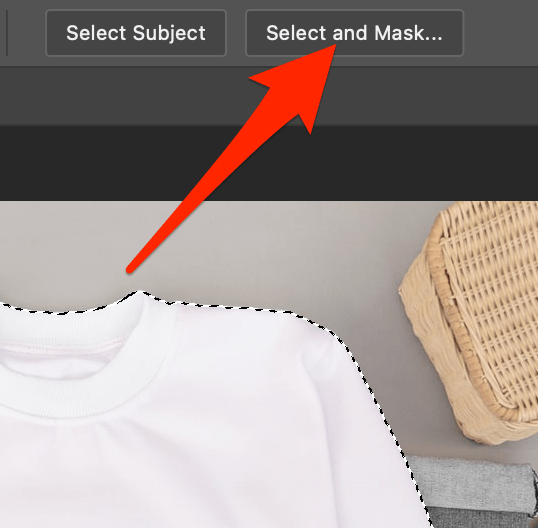
Step 2: Click Select and Mask on the top menu once you made the selection.
Step 3: Add a Hue/Saturation layer.
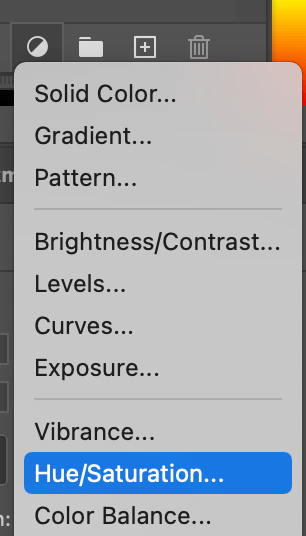
In the Properties panel, you should see the Hue/Saturation settings.
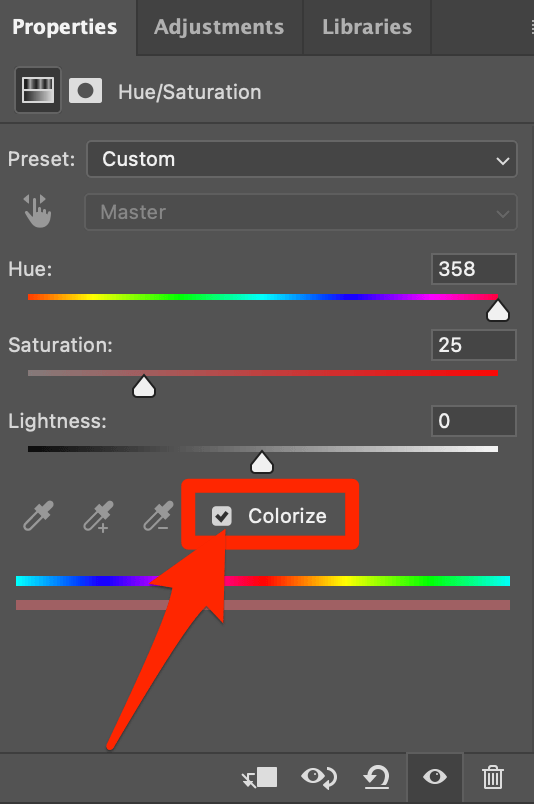
Click Colorize and adjust the sliders to recolor. That’s pretty much it. Super easy.
Conclusion
You can use either option above to change the color of photos or objects in a photo in Photoshop. Both methods are quite simple and you’ll get pretty good results if you pay attention to details.
The Hue & Saturation method is probably the quickest way to recolor, but make sure you click Colorize, if not, the result might be different. The brush tool method allows you to explore different blending options but it does require a bit of patience to clean up the edges.
About June
rich
I’d forgotten how to do this. Perfect, straightforward guide – Thank you!
June
Great, glad it helped.